
Best Snipping Tool for Linux
Shutter is a snipping tool for Linux distribution including Ubuntu. It is enriched with different tools that can be used to capture the desktop screen. Using it, you can capture a screenshot either of the whole area or the selected area of the screen. Various editing tools such as a bounding box, text effects, and highlighter, make it a unique snipping application, especially for Ubuntu users. As it is free and open-source, therefore, everyone can install it on their operating systems.
In this learning-based post, we will demonstrate two different methods:
- Method 1: Installing Shutter Using Command-line
- Method 2: Installing Shutter Using Ubuntu Application Store
Method 1: Installing Shutter Using Command-line
The following step-by-step process will guide you to install the Shutter snipping tool in Ubuntu 22.04 through the command-line interface (CLI).
Step 1: Open the Terminal Window
First of all, you need to open the Terminal window from the Ubuntu Applications or use the shortcut key, i.e., Ctrl + Alt + T.
Step 2: Install the Shutter using “apt”
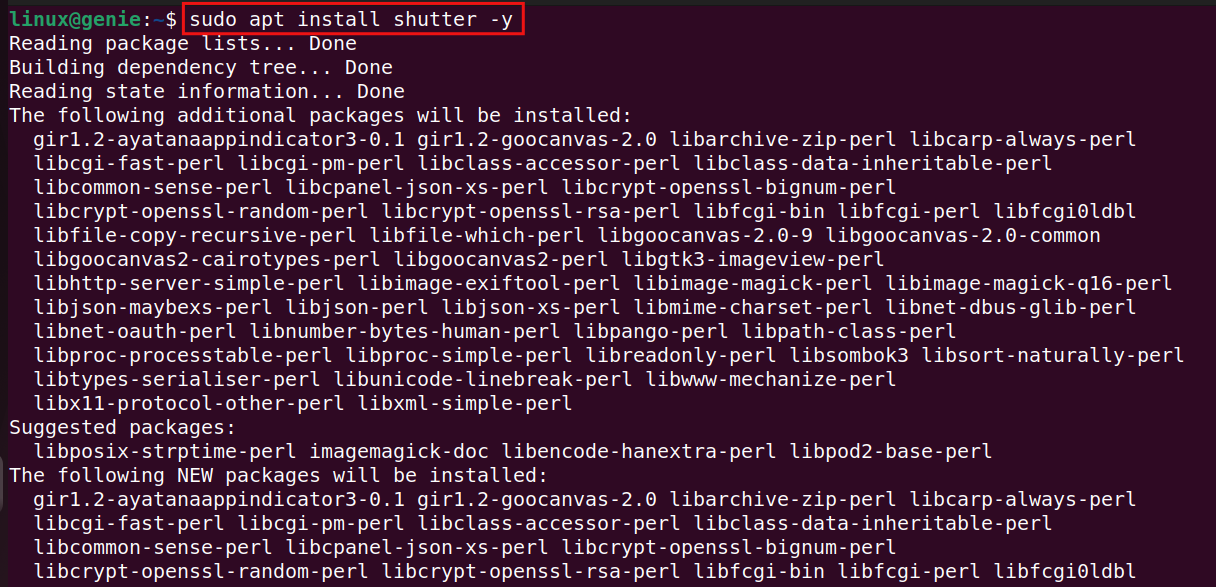
From your terminal window, run the apt command to initiate the installation process. The code is written below for your reference. Keep in mind the “-y” is used for prior confirmation to complete the process:
sudo apt install shutter -y |
|---|
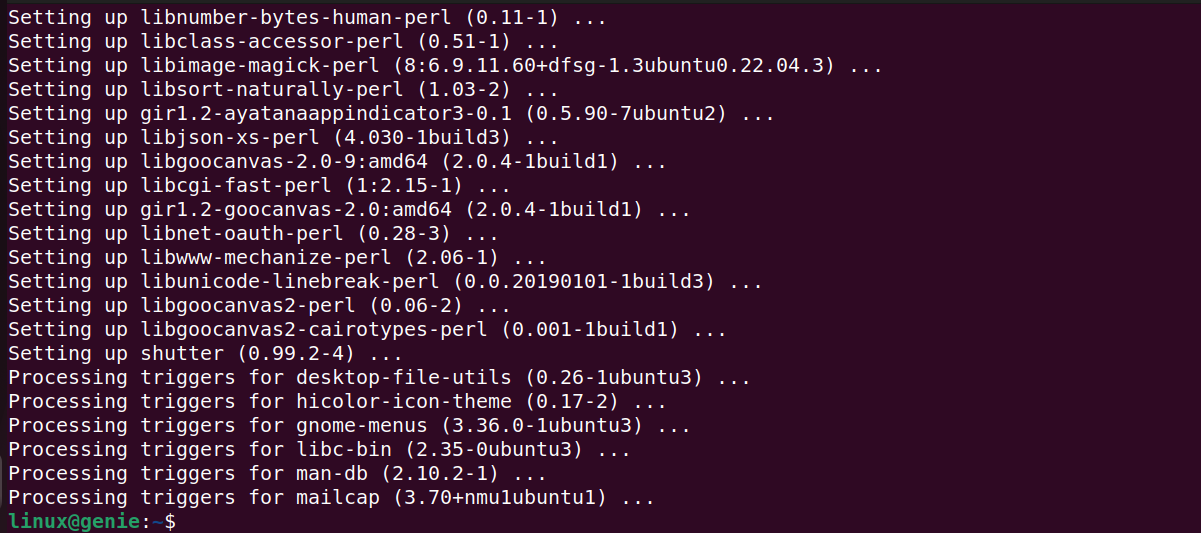
The output result shows that the installation process has been completed without any errors or bugs. Thus, it’s ready to use for snipping.
Method 2: Installing Shutter Using Ubuntu Application Store
In the second method, we will illustrate the installation process of the Shutter snipping tools using the Ubuntu application store. These procedural steps are as follows.
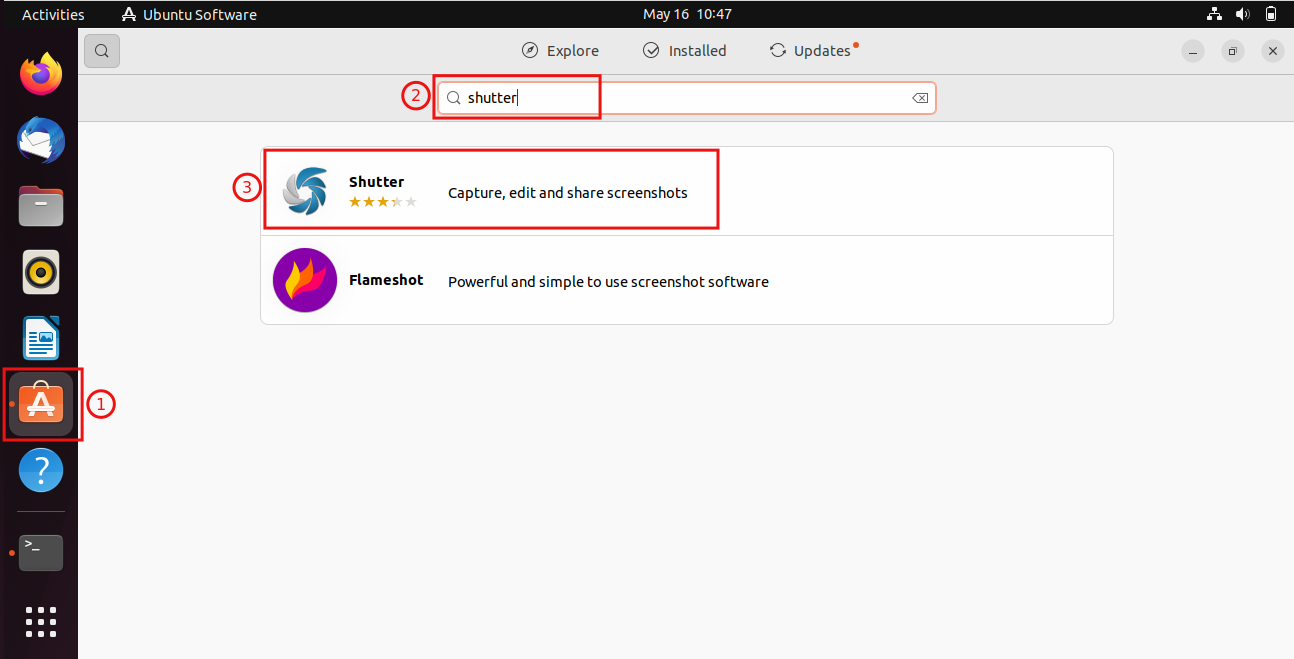
Step 1: Launch the Ubuntu Software Center
To open the Ubuntu application store, click the Ubuntu Software icon (marked as 1). In the search bar, search the Shutter, and click on the Shutter icon:
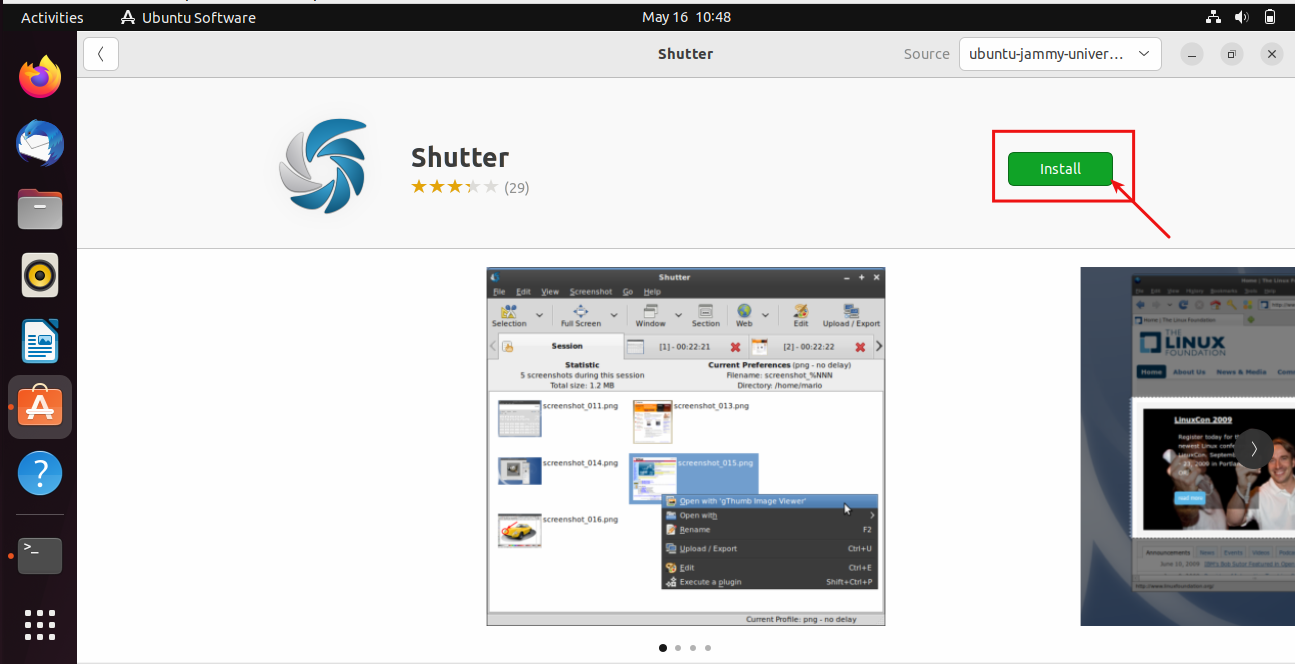
Step 2: Install the Shutter
Click on the Install button mentioned in the below screenshot:
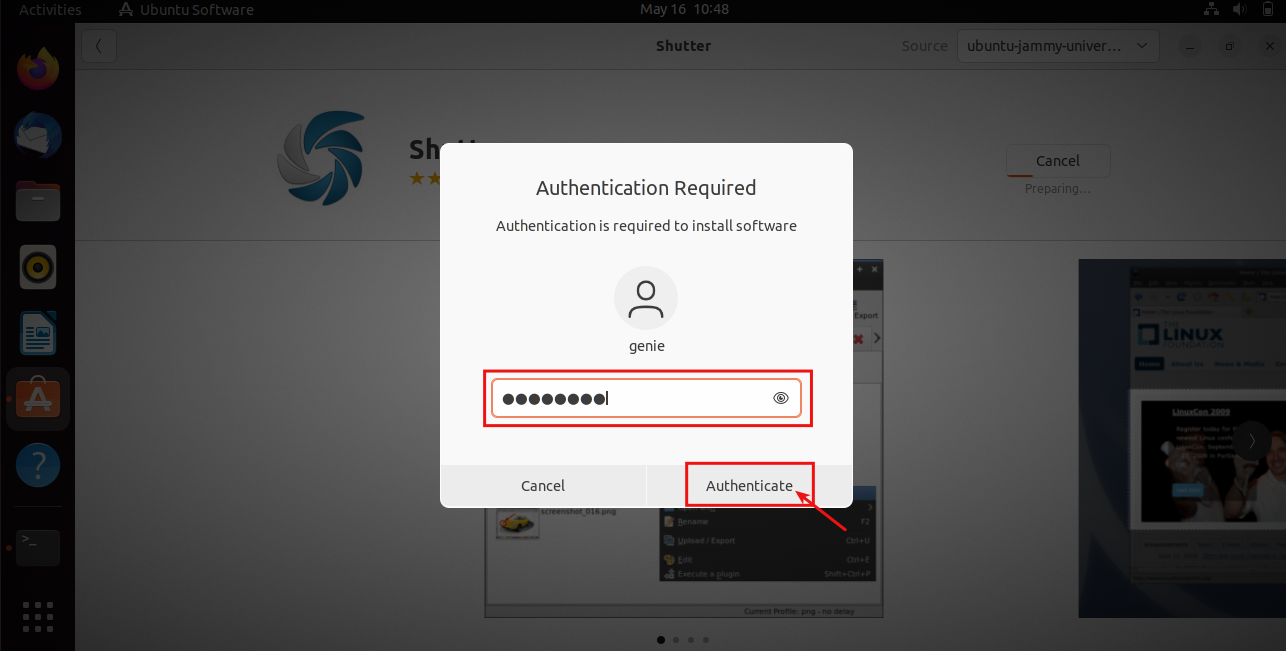
Step 3: Authenticate to Install Shutter
Type your password to authenticate and start installing the Shutter package:
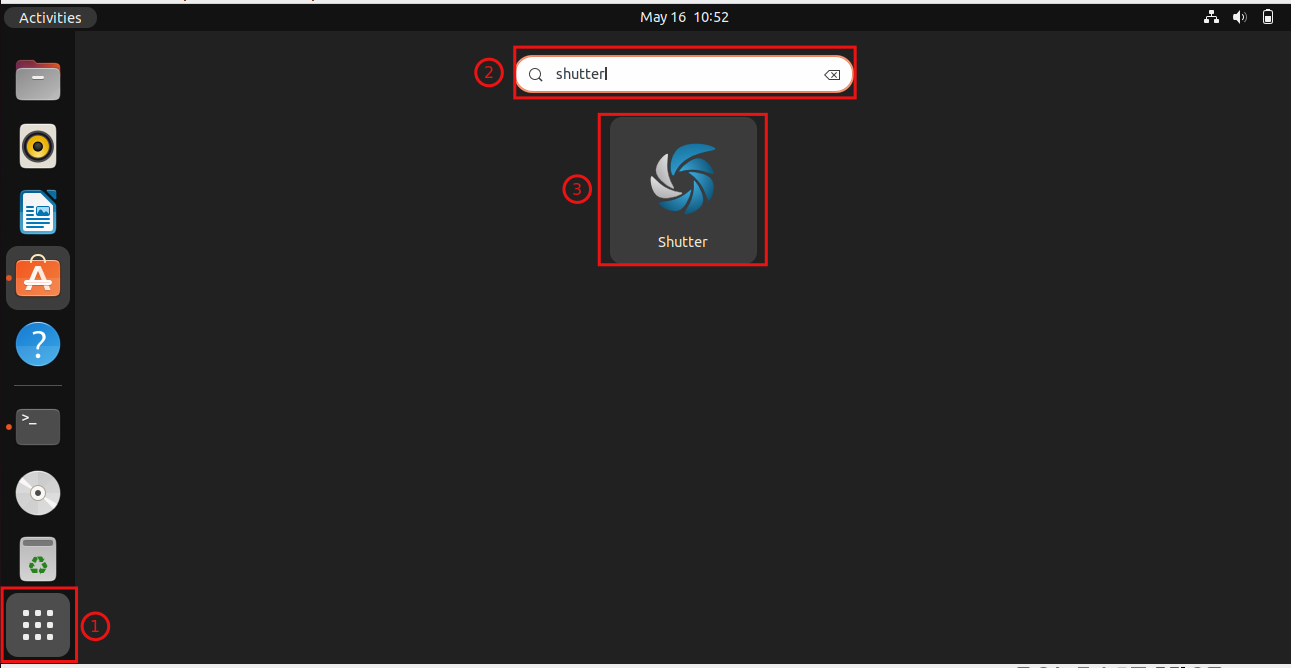
How to Launch the Shutter Snipping Tool?
Upon the completion of the installation process, it’s time to launch and operate the Shutter snipping tool. To open the Shutter interface, go to the Applications, search the Shutter, and then click on the Shutter Icon:
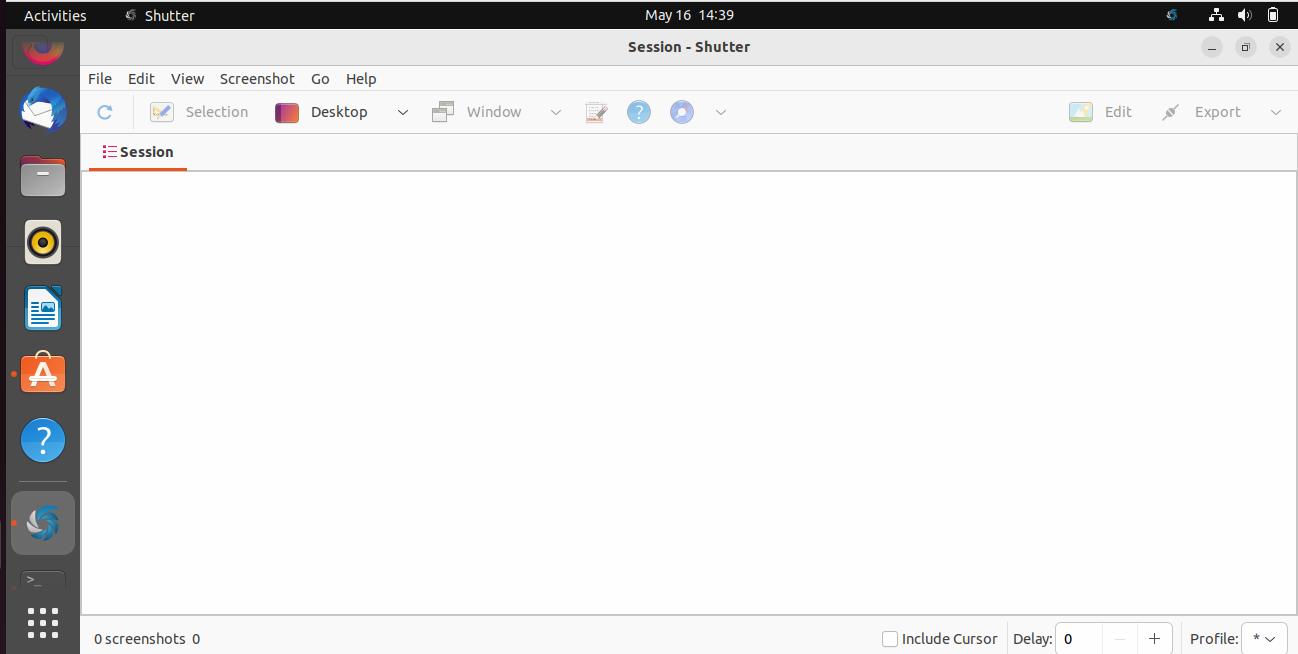
The following interface will be displayed on your screen after clicking the Shutter icon:
How to Capture Screenshots?
To capture the screenshot, first display the content that you want to be captured, click on the Shutter icon located on the top right of your screen. Choose the Desktop option to take a screenshot, that’s it:

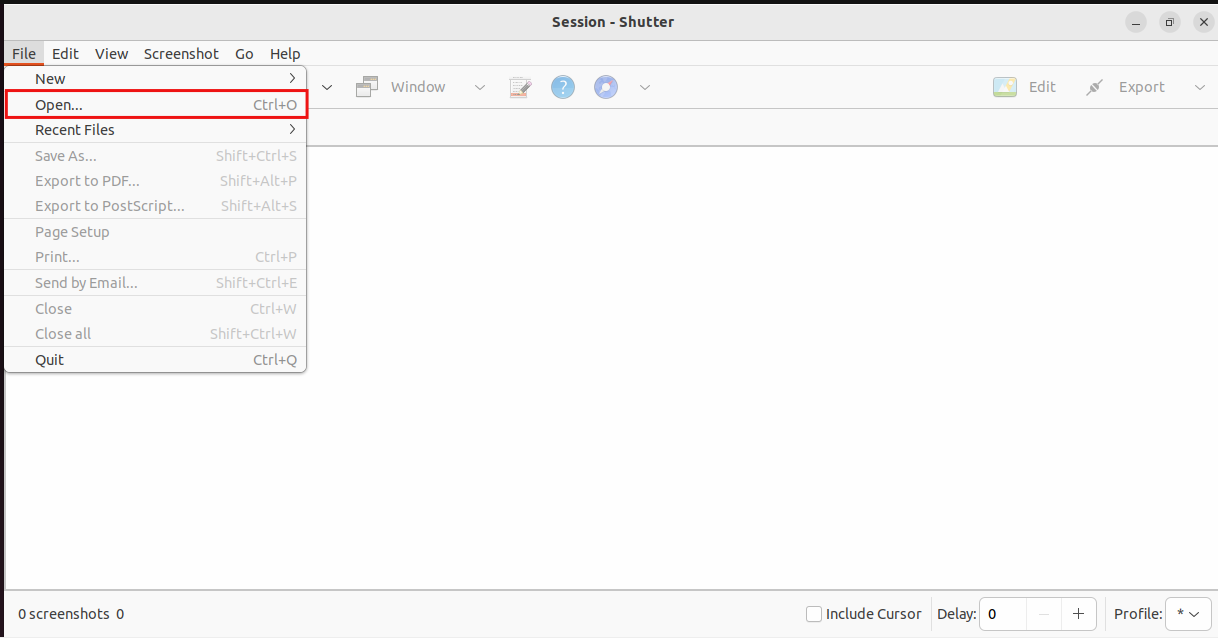
How to Edit the Screenshot Using the Shutter?
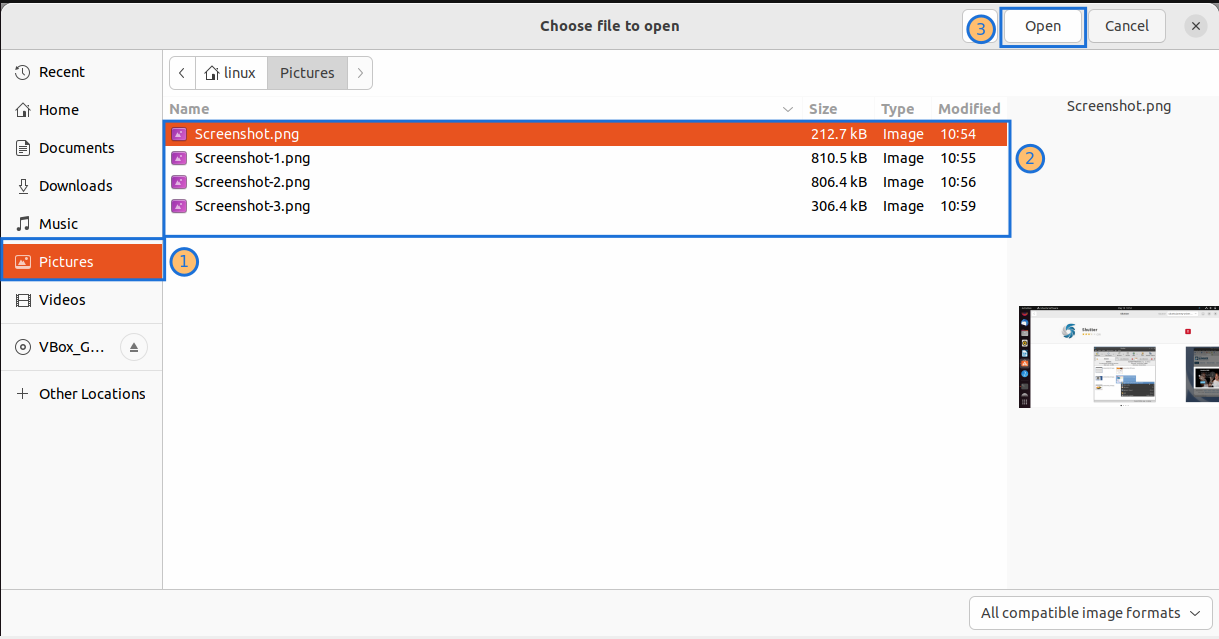
In this section, we will demonstrate to edit a screenshot captured with Shutter. Go to the File menu and click on Open to locate the particular image file. The example is given below for a better interpretation:
In the destination path, e.g. Pictures, Choose the image(s) and press the Open button as mentioned on the top right:
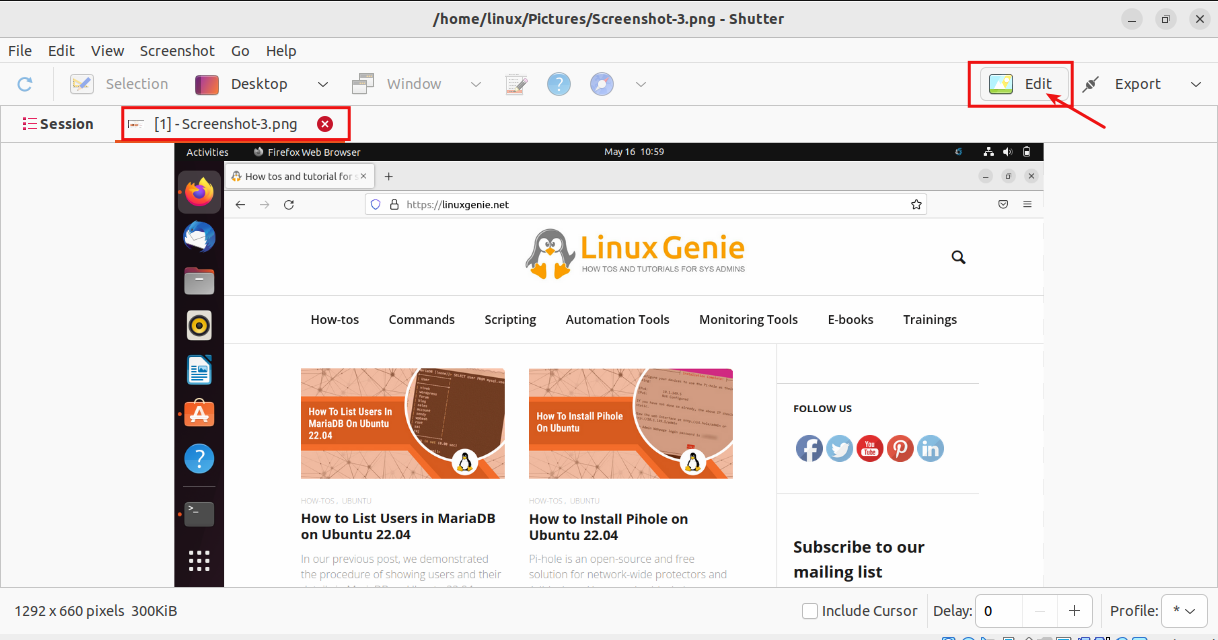
Once you have added your image(s), now you can edit by selecting the Edit button.
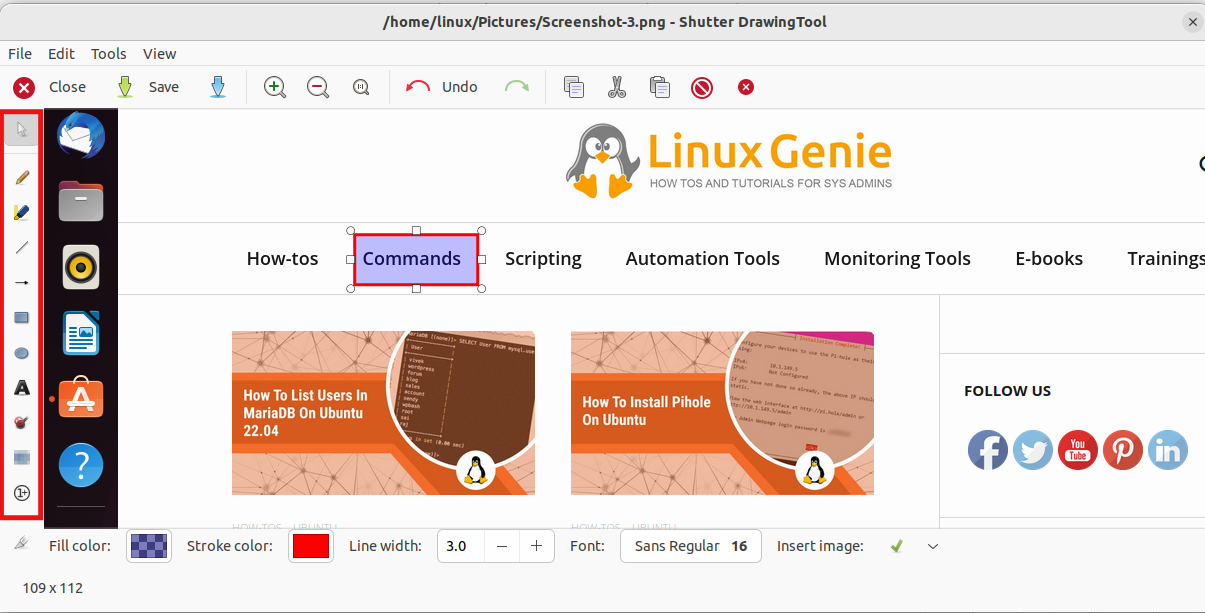
The tools (mentioned on the left side in the red bounding box) can be used to edit including the bounding box, labeling, cropping, and highlighting the selected part of the image. Click Save option (Ctrl + S) to store the modifications and changes:
How to Remove Shutter through CLI?
You can also uninstall Shutter Snipping Application from the Ubuntu. Uninstalling the Shutter package does not require any extra effort. You can run the command as written below to remove the package files:
sudo apt purge shutter -y |
|---|
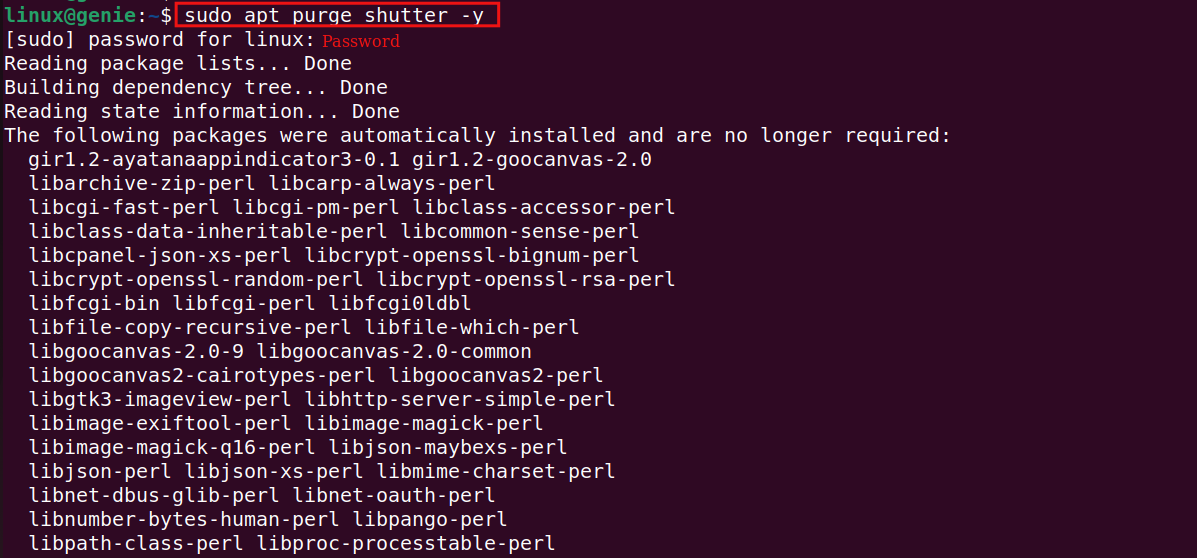
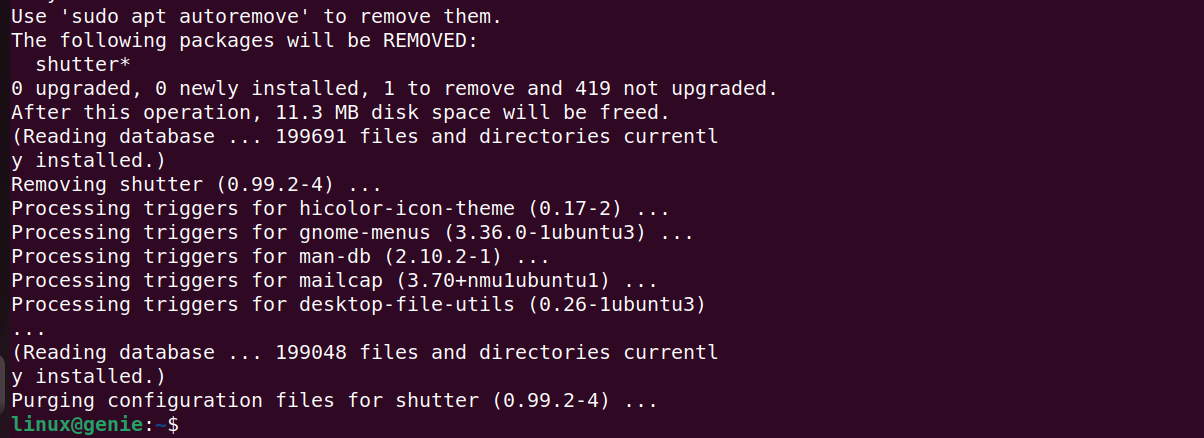
It can be seen in the output message that the Shutter is no longer available in your system.
Sometimes, a few dependencies and libraries are left in the cache, thus you can run the autoremove command to remove all the remaining files:
sudo apt autoremove shutter -y |
|---|
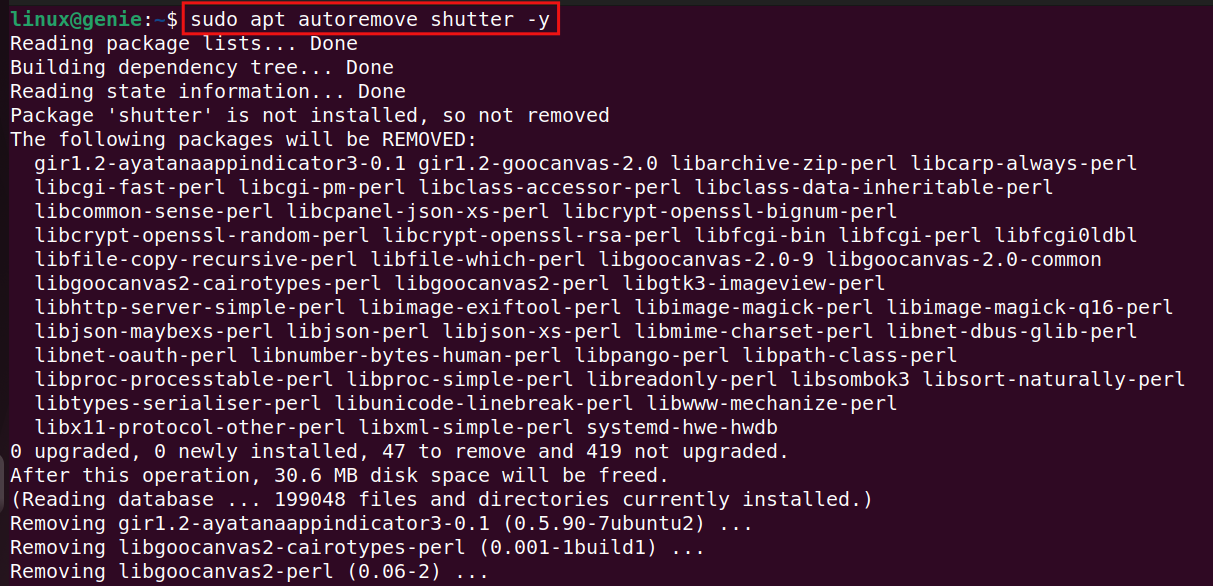
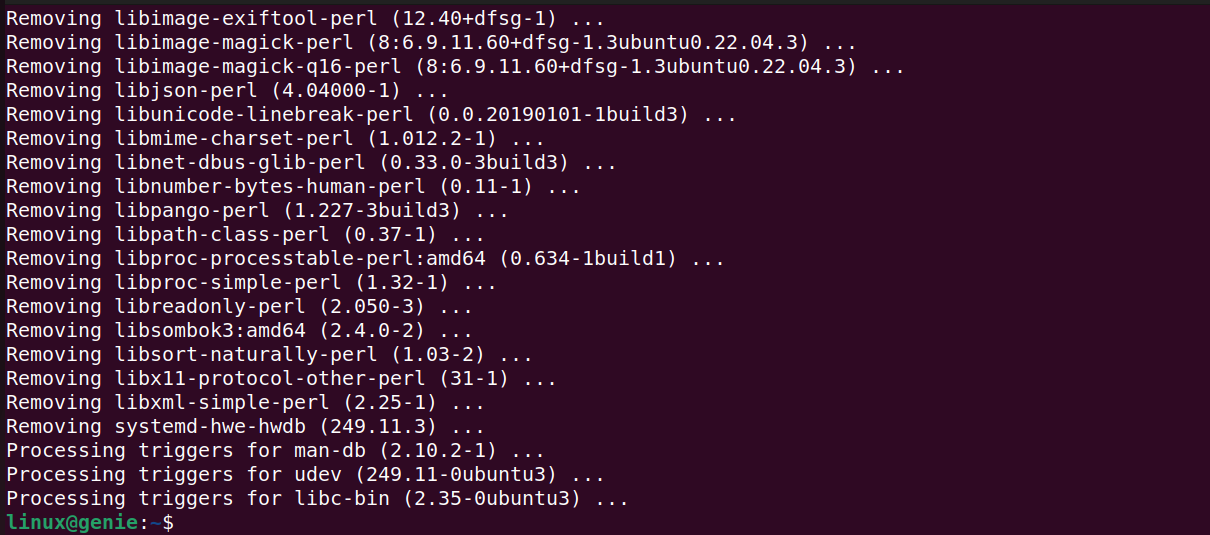
You can monitor all the package files and libraries being removed from your Ubuntu machine.
The command –version can verify whether your package is removed or still exist in your Ubuntu 22.04
shutter --version |
|---|

How to Remove Shutter through GUI?
If you are a GUI lover and want to remove the Shutter from your Ubuntu 22.04. Here is the simple method to delete your package. In Ubuntu Software, search a keyword such as Shutter, and you will see the Delete icon in red. Click on the Delete icon and finally click on Uninstall button as snapshot is provided below. After a few moments, the Shutter will be removed from your system.
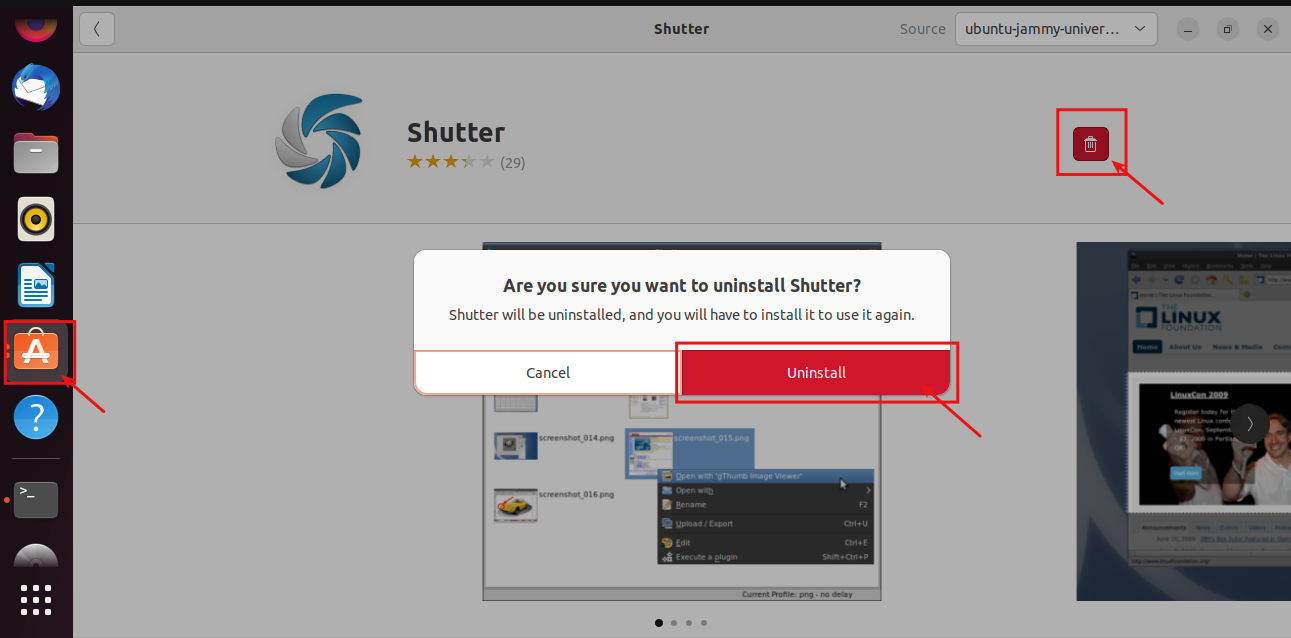
After a few moments, the Shutter will be removed from your system.
Conclusion
The Shutter can be installed either using the command-line “sudo apt install shutter -y” or using Ubuntu Software. With powerful snipping tools, Shutter is considered one of the best snipping software for Ubuntu users. In this post, we have illustrated the different methods of installation and uninstallation of Shutter.
