
How to Download and Install RealVNC on Arch Linux?
If you want to remotely access a Linux system, you can do that with a RealVNC viewer. It is one of the famous VNC clients. You can use RealVNC to access and manage any device, from anywhere, with customized and enforced security policies. RealVNC works using the VNC (Virtual Network Computing) remote desktop protocol. Using this protocol, it can connect to other devices where the VNC server is installed.
In this article, we will focus on how to install the RealVNC viewer and RealVNC server on Arch Linux-based systems.
Contents:
- How to Install RealVNC Viewer on Arch Linux-Based Systems?
- Installing RealVNC Using AUR Repository
- Installing RealVNC Using AUR Helpers (Yay)
- Install RealVNC AUR Packaged Using Pamac (GUI Method)
- Conclusion
How to Install RealVNC Viewer on Arch Linux-Based Systems?
While installing packages on Arch Linux systems, our first preference is to use the Pacman package manager. Unfortunately, RealVNC is not available in Pacman. However, you can download and install a RealVNC viewer from the Arch User Repository (AUR) by cloning it or directly using any AUR helper like Yay.
Let’s get our hands on all these ways of installing RealVNC on Arch Linux.
1. Installing RealVNC Using AUR Repository
To install RealVNC on Arch Linux, first update your system packages and clone the RealVNC repository from the AUR. Remember, you have to separately clone the repositories for both the RealVNC server and RealVNC client. If you only want to present your screen to someone else, there’s no need for a RealVNC viewer.
Installing Prerequisite for AUR Package Installation
First, open the terminal and update your Arch system packages:
sudo pacman -Syu
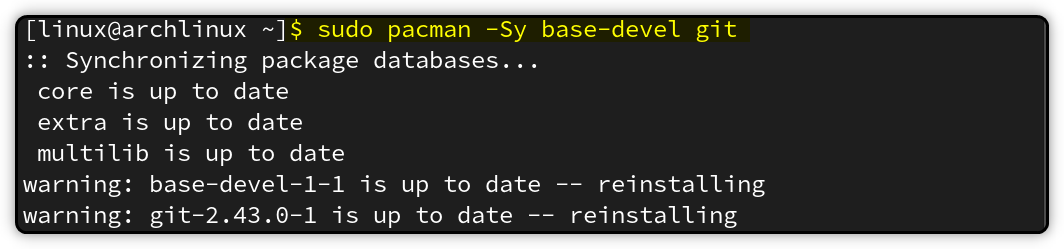
Next, install the necessary tools like base-devel and git for building the AUR package. If you have already installed these tools, you can skip this command:
sudo pacman -Sy base-devel git
Now we are done with the prerequisite installation, let’s proceed towards the RealVNC server and viewer installation.
Installing RealVNC Viewer Using AUR Repository
To connect to the RealVNC server, you will need to install the RealVNC viewer on another device. To install RealVNC viewer, start by cloning the realvnc-vnc-viewer repository from AUR:
First, get the clone URL from the AUR repository:
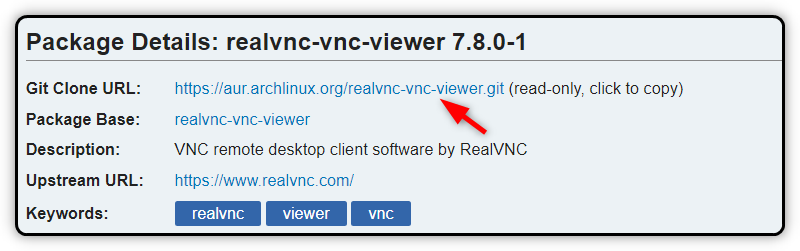
After that, clone the RealVNC viewer repository using the git clone command:
git clone https://aur.archlinux.org/realvnc-vnc-viewer.git
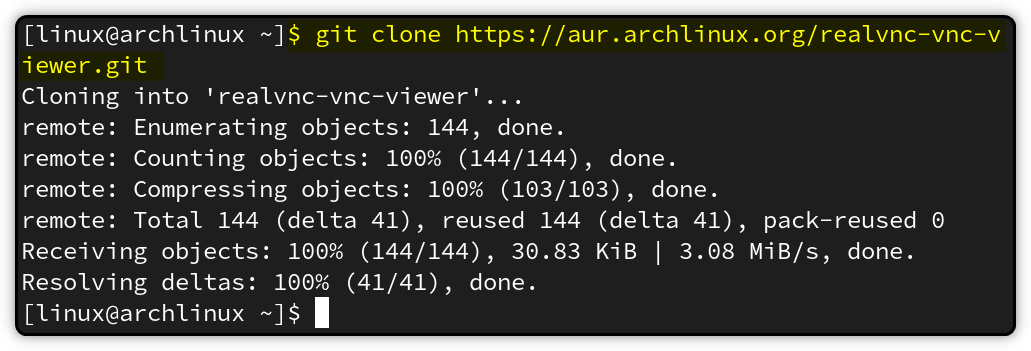
This command will download the source code and the PKGBUILD file for the realvnc-vnc-viewer package from AUR to a new directory named realvnc-vnc-viewer.
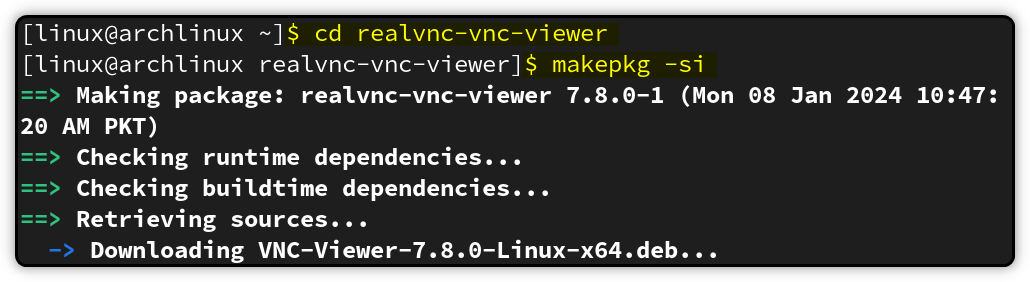
Change into the realvnc-vnc-viewer directory and build and install the package using the makepkg command:
cd realvnc-vnc-viewer

makepkg -si
The makepkg -si will build the package from the PKGBUILD file, and install any missing dependencies and the package itself.
After the RealVNC viewer is ready, open it through the application menu.

You can also directly open it from the console by running this command:
vncviewer

Installing RealVNC Server Using AUR Repository
To present your computer screen to someone else, you have to set up the RealVNC server. The RealVNC server installation steps are the same as RealVNC Viewer.
First copy the git clone URL for the RealVNC server:
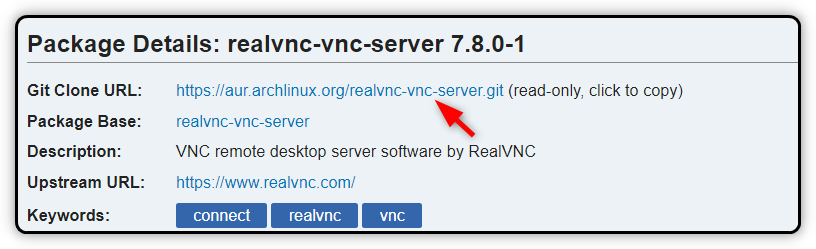
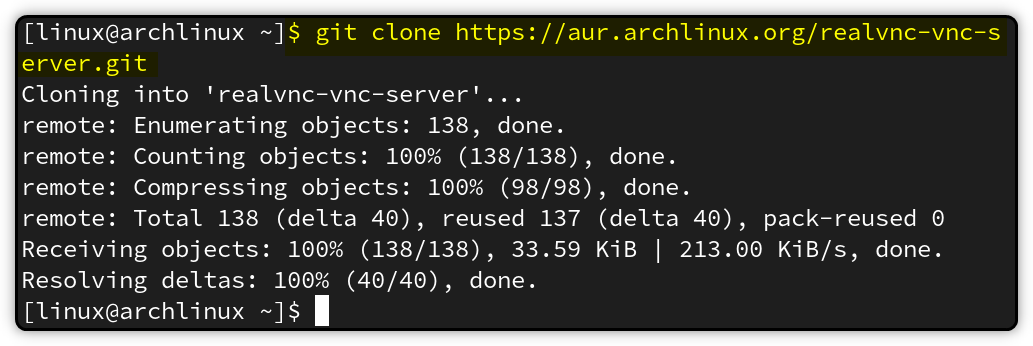
Now clone the RealVNC server from AUR:
git clone https://aur.archlinux.org/realvnc-vnc-server.git
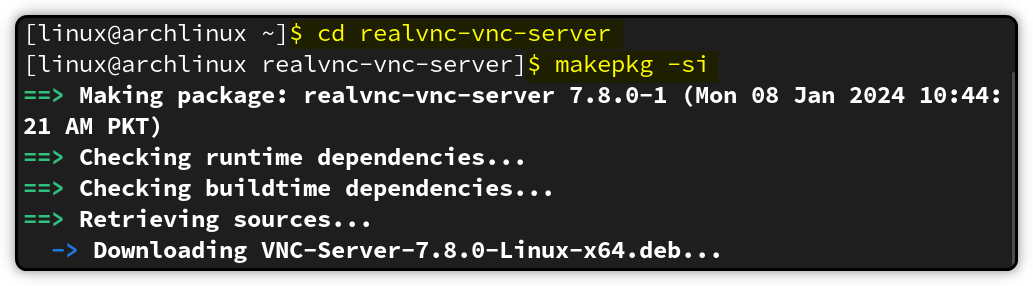
Navigate to the RealVNC server directory and build the package:
cd realvnc-vnc-server

makepkg -si
After installation, you can launch it from the application menu.

Or run the following command to start the RealVNC server:
vncserver

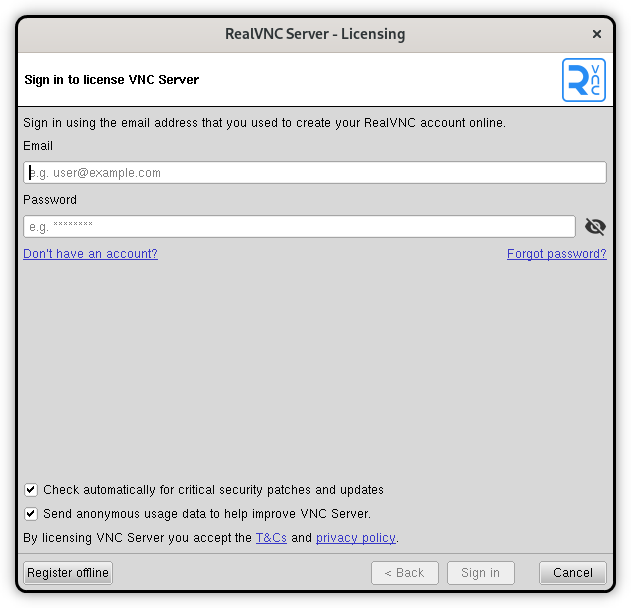
Here you will get different modes. Run the command of the respective mode in which you want to start your RealVNC server. Once started, you will see the following RealVNC server window.
Removing RealVNC Installed Using AUR Repository
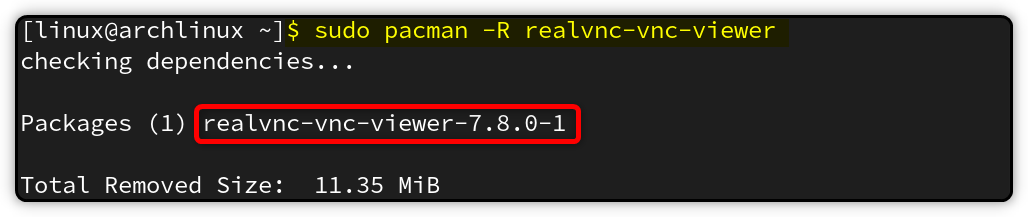
To remove the RealVNC viewer, you can use the Pacman package manager with the -R option:
sudo pacman -R realvnc-vnc-viewer
Similarly, to remove the RealVNC server run:
sudo pacman -R realvnc-vnc-server

2. Installing RealVNC Using AUR Helpers (Yay)
Downloading the AUR packages directly can be difficult, as it requires you to manually get the git clone URL and build the package later. There is an alternative way of installing AUR packages is using the AUR helpers. These AUR helpers make the installation task a lot easier.
Yay is one of the popular AUR helpers in Arch-based systems. But you won’t find it in the official Arch repositories. You have to get it from the AUR, which is a community-driven repository. Here are the steps to install Yay on Arch Linux using Pacman:
Before starting the Yay installation, first update your system:
sudo pacman -Syu
Next, you need to install some prerequisite packages:
sudo pacman -S --needed base-devel git
After that, proceed to clone the Yay git repo and switch to it:
git clone https://aur.archlinux.org/yay.git

cd yay
Finally, build the Yay AUR package:
makepkg -si
To verify the Yay installation, run the version command:
yay --version
Once installed, you can use Yay to install RealVNC directly from the AUR repository with just one command.
To install RealVNC viewer using Yay, run this command:
yay -S realvnc-vnc-viewer

Run the VNC viewer from the application menu or terminal:

Similarly, to install the RealVNC server using Yay, run this command:
yay -S realvnc-vnc-server

Launch the VNC server from the application menu or terminal:

Remove RealVNC Installed Using Yay
To remove both the RealVNC server and client installed using Yay, you can run this command:
sudo yay -R realvnc-vnc-server realvnc-vnc-viewer

This will uninstall both the VNC server and the VNC viewer applications from your system. To only remove one of these, simply remove the other one from the above command.
3. Install RealVNC AUR Packaged Using Pamac (GUI Method)
Till now, we have covered ways of installing RealVNC from the terminal. If you are a GUI kind of person or recently shifted from Windows, then you must try the Pamac for RealVNC installation.
Pamac is the GUI package manager for both the AUR and Appstream packages. It provides both GUI and CLI interfaces for package management.
To install Pamac GUI, run:
sudo pacman -S --needed base-devel git

git clone https://aur.archlinux.org/pamac-aur.git

cd pamac-aur

makepkg -si
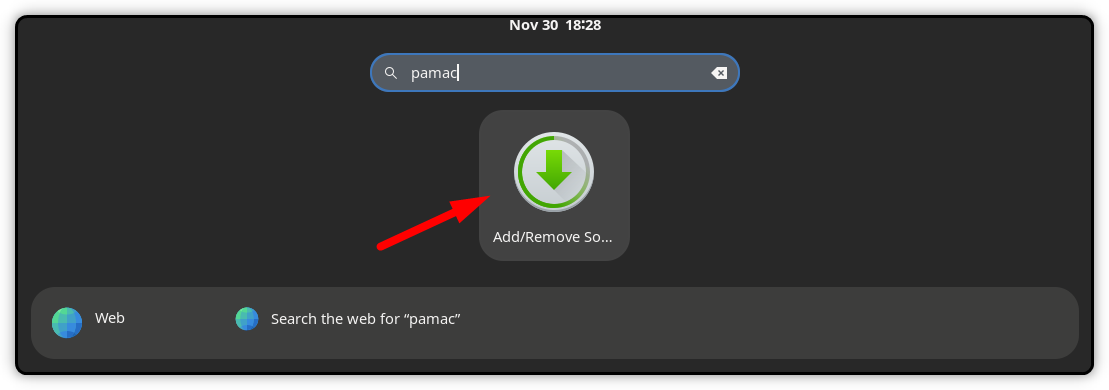
You can easily access Pamac GUI from your application’s menu. Just look for Add/Remove Software or type Pamac in the search and find it there.
Using Pamac you can manage both the Arch and AUR packages. To get new packages, check the Browse section.

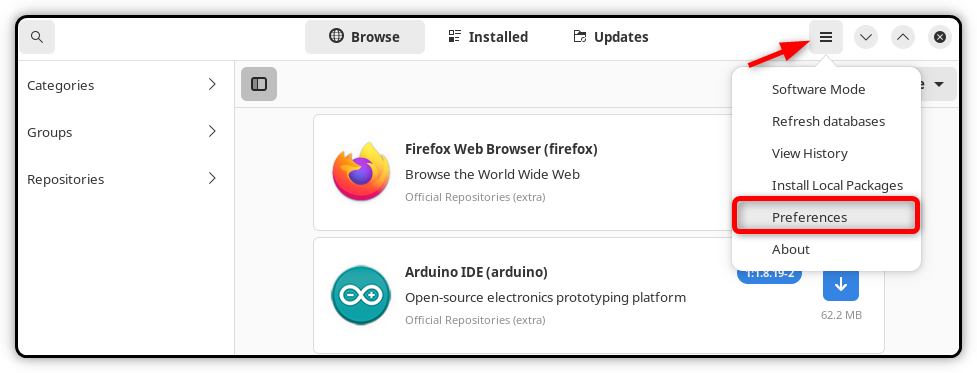
To install the RealVNC AUR package using Pamac, you must enable the AUR package support first. It is turned disabled by default. To enable it, open the Pamac and select the hamburger icon. Then choose Preferences.
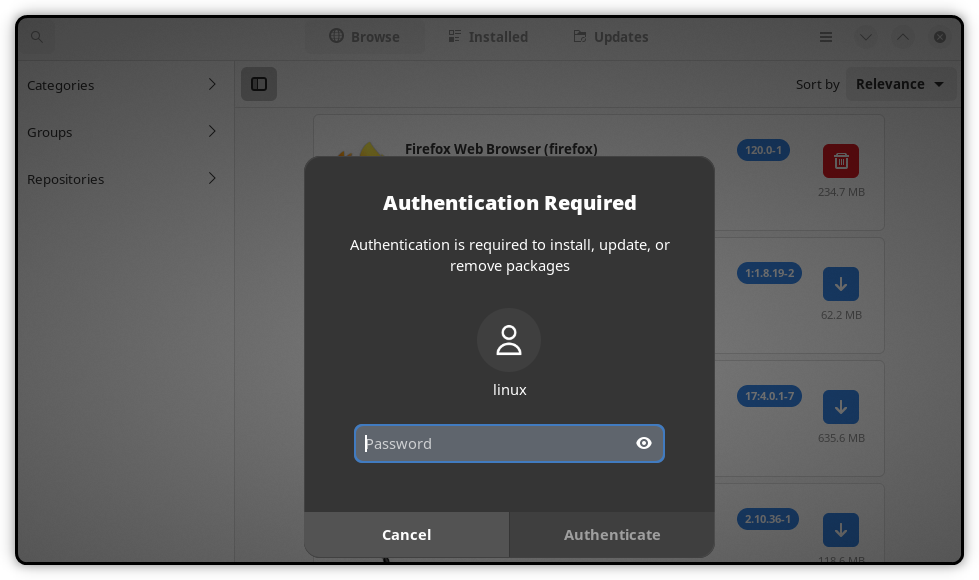
Enter the root password.
Here, you can enable the AUR package support inside the Third-Party tab.

The AUR support is now enabled inside Pamac. Now you can use the Pamac interface to find and install any package from the AUR easily.

To download the RealVNC AUR package, simply search RealVNC, and you will get both the Viewer and Server package details. Here, install the required one and directly launch it from the application menu or terminal.

Conclusion
RealVNC is a remote access software. It has two parts or packages, a VNC Server and a client called VNC Viewer. To install RealVNC on Arch Linux, you can use the AUR package of RealVNC. Unfortunately, the RealVNC is by default not available in the Arch Linux official repository.
The RealVNC AUR package can be installed using two different ways. You can either directly clone it from git or use any AUR helpers like Yay. The AUR helper is a more easy way of getting the AUR package on your system. Alternatively, you can also try the GUI-based Pamac package manager tool. Using this tool, you can download and manage the RealVNC AUR package just like a normal software manager.
