
How to Change Time Zone on Ubuntu
Using the correct time zone on your computer is essential for many tasks and related processes. For instance, system logs capture events with the system time. Similarly, the cron daemon employs the system time for executing cron jobs, and the timestamp captured in the log files is also based on the time zone set in the same system.
Though Ubuntu prompts the users to set up the time zone during the installation process, you can easily change it at a later date. In this guide, I will walk you through the methods you can use to change the time zone any time after the installation.
Pre-requisites
Before we get started, we need to make sure that our user account has sudo privileges. Otherwise, we won’t be able to change the time zone on our computer.
Method 1 – Through the GUI
If you have installed Ubuntu Desktop on your computer, you can view and change the time zone through the GUI.
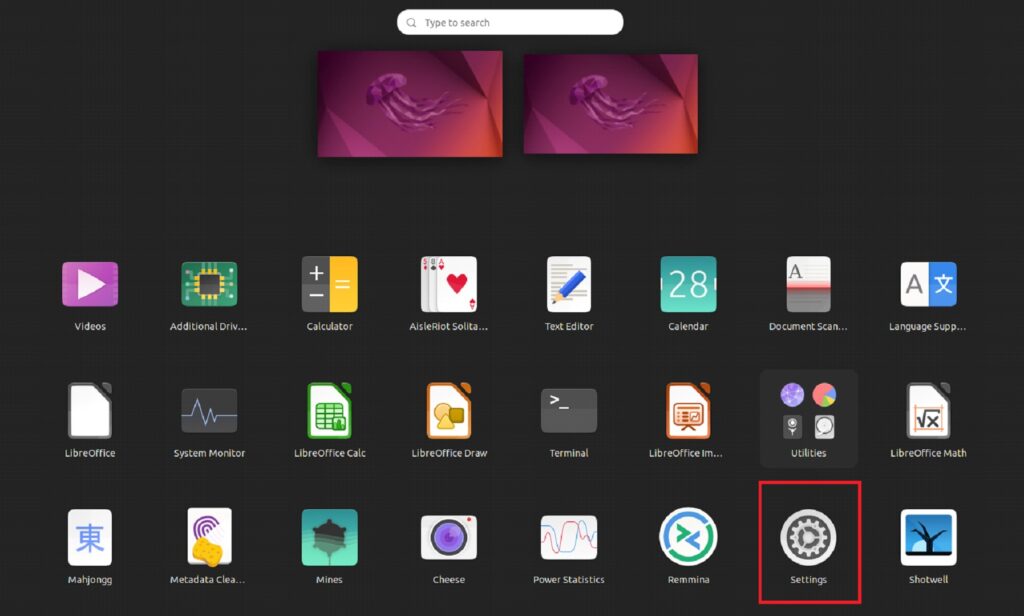
To start, you need to access system settings by going into the applications and clicking on the “Settings” icon.
From the options in the left pane, scroll down and select “Date & Time”. This will pull up the relevant options in the right pane.
If you have an active internet connection with your computer, you can select the toggle in front of “Automatic Date & Time” for Ubuntu to automatically set your time zone according to your location.

If you don’t want that, you can leave the toggle off and click on the time zone section to select a new one for your computer.
Method 2 – Through the terminal
If you want to practice your hand at the terminal and change the time zone through there, you need the “timedatectl” command. This method also comes in handy when you don’t have Ubuntu Desktop installed, but any other terminal-based variant.
Viewing the current time zone
In your terminal, run this:
$timedatectl
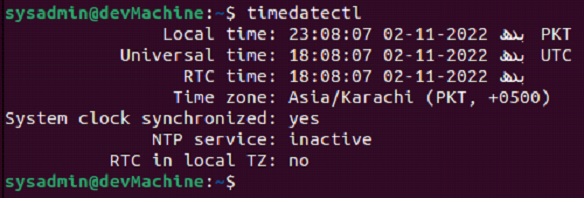
From the output, you can see your currently selected time zone. Similarly, the data related to your time zone selection is also written to the “localtime” file located at “/etc/localtime”. All you need to do to access it is run:
$ls -l /etc/localtime
You can use the cat command to limit this out to just the time zone, like:
$cat /etc/timezone

Setting the time zone
Before we set the time zone, we need to get the list of all the available time zones and select the one we desire. To get the list, you need to run:
$timedatectl list-timezones
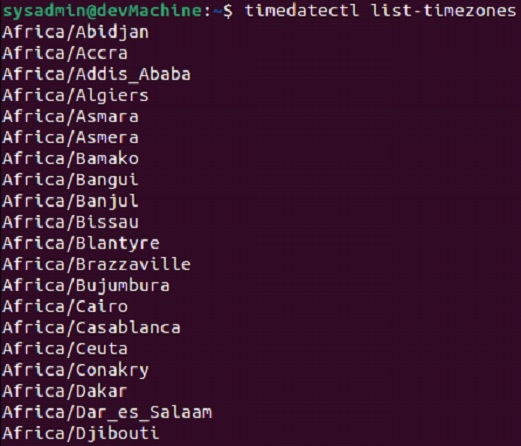
When this executes, you will get a list of all the regions with city names. You can use the up and down keys to scroll through the list. When you’ve found your desired time zone, you can press “q” to exit the list. Now to update your time zone, you will need to run the following:
$sudo timedatectl set-timezone [Region/City]
In this command, you will need to replace the [Region/City] with the one of your choice. So, let’s say we want to change it to “Africa/Dakar”, we will run:
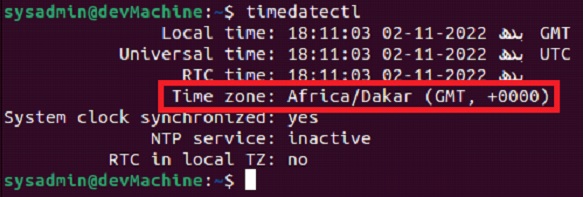
$ sudo timedatectl set-timezone Africa/Dakar

Note that this command will not take much time to complete the specified operation. As soon as you get your prompt back in the terminal you can run “timedatectl” again to see your specified changes implemented.
Conclusion
Changing the time zone in Ubuntu is a fairly straightforward yet significant process. If you are a system admin, this command comes into the picture in a lot of scenarios.
I hope that I was able to guide you through the whole process without any issues. If you do run into any issues, feel free to engage us through the comments below and we will be glad to help you out.
