
How to Install GCC on Ubuntu 22.04
The GNU Compiler Collection, also known as GCC, is a set of development tools and compilers available for a wide variety of operating systems including Linux and Windows. It primarily supports C as well as C++, along with Go, D, Fortran, Ada and Objective-C. It was written by the FSF (Free Software Foundation) and has been released as a free tool for everyone.
For Ubuntu, the GCC compiler is included in the build-essentials package. Along with the compiler, it features the GNU debugger and the G++ compiler collection, amongst other libraries and tools required for the compilation of programs.
For updates and the latest version of GCC compiler, visit their official site.
In this guide, we will explore how can you install the GCC compiler in Ubuntu 22.04. You can try them on Debian as well. Let’s begin.
Step 1 – Update the repositories
As with the installation of any other tool, it’s always better to update your system repositories and avoid any conflict during the installation process. Let’s run the following to make sure that our packages and repositories are up-to-date:
$sudo apt update && sudo apt upgrade -y
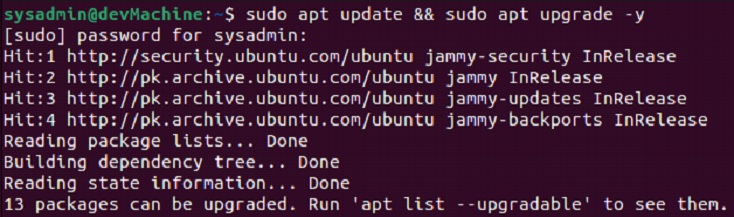
If you keep on refreshing your repositories, this whole process will not take much time. After it completes, you will see your terminal prompt returned to you and you will be ready to proceed to the next step.
Step 2 – Installing GCC
This is a fairly straightforward step. As we discussed that GCC is a part of the build-essentials package, we need to run the following to kick off the installation process:
$sudo apt install build-essential -y
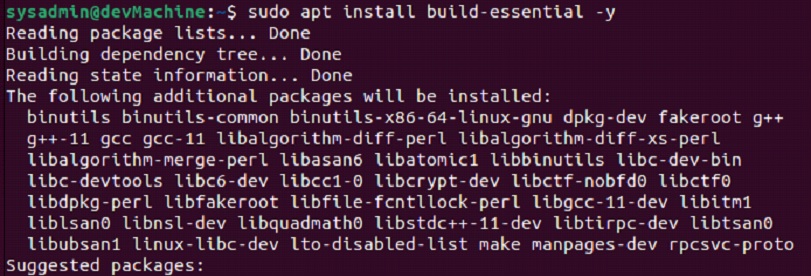
The size of the build-essential package is quite small, i.e., 186 MBs. The installation will not take much time to complete. As soon as you get the prompt back, it means that the installation has been completed and you are ready to start developing programs using
Step 3 – Verifying the GCC Installation
Though once the installation completes, if you didn’t get any errors in your terminal, you can rest assured that the installation has been successful. If you still want to make sure of it, then you can verify the GCC installation on your computer using:
$gcc --version

With this output, you will know that the installation has been completed and what version has been installed.
Optional Step – Installing GCC manpages
Before we get started with the development, let’s install the manual pages for GCC which contain detailed documentation on the usage of its libraries and tools. We can install it using:
$sudo apt install manpages-dev -y
When the installation is complete, you can pull up the manual by:
$man man
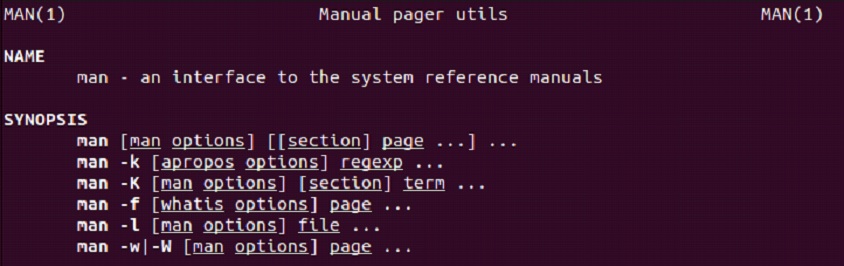
It comes loaded with information on all the features of GCC and will equip you with all the required knowledge to become the best at it.
Step 4 – Creating a C++ program
Now that the setup has been completed, let’s create a basic C++ program to make sure that everything is working fine. Let’s create a text file and type in some basic code for compilation with GCC.
For this example, I will be creating a code file titled “firstProgram” with a “.c” extension. In the file, let’s write the following code:
#include <stdio.h>

int main ()

{
printf(“Hello World\n”);
return 0;

}
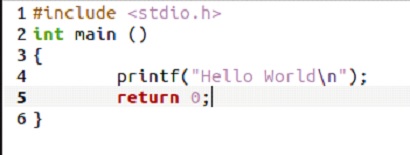
Let me break it down for you:
- We are opening up our file by including the “stdio.h” header file, which contains essential functions for C/C++ programs.
- Then we are creating our main function, which will contain our executable code.
- Within the main function, we are just displaying a phrase on our terminal “Hello World”
- With the “\n” string we are specifying a new line in the output.
- Lastly, we are completing the code executing by the “return 0” statement. This shows that the code has been successfully executed.
Step 5 – Compiling and executing our program
After you’ve written the code, save the file and exit from it. You will see the icon of the file change as such:
Go back into your terminal and type in the following to compile your code into an executable.
$gcc -o firstProgram firstProgram.c
When you run this, you will see a new firstProgram file created in your directory. It means that your code has been successfully compiled and this new file is executable.
Now all you need to do to run it is:
$./firstProgram

With this, we have successfully installed and utilized the GCC compiler to create a C/C++ program.
Step 6 – Uninstalling GCC
Now if for any reason you want to remove GCC from your computer, the process is straightforward. You can use the “autoremove” command to remove any dependencies installed at the start.
$sudo apt autoremove build-essential -y
With this, you will reclaim all of the consumed disk space and will have removed GCC from your computer.
Conclusion
In this guide, we took an elaborated look at the step-by-step instructions on how to install GCC in Ubuntu 22.04. All of these commands are applicable on every Ubuntu version, as well as on Debian distributions.
As always, if you faced any issues during the installation, feel free to engage us through the comments below and we’ll gladly help you out. Let us know your thoughts and comment as well. Cheers.
