
How to Install MySQL on Ubuntu 22.04?
MySQL is an open-source and popular RDBMS (Relational Database Management System) used for handling large amounts of data. The foundation of MySQL is the Structured Query Language (SQL), a common language for managing relational databases. It allows for the creation of databases and tables. In addition, users can easily manage all data stored in them, as well as perform various other tasks such as data retrieval, data manipulation, and data management.
We’ll walk through in this tutorial the steps for installing MySQL on Ubuntu 22.04.
Installing MySQL on Ubuntu 22.04
Follow the below steps to install MySQL on Ubuntu 22.04 system:
Step 1: Update the system
It’s a good practice to upgrade the system to the most recent version before we start the installation process of MySQL on a Linux system. therefore, run the following commands in the terminal to do this:
$ sudo apt update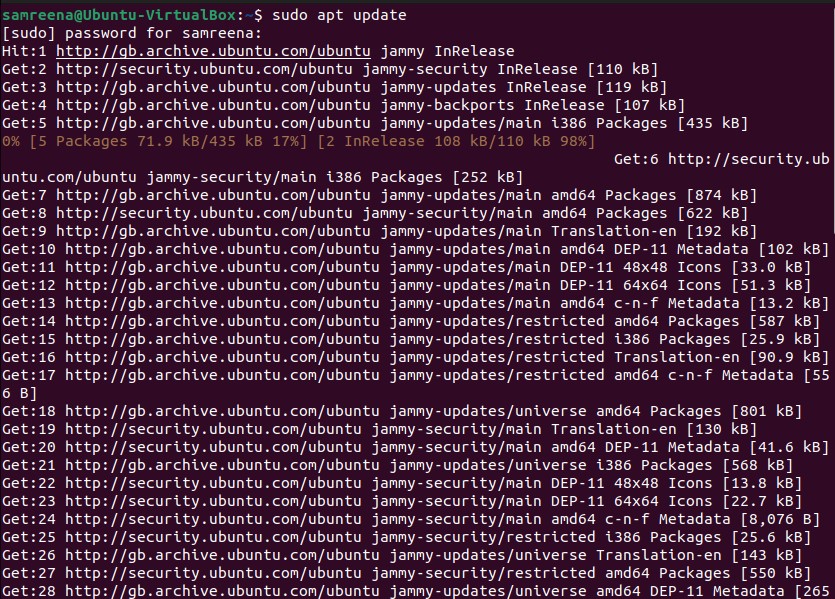
$ sudo apt upgradeAfter executing the above commands, your system is now ready to start the installation of MySQL.
Step 2: Install MySQL on Ubuntu 22.04
The MySQL server package is available for installation in the default Ubuntu 22.04 `apt` repository. So, you may directly install MySQL from there. Type the following command in the terminal to install MySQL on Ubuntu 22.04:
$ sudo apt install mysql-server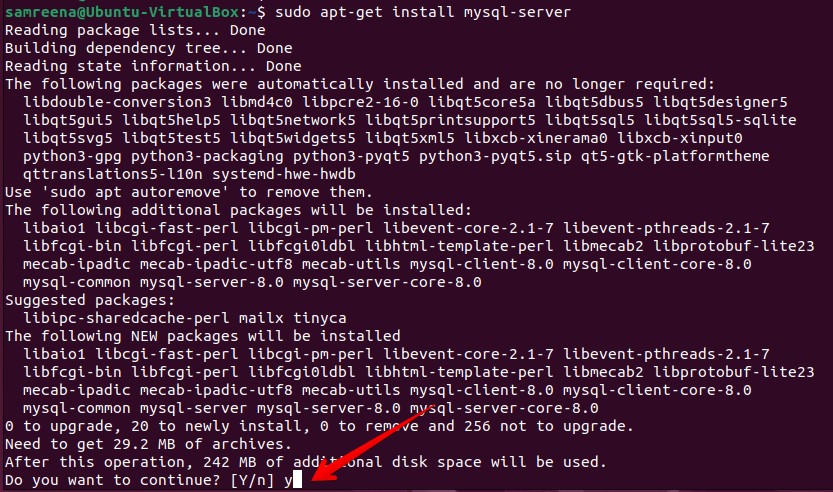
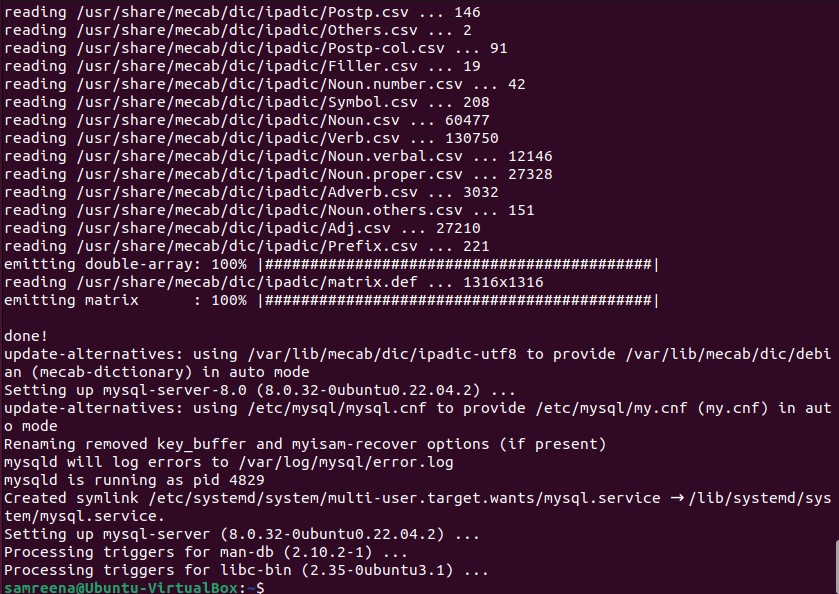
The above installation process will take time to complete on your system properly. Once MySQL is installed, you will see the following output:
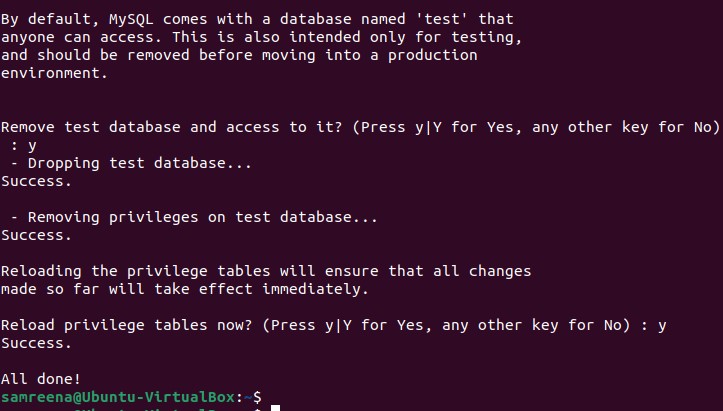
Step 3: Secure the MySQL Server Installation
Once the installation is completed, type the below command to secure the MySQL installation:
$ sudo mysql_secure_installation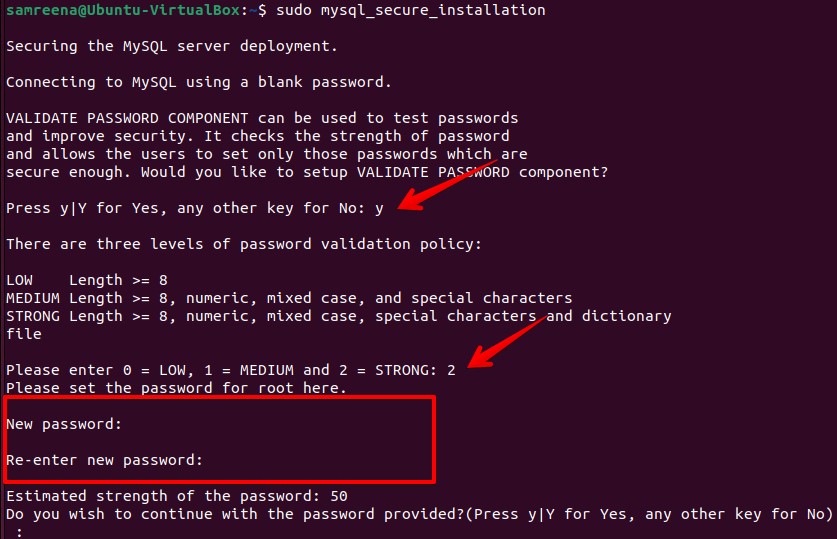
This will prompt you to set a root password for the MySQL installation, remove anonymous users, disallow remote root logins, and remove the test database.
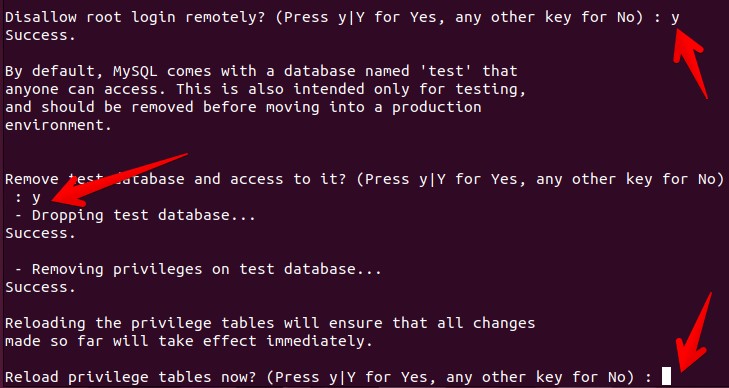
Follow the prompts to complete the MySQL secure configuration process.
Step 4: Start the MySQL service
It’s time to verify the MySQL service is active and properly running on your Ubuntu 22.02 system. You may start the MySQL service if it is not already running by using the following command in the terminal:
$ sudo systemctl start mysqlThe MySQL service should start automatically when the system starts. To enable MySQL service on your system, use the below command:
$ sudo systemctl enable mysqlNow, verify the MySQL service running status using the following command:
$ sudo systemctl status mysql.serviceAs we can see from the above output, MySQL service is active and running on this system.

Step 5: Verify the installation
Now, log in to MySQL as root and verify the installation using the following command:
$ mysql -u root -p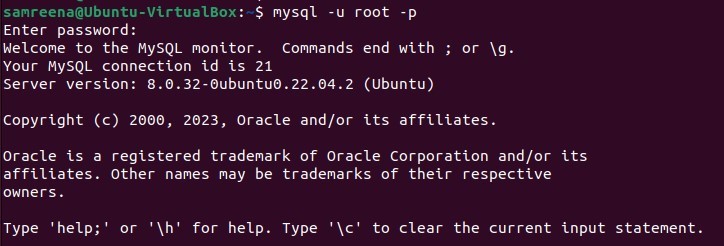
Enter the root password you set during the security setup, and if the installation was successful, you should see the MySQL prompt. Now, type the below command to change the user configuration and set as authentication to ‘mysql_native_password’ and also change the password.
mysql > ALTER USER 'root'@'localhost' IDENTIFIED WITH mysql_native_password BY 'Password@123';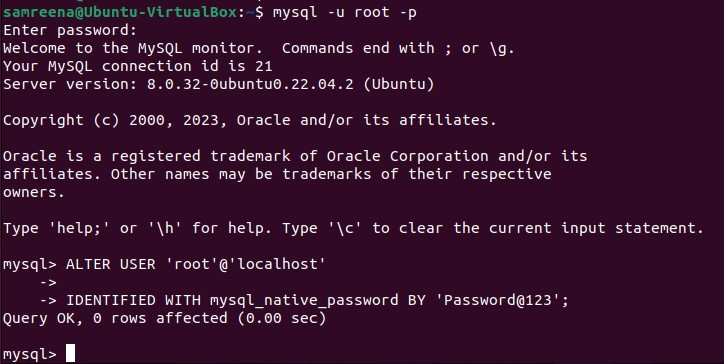
Conclusion
With these simple steps, you have successfully installed MySQL on Ubuntu 22.04. Now you can start managing and storing your data with ease. If you encounter any issues during the installation process, don’t hesitate to consult the MySQL documentation or reach out to the community for support.
