How to Install Node js on CentOS 8
Node.js is a cross-platform runtime environment for JavaScript that enables us to run JavaScript code outside of a web browser. It is an open-source library that allows developers to use JavaScript on the server side to develop scalable, fast and efficient applications. Node.js offers an event-driven framework and non-blocking I/O API that makes it a perfect choice for creating run-time apps such as online games, chat applications and streaming services. You can install Node.js on all major Linux distributions as well as on the Windows operating system.
This guide will walk you through installing Node.js on a CentOS 8 machine.
Method 1: Install Node.js on CentOS 8 Using CentOS AppStream Repository
The easiest way to install Node.js on CentOS is from the official AppStream package repository. The Node.js package is available for installation in the CentOS 8 package repository. So, you can install it on your system using the yum or dnf package manager by executing the below steps:
Step 1: First, update the system packages repository cache by using this command:
$ sudo dnf makecacheStep 2: List all Node.js versions included in the official CentOS 8 AppStream repository using the following command:
$ sudo dnf module list nodejs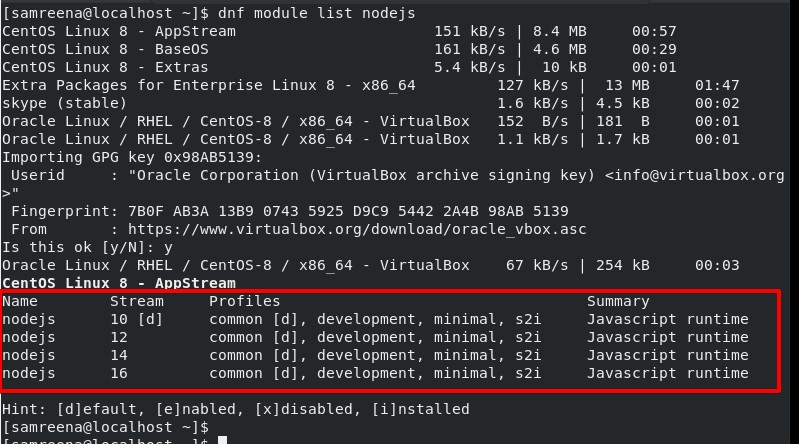
In the following output, you can see the Node.js version set as default. You can install any version from a list. Before the installation, enable it first on your system. For example, we want to enable Node.js 16 on this system then, enable it using the following command:
$ sudo dnf module enable nodejs:16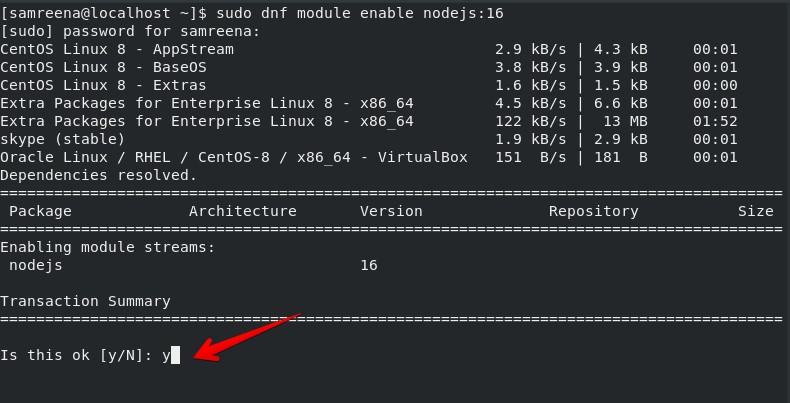
Step 3: After enabling the Node.js version, you can install it on your system using this command:
$sudo dnf install -y nodejs
Step 4: Once the installation is completed, verify the Node.js installation using the below command:
$ node --versionThe installed version should display on the terminal.

Method 2: Install Node.js on CentOS 8 using NVM (Node Version Manager)
Another simple method of installing Node.js on CentOS 8 is using the NVM. The Node version manager (NVM), a bash script that enables you to install, remove, and manage multiple Node.js versions on the system.
Step 1: You can use the `curl` or `Wget` command to download the most recent version of the installation script to install or update NVM on a CentOS 8 machine.
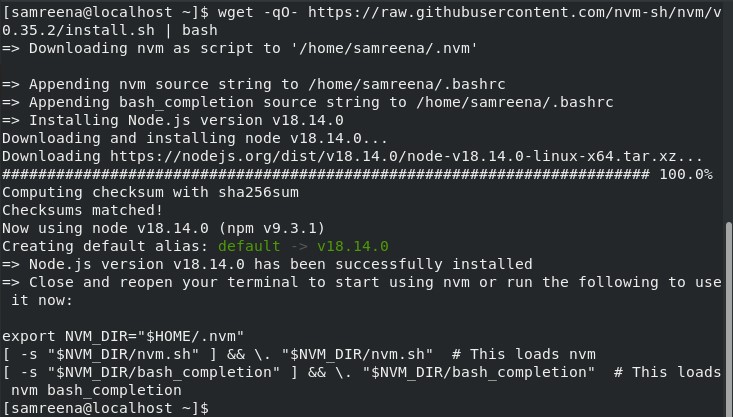
$ wget -qO- https://raw.githubusercontent.com/nvm-sh/nvm/v0.35.2/install.sh | bashThe above installation script will install `nvm` to your user account.
Step 2: To use the installation script, you need to first source your .bash_profile.
$ source ~/.bash_profileStep 3: You can display the list of all node.js versions on the terminal, use the below command:
$ nvm list-remote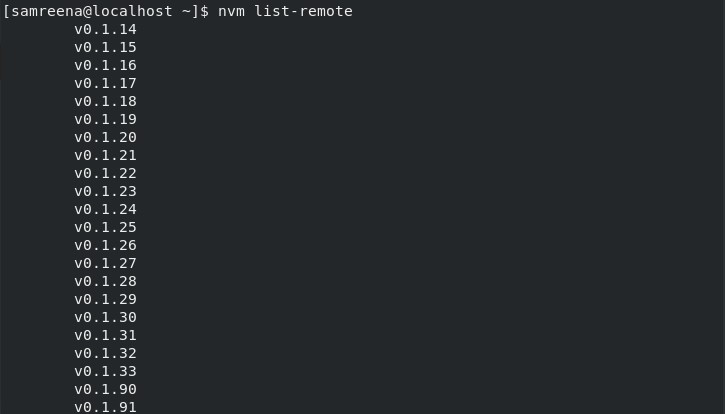
Step 4: Now, you can install any specific node.js version on your system. Just type the release that you want to install. For example, to install the node.js v18.14.0, use the following command:
$ nvm install 18.14.0
Step 5: Once the installation of Node.js completes, you can display the list the of different node versions you have installed by using this command:
# nvm ls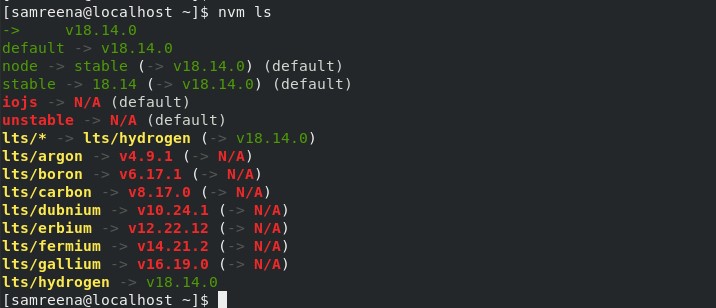
Step 6: Verify the node.js installation using the following command:
$ node --version
Conclusion
We have covered two methods for installing Node.js on your CentOS 8 system in this post. Please ask for assistance in the comment box below if you are having any installation issues.
