
How to Install Wireshark on Ubuntu 22.04
Wireshark is a network packet analyzer used by administrators (network/system) to capture packets/data of a specific network interface. Wireshark is supported on UNIX-like operating systems and Windows. Wireshark supports the most used network protocols TCP, DHCP, DNS, UDP, IP, FTP, ARP, etc. The applications using any of these protocols can be analyzed (network-related analysis) using Wireshark. Wireshark also helps in troubleshooting the network problem based on the information fetched from the captured packets.
Keeping the importance in view, this post addresses the possible methods to install Wireshark on Ubuntu 22.04. Moreover, the working mechanism, and how it captures data, are also described.
How to Install Wireshark on Ubuntu 22.04?
Ubuntu 22.04 supports Wireshark’s installation from various mediums, i.e., the default repository (CLI and GUI) and the PPA method. Let’s start with the recommended method:
Method 1: How to Install Wireshark on Ubuntu 22.04 Using the Default Repository?
Wireshark is available on one of the default repositories of Ubuntu 22.04, i.e., ubuntu-jammy-universe. Thus, Wireshark can be installed on Ubuntu 22.04 using the Terminal and the GUI support.
Method 1.1: CLI (Terminal) Based Installation
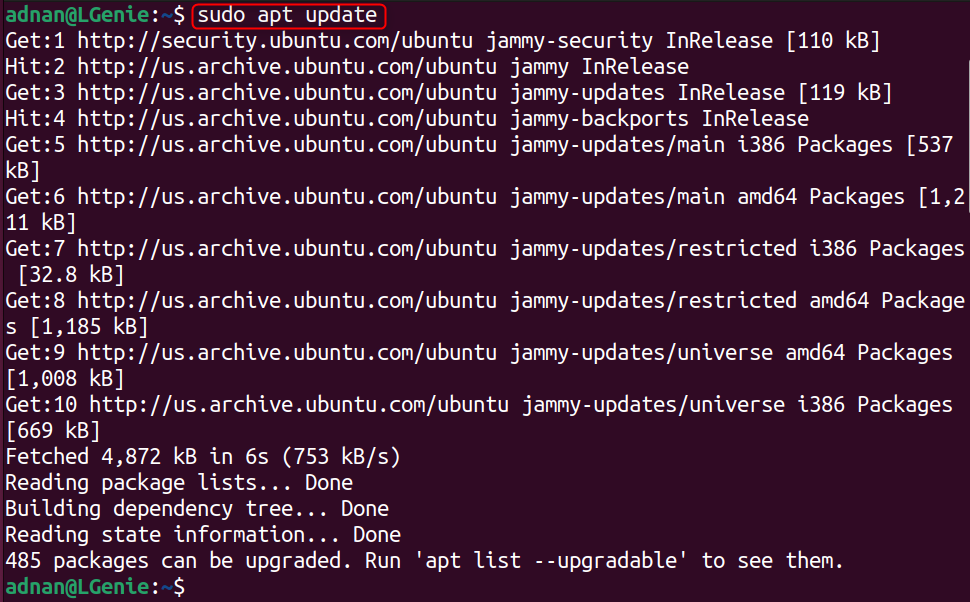
Terminal is a quick way to access and install any package from the default repositories of Ubuntu. First, update the packages list using the command:
$ sudo apt update
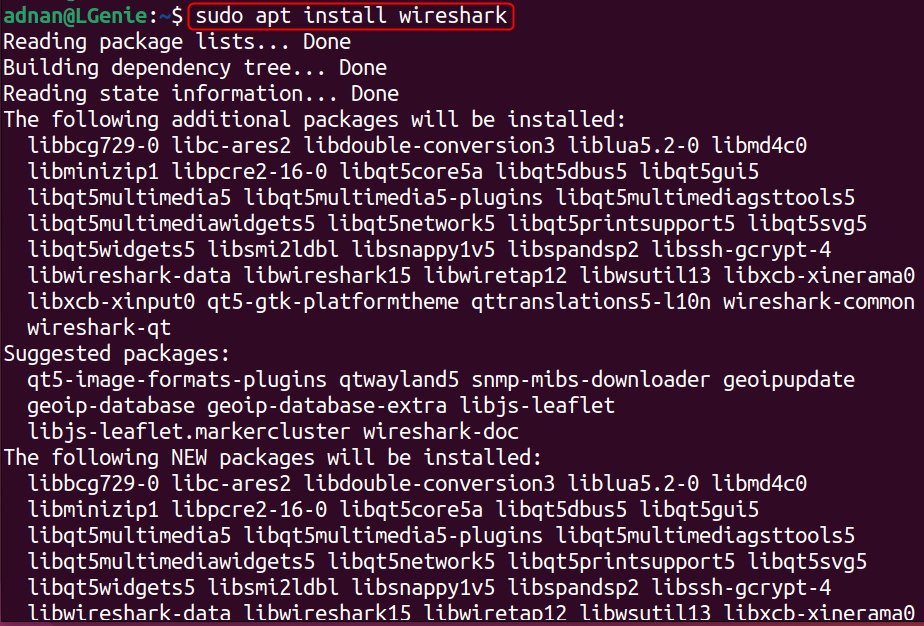
The package name is “wireshark” and can be installed using the following command:
$ sudo apt install wireshark
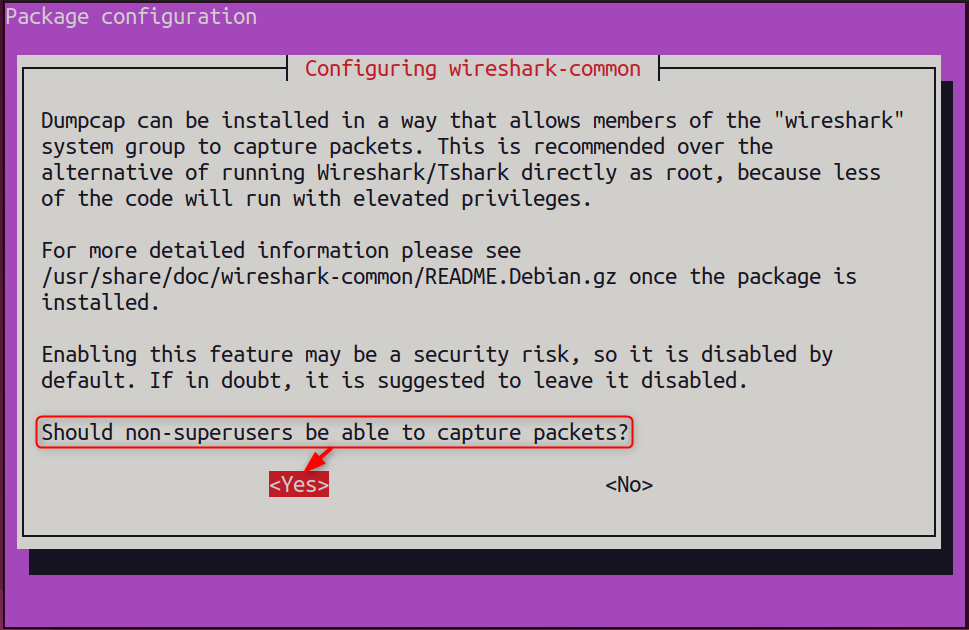
In between the installation, a prompt appears with two options, i.e., “Yes” or “No”:
- “Yes”: All the users (including root and non-root) have access to capture the packets (unsafe in large/secure networks).
- “No”: The users have to use sudo or must have the root privileges to capture packets.
When the installation is completed. Launch it from the terminal, using the command:
$ wireshark
Note: At the moment, the currently logged-in user won’t be allowed to capture packets.
As you have chosen that a non-root user is also allowed to capture packets, then you must add the user to the wireshark group. The user who would be allowed to capture the packets:
$ sudo usermod -aG wireshark $USER

Note: If there are any dependencies/configurations-related errors, use the following command to reconfigure the wireshark package (which lets you choose again the root/non-root users access):
$ sudo dpkg-reconfigure wireshark-common
Method 1.2: GUI (Ubuntu Software Center) Based Installation
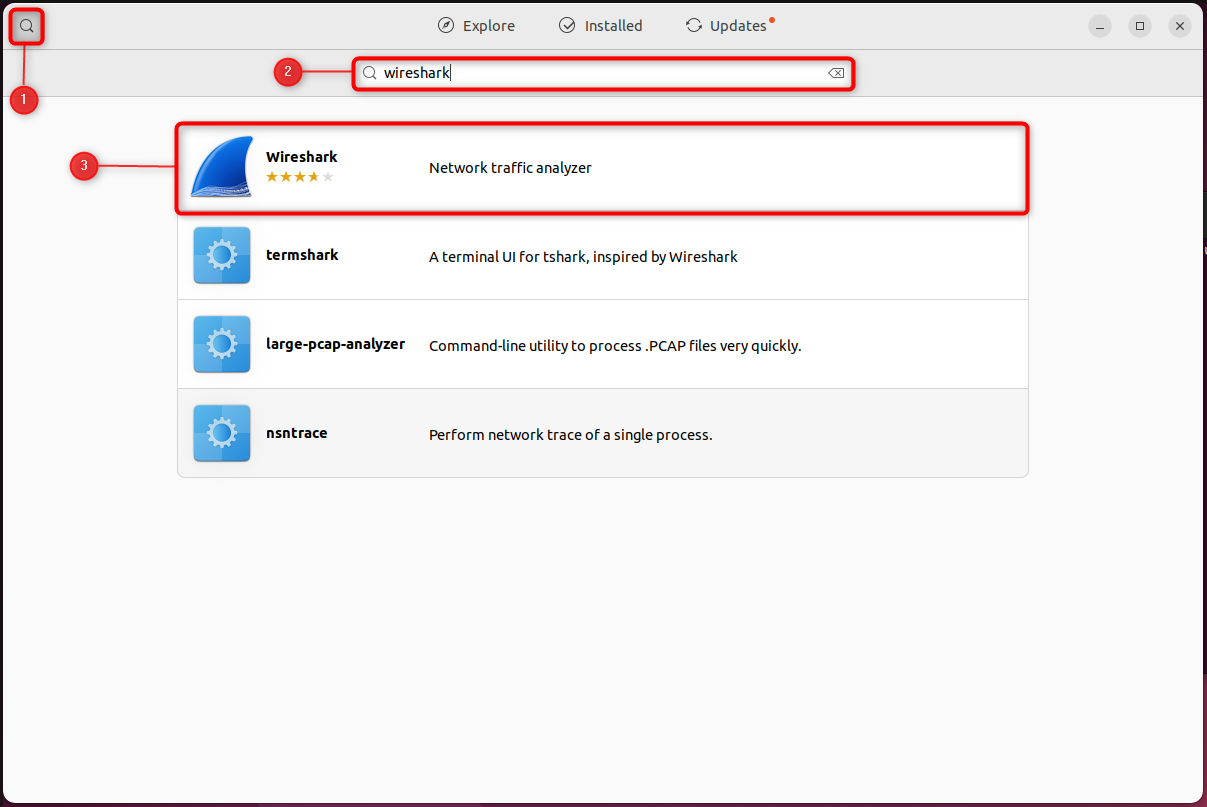
The wireshark installation package is available on the Ubuntu Software Centre and can be installed via the steps described below.
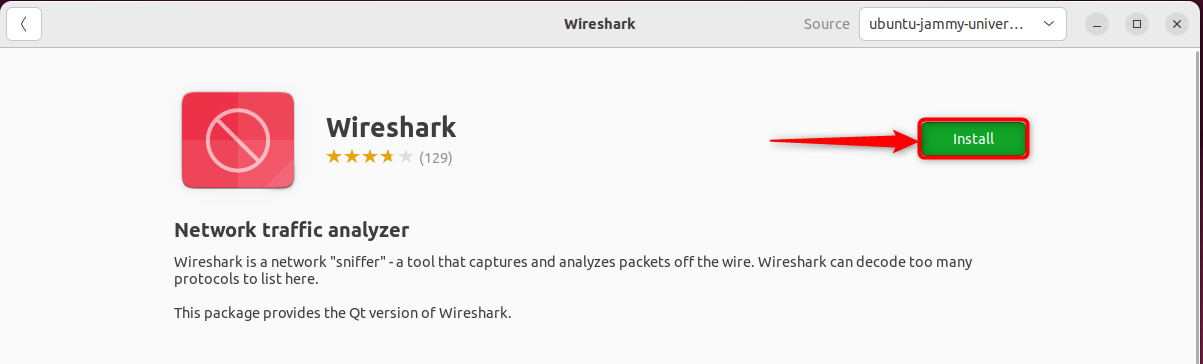
Search for the Wireshark inside the Ubuntu Software Center and choose the relevant Wireshark package:
Click on the “Install” button to start the installation:
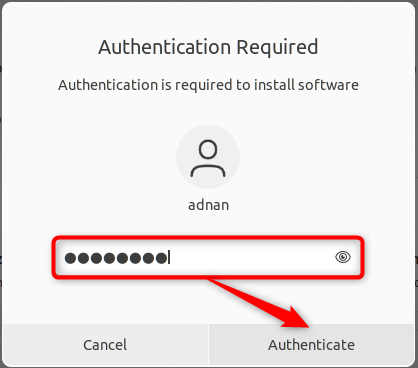
Enter the user password to start the installation:
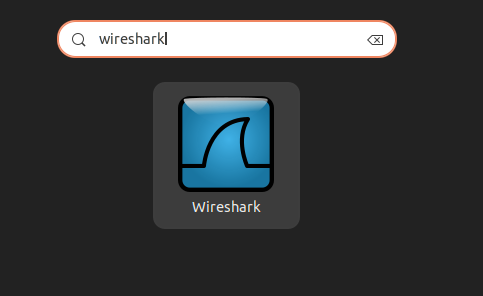
After the successful installation. Search it inside the applications and click on it to launch:
At first, the following error appears which says that Wireshark allows only root users to capture packets. Here’s how you can add the current user to the Wireshark’s group:
$ sudo usermod -aG wireshark $USER
Note: While installing if you have chosen “NO” or some dependencies conflict are there, then resolve such issues via the command:
$ sudo dpkg-reconfigure wireshark-common
Restart the Wireshark and then while capturing packets you may get the following error, which states that the wireshark is unable to run “dumpcap” via the current user:
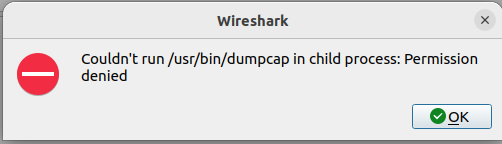
To run/execute the “/usr/bin/dumpcap”, make the file executable using the command:
$ sudo chmod +x /usr/bin/dumpcap

And that’s how you can start capturing the packets on Wireshark:
Method 2: How to Install Wireshark on Ubuntu 22.04 Using the PPA?
Personal Package Archives (PPAs) serve the Linux community with the updated or missing packages on standard/default repositories. Interestingly, Wireshark’s PPA is available which can be used as follows to install it on Ubuntu 22.04:
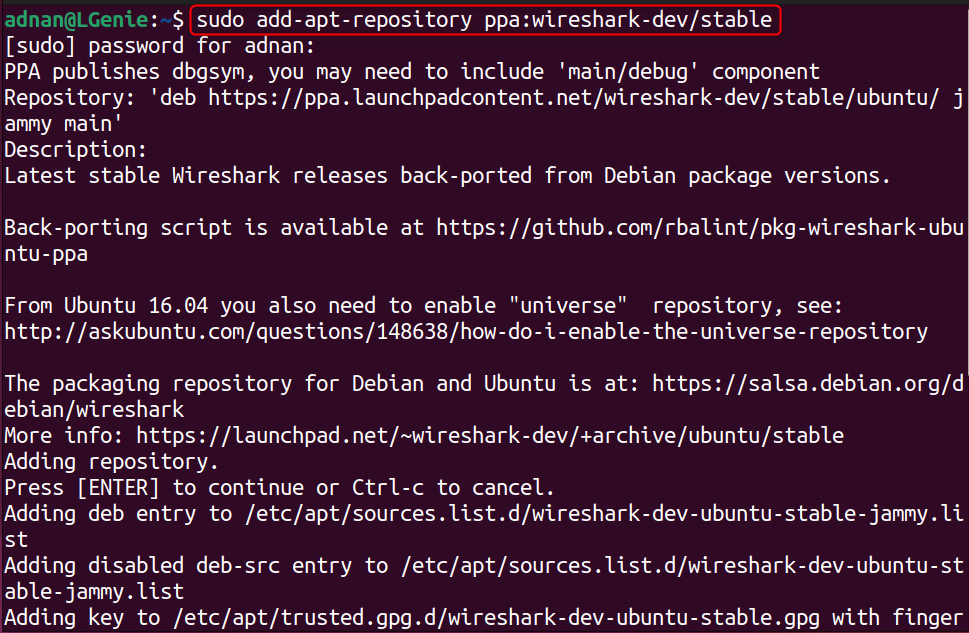
Add the following PPA to the trusted list of apt sources in your Ubuntu system:
$ sudo add-apt-repository ppa:wireshark-dev/stable
After adding the repository, update the repository packages’ list via the command:
$ sudo apt update
Now, install the Wireshark package. The system will fetch the latest package available (added through the PPA):
$ sudo apt install wireshark
Note: Configure Wireshark
If you are unable to capture packets/use the Wireshark via the current user, then use the command to add the user to the Wireshark’s group:
$ sudo usermod -aG wireshark $USER
You can reconfigure the Wireshark again (to get to the “YES or NO” option again) via the command:
$ sudo dpkg-reconfigure wireshark-common
How to Use Wireshark on Ubuntu 22.04?
Once you have set up/configured the wireshark on your Ubuntu, you are all set to use the Wireshark to analyze the network traffic. Wireshark supports three types of capturing which are shown in its interface as well, i.e., Wired, Bluetooth, and USB. Let’s see how the packets are captured, how the captured packets are loaded into the Wireshark, etc.
Start/Stop Capturing Packets
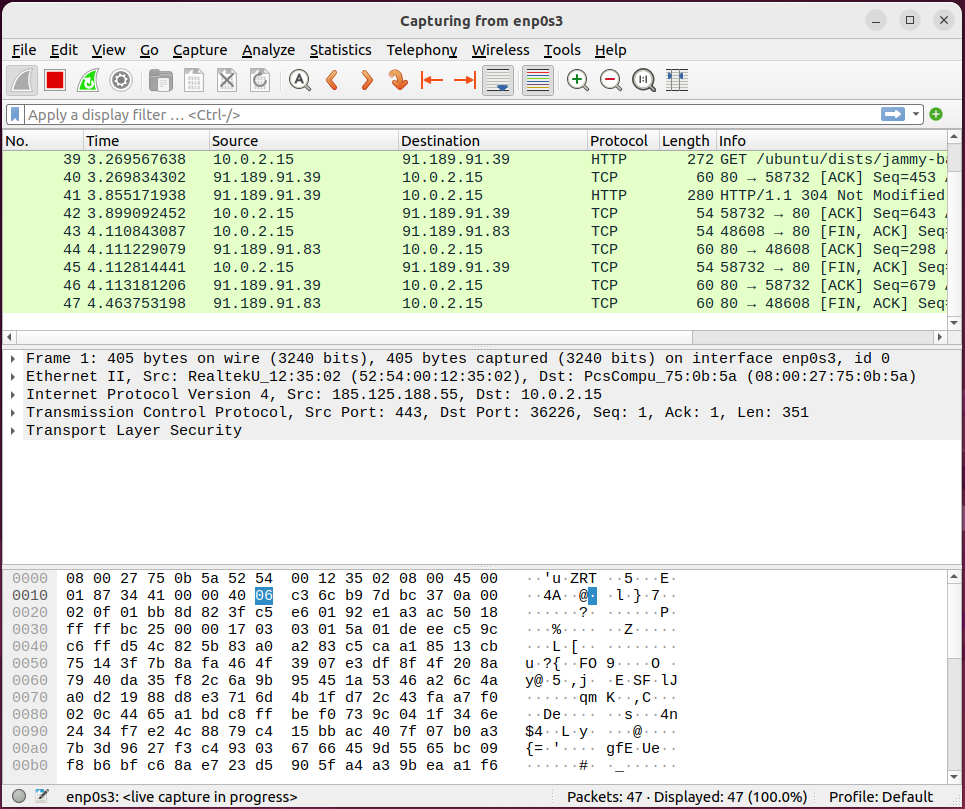
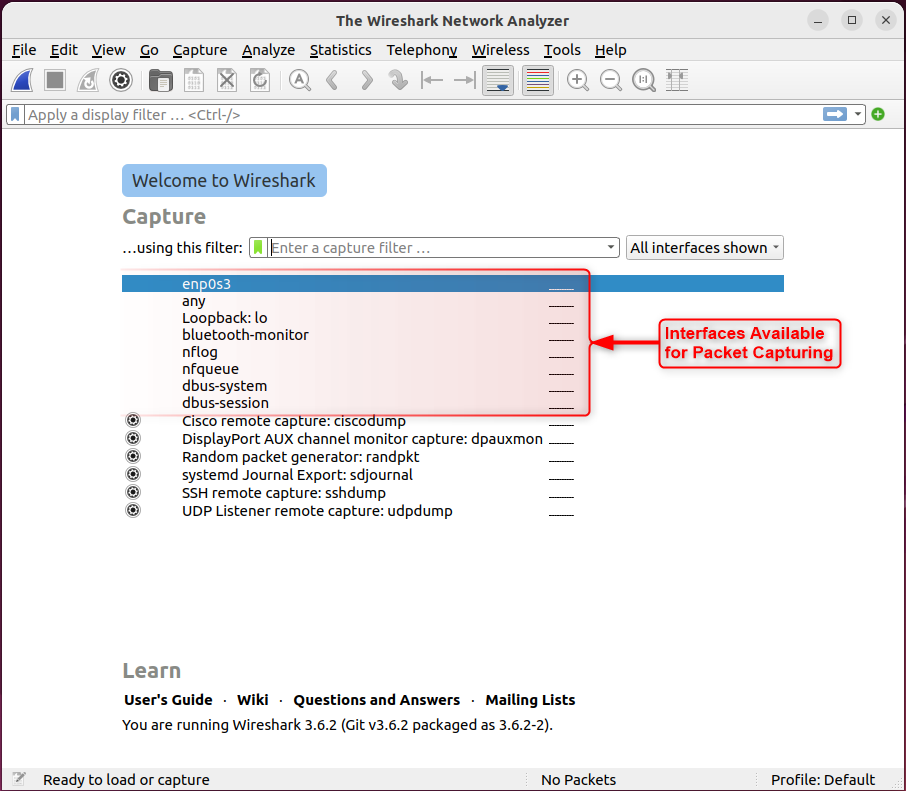
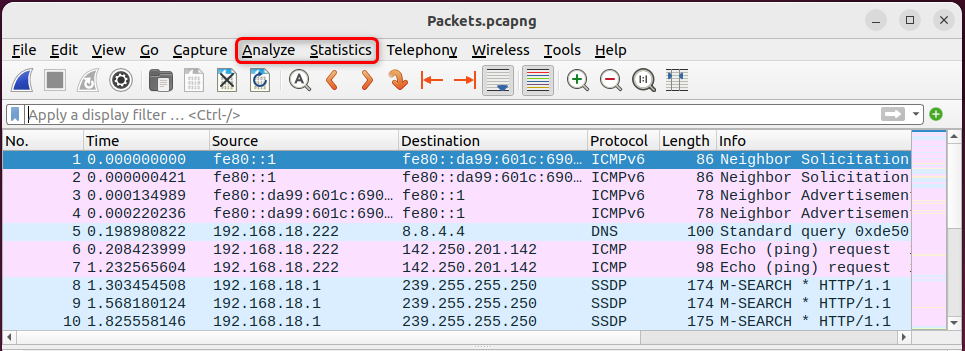
When Wireshark is launched, the number of network interfaces appear that are available for capturing using the Wireshark. Double-click on the interface that is available for capturing, i.e., let’s say enp0s3:
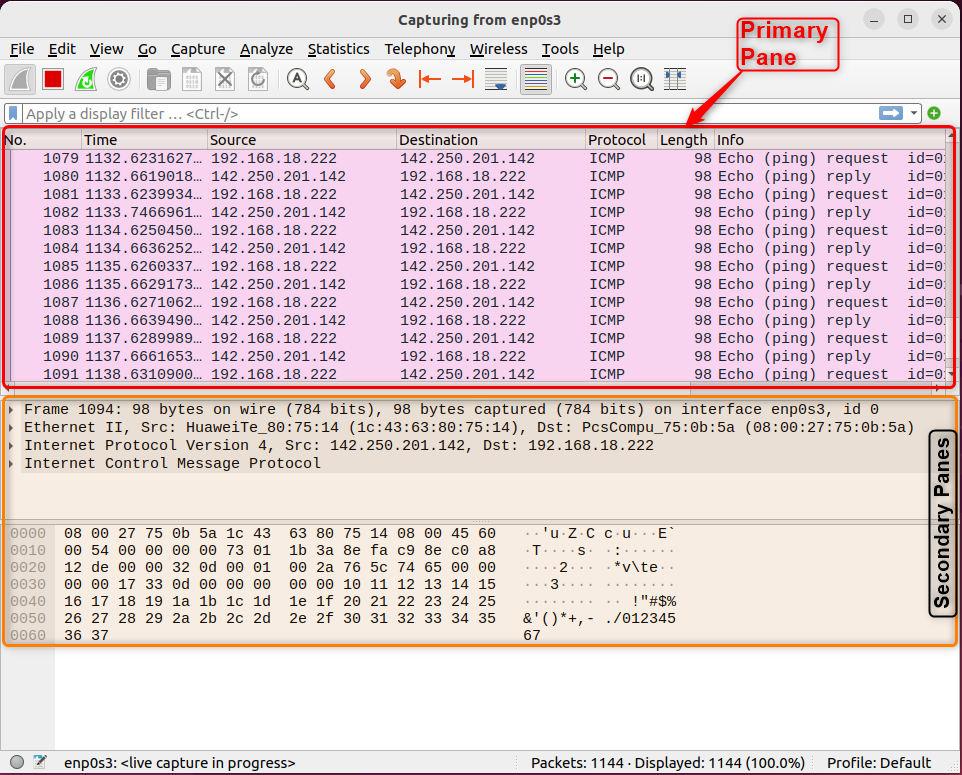
Upon opening, the Wireshark will start capturing the packets of that specific network interface and it looks like this. There is one primary pane (One shown at the top) that shows the run time information regarding the captured packets. The two secondary panes (two shown at the bottom) shown below represent the information regarding a specific packet:
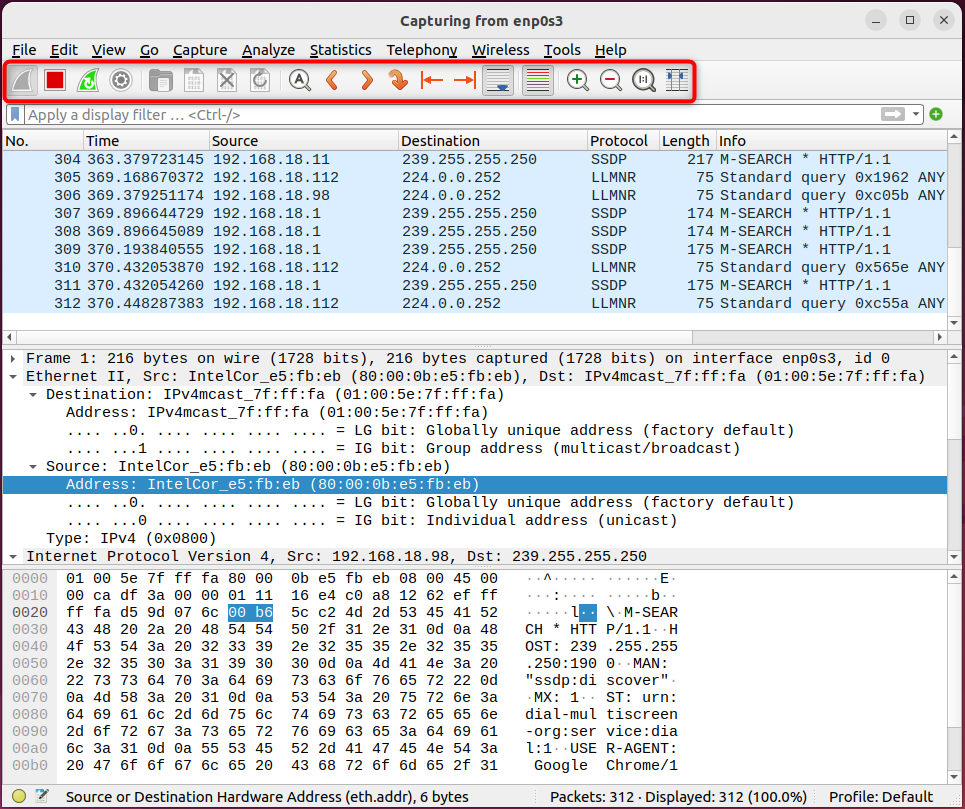
The control tab (highlighted in the image below) where the stop button is located, offers various functionalities to manage the packet capturing, such as restarting the current capturing, navigating to different packets while capturing, adjusting the measurement of the primary/secondary panes, finding the specific packet, and much more.
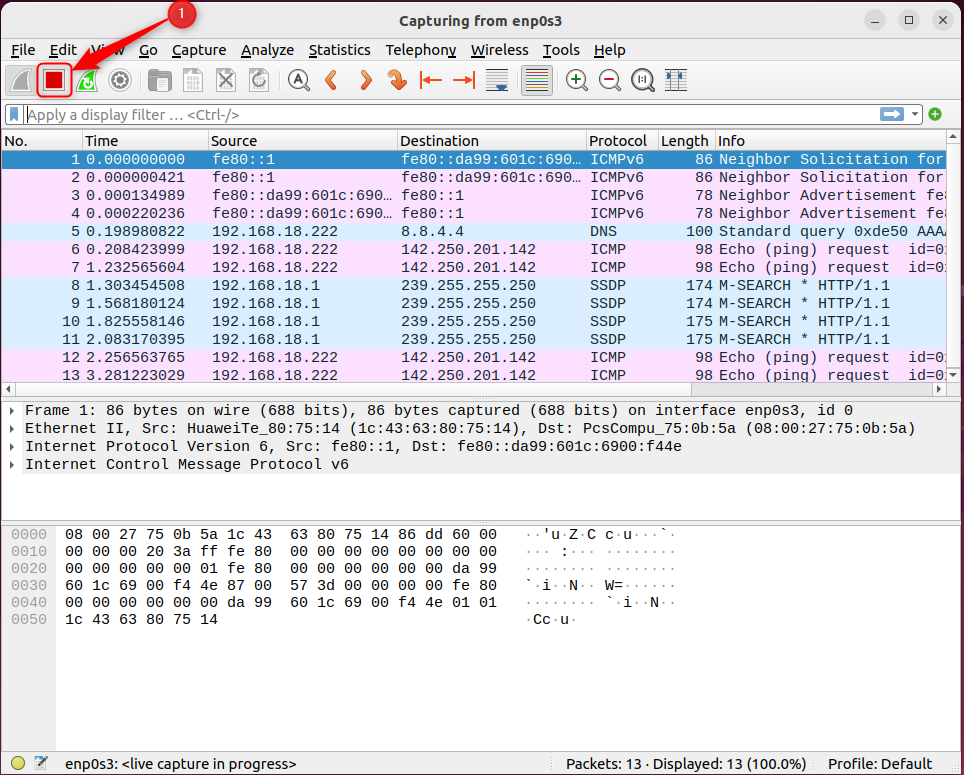
Let’s say we want to analyze the captured packets. For that, you have to stop capturing the packets. Click on the “Red” stop button to stop capturing the packets:
Save the Captured Packets
Once the packet capturing is stopped, press the “CTRL+S” key to save the captured packets. Choose the location/name of the file and then click on “Save”:
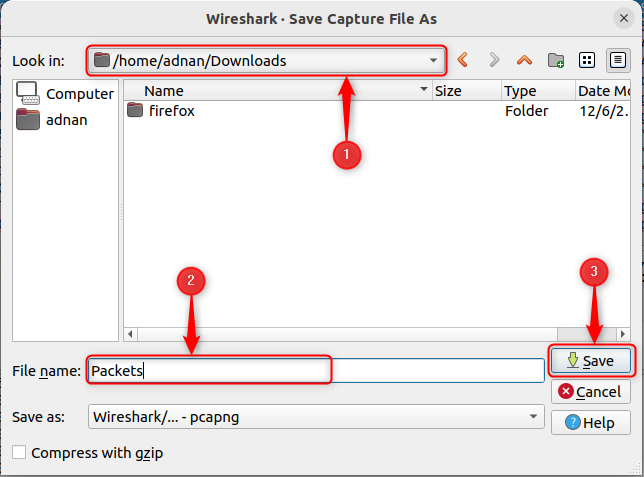
Saving the captured packets technique is quite helpful when you want to analyze the packets later.
Load the Captured Packets
Wireshark allows you to load the captured packets/data and have some analysis of those captured packets. To load the captured packets in Wireshark, click on “File” and then on “Open”:
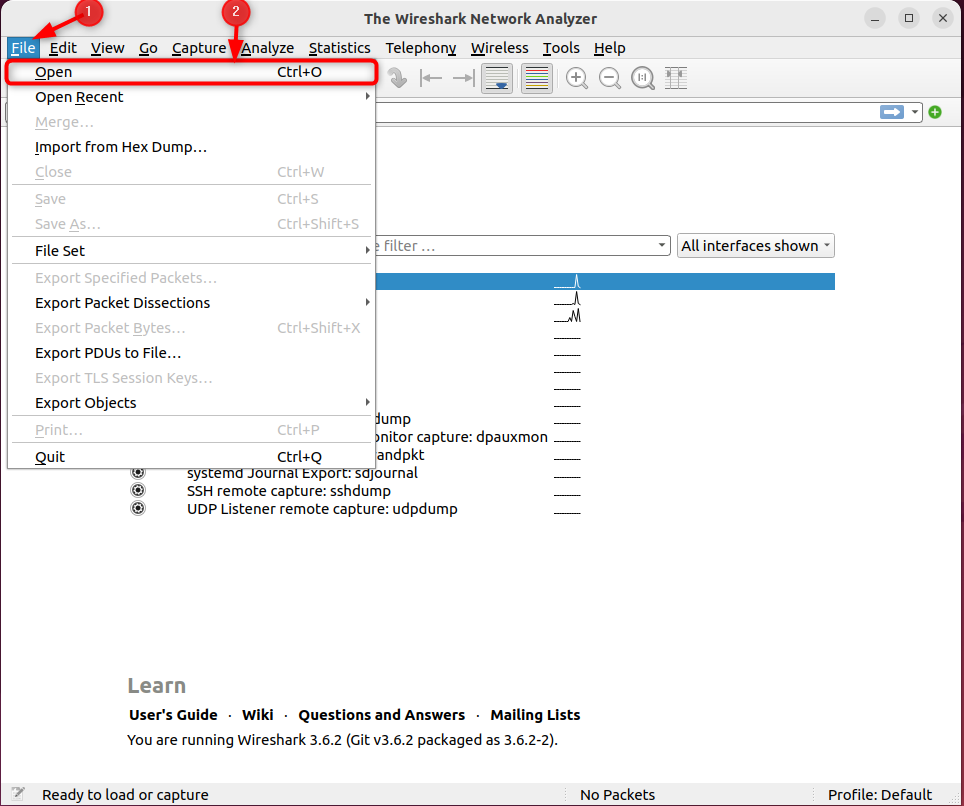
Or you can use the shortcut key “CTRL+O” to choose the file:
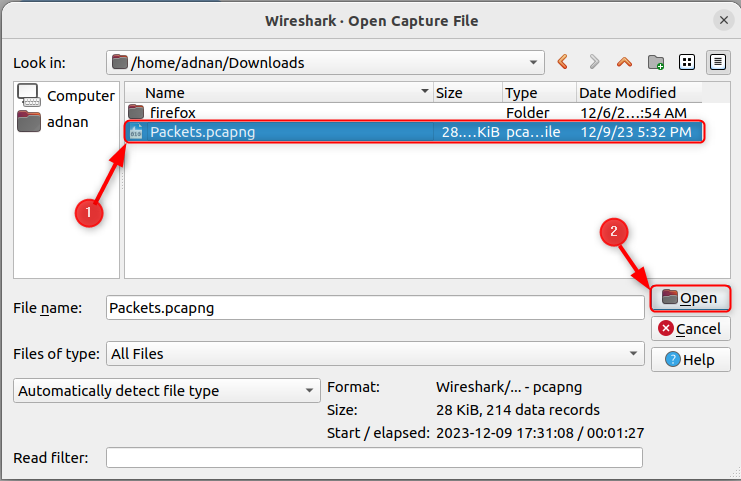
The loaded information can be observed at the bottom of the interface, as shown below:
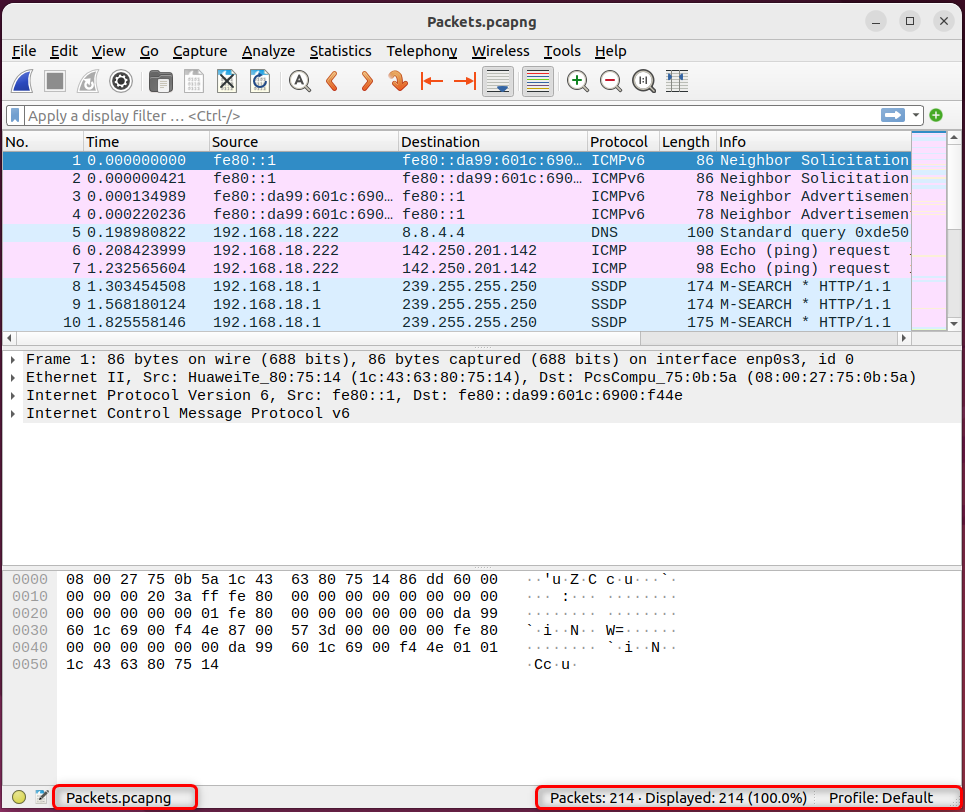
Analyze the Captured Packets
Wireshark does offer the analysis of the captured packets, i.e., The analysis is only possible if the packet capturing has been stopped. Thus, the analysis is possible on the captured packets (the captured packets file or at the run time packets capturing).
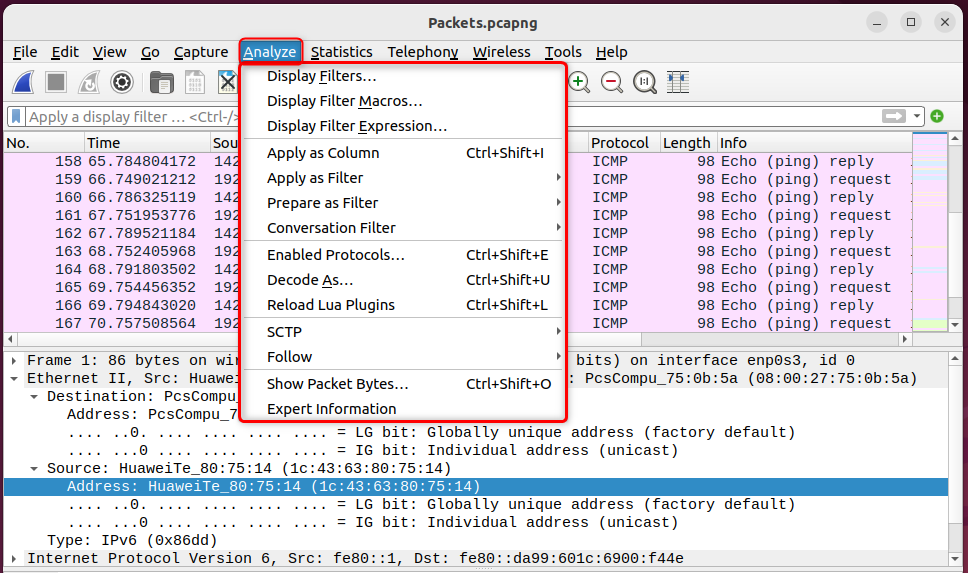
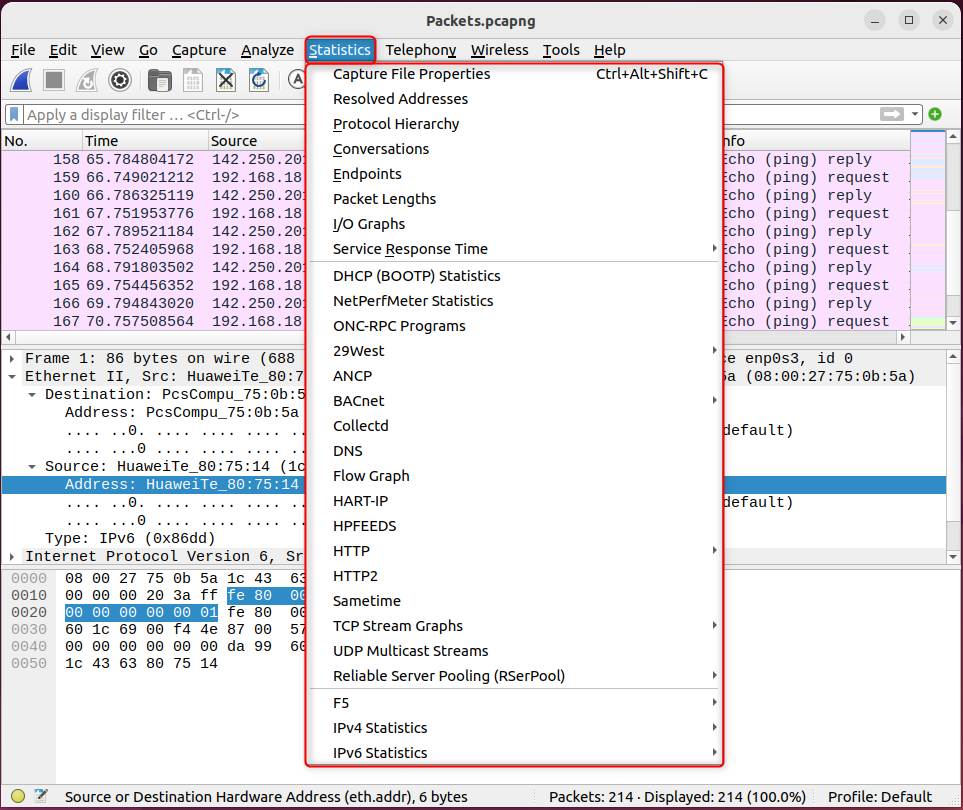
Two tabs, i.e., Analyze and Statistics are the key players in analyzing the data packets.
The Analyze tab allows you to filter the data/captured packets based on specific information. You can click on the “Display Filters” option to get the list of supported filters and can apply those:
While the “Statistics” tab provides specific statistical information based on the options supported below. The statistics can be of the captured packets, the file that contains the captured packets, or the network interface having the specific protocol (IPv6, IPv4):
That’s the basic usage of Wireshark on Ubuntu 22.04.
How to Remove Wireshark From Ubuntu 22.04?
There are two possibilities to remove Wireshark from Ubuntu 22.04, i.e., Using the terminal (for the PPA and Default Repository), and the GUI (for the default repository). Let’s see how it can be done:
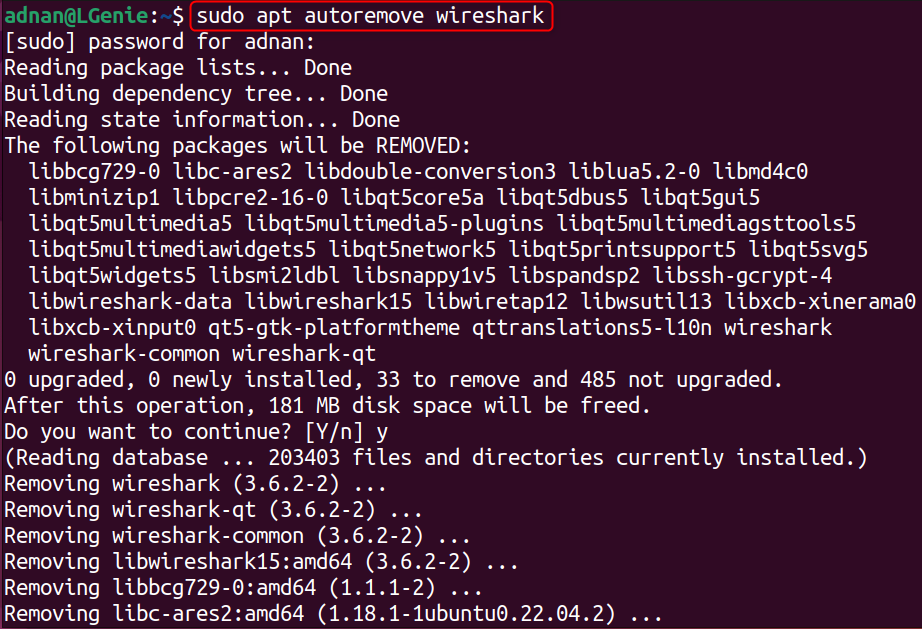
Remove Wireshark Using apt | Applicable for Default and PPA
The command below removes the Wireshark if it is installed using the default repository or the PPA:
$ sudo apt autoremove wireshark
Note: If you want to remove the PPA as well, then do it in the following way:
$ sudo add-apt-repository --remove ppa:wireshark-dev/stable
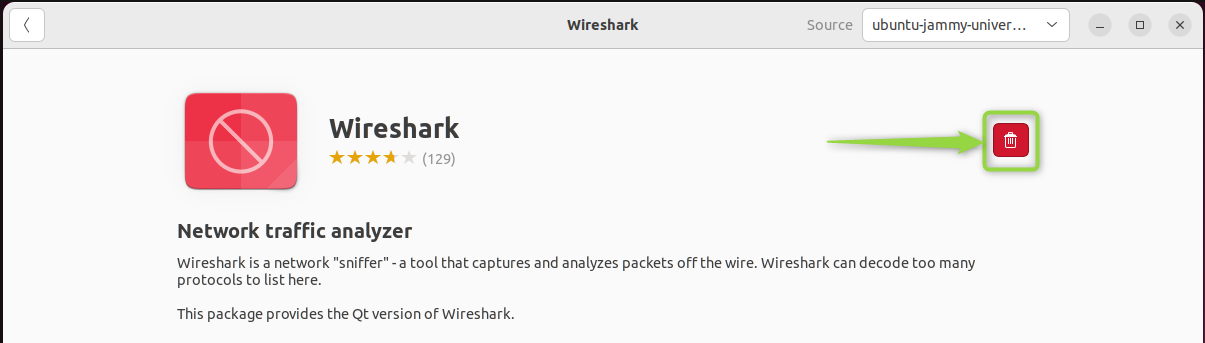
Remove Wireshark Using GUI
Open the Ubuntu software center, and search for the wireshark. There must be an installed version as in our case:
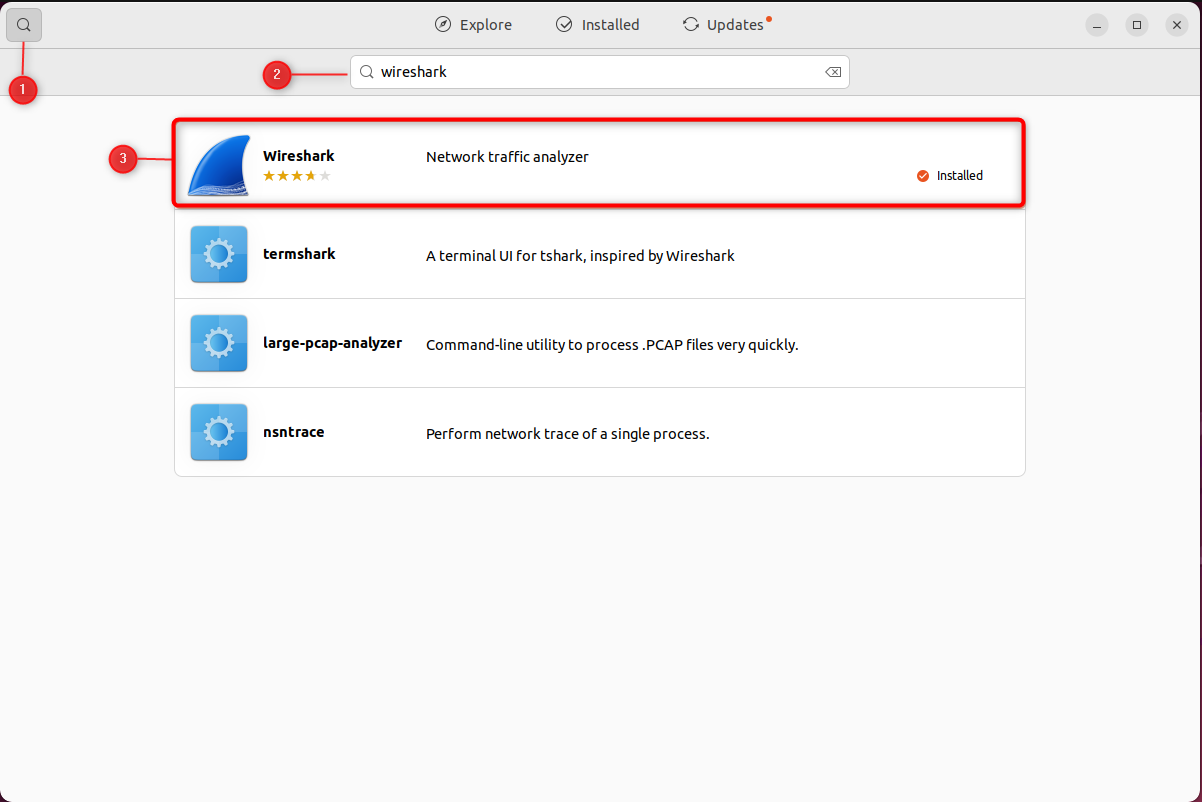
Click on the Remove icon, as shown below:
Follow onscreen instructions, and provide the user password:‘
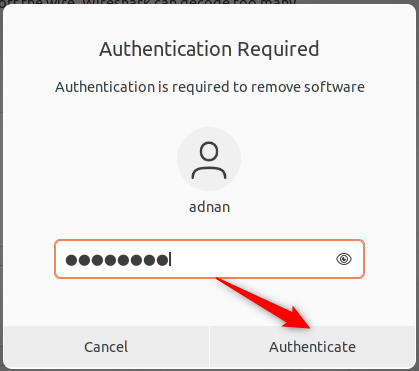
Right after the authentication, the Wireshark will be removed from the system.
Bottom Line
The network administrator uses Wireshark to track the internet speed, detect suspicious activities on the network, and capture/analyze lost data packets. Overall, Wireshark is a wholesome package for administrators from managing the network to troubleshooting it on Ubuntu 22.04. You can install Wireshark from the default repositories (CLI and GUI) and through the PPA.
All these installation methods are demonstrated in this guide, alongside the usage and configuration of Wireshark.
