
How to Install Adminer on Ubuntu
Adminer is a popular database management tool that enables users to interact with MySQL, PostgreSQL, SQLite, and MS SQL databases. It is a lightweight and efficient tool that is easy to install and use. In this article, we will guide you through the process of installing Adminer on Ubuntu.
Prerequisites for installing Adminer on Ubuntu
There are a few crucial components that must be installed on Ubuntu in order to correctly install Adminer. To do this, follow these instructions:
Update repository
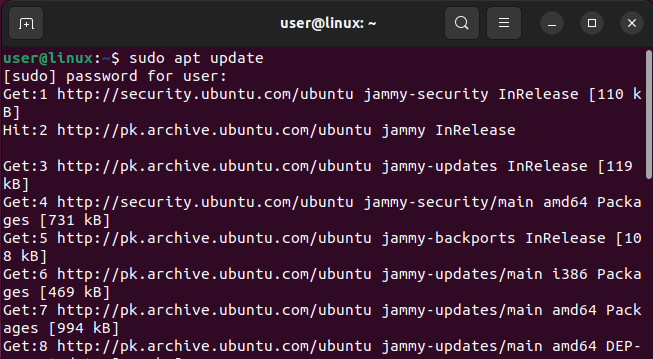
Step 1: The packages list should be updated on Ubuntu before installing any applications, and here is how to do it:
sudo apt update |
Install Apache2, MariaDB, and PHP
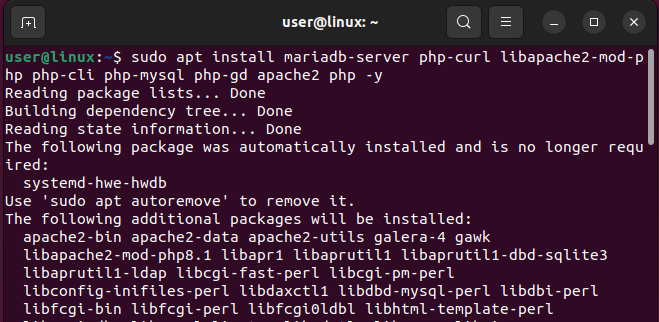
Step 2: Next, employing Ubuntu’s built-in package manager, install Apache2, MariaDB, and PHP:
sudo apt install mariadb-server php-curl libapache2-mod-php php-cli php-mysql php-gd apache2 php -y |
Activate Apache server
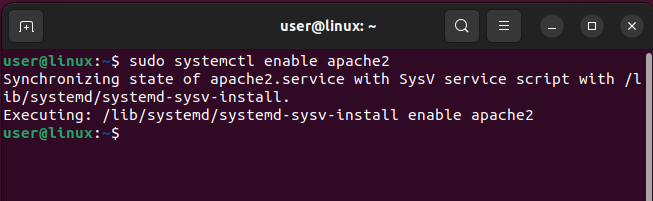
Step 3: Next, activate the Apache2 server that we set up in the preceding step by using:
sudo systemctl enable apache2 |
Start Apache server
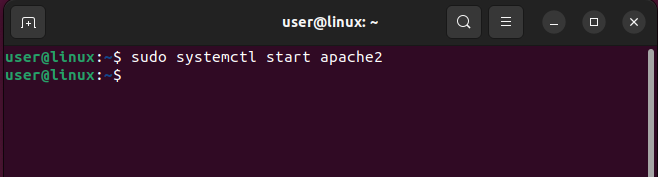
Now it’s time to start the server and here is how to do it:
sudo systemctl start apache2 |
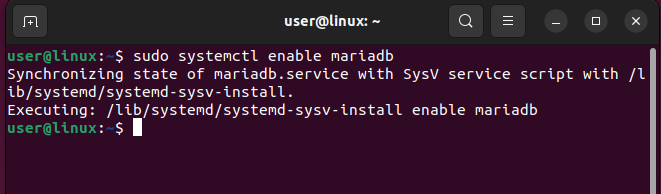
Activate MariaDB
Step 4: Activate mariadb now by using:
sudo systemctl enable mariadb |
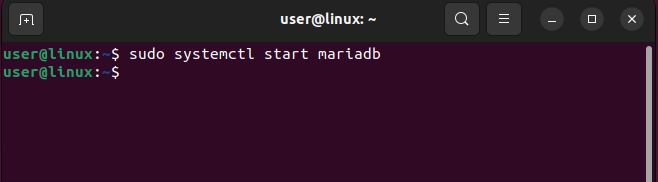
Start MariaDB server
Now it’s time to start the mariadb and here is how to do it:
sudo systemctl start mariadb |
Step 5: Setup MariaDB now on Ubuntu by using:
sudo mysql_secure_installation |
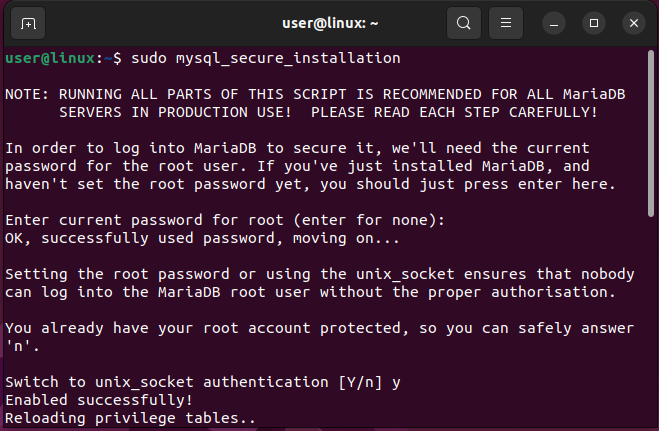
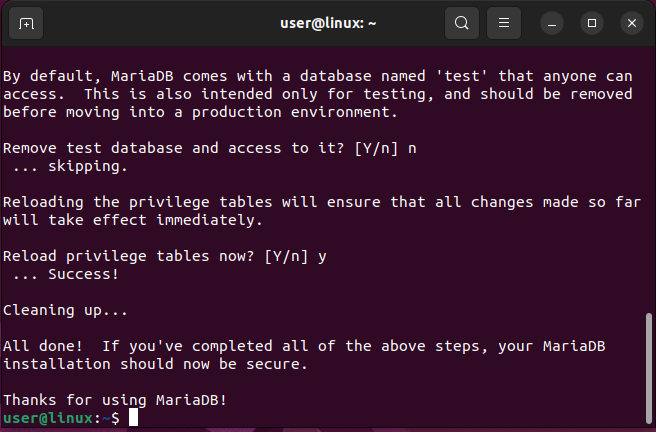
Allow socket authentication now, and if you believe the current password is quite simple to guess, specify the root password. Next, let anonymous user deactivation while maintaining remote login as an option:
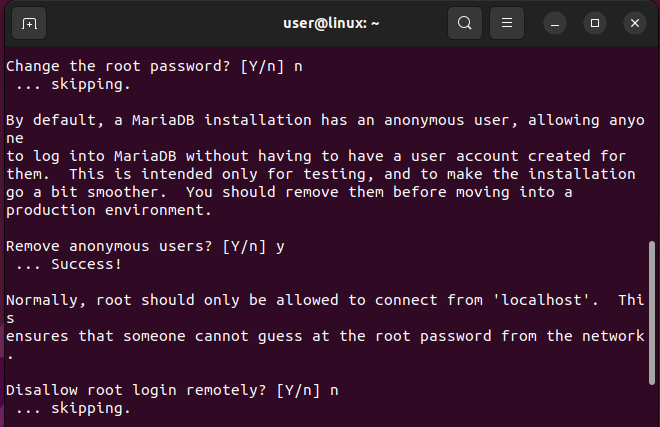
Next, type n to prevent the removal of the test database:
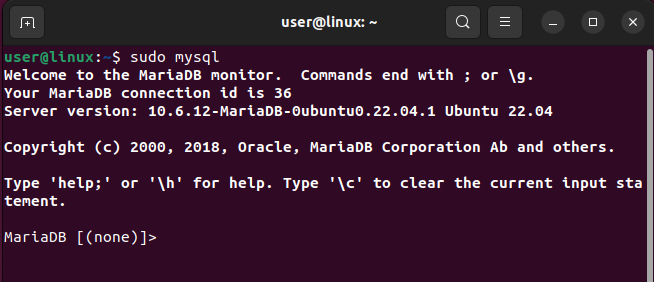
Step 6: Run the database now by using:
sudo mysql |
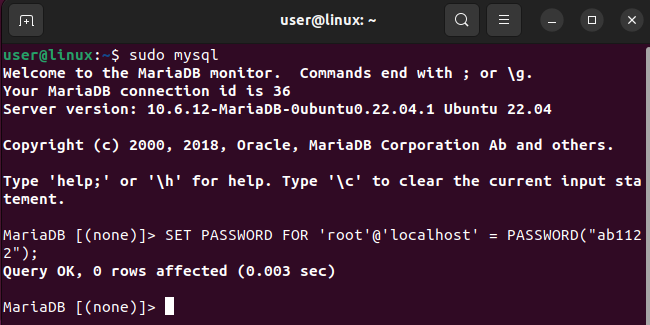
Next, use the following syntax to set the root login password for this database administration tool:
SET PASSWORD FOR 'root'@'localhost' = PASSWORD("<Your-password>");
|
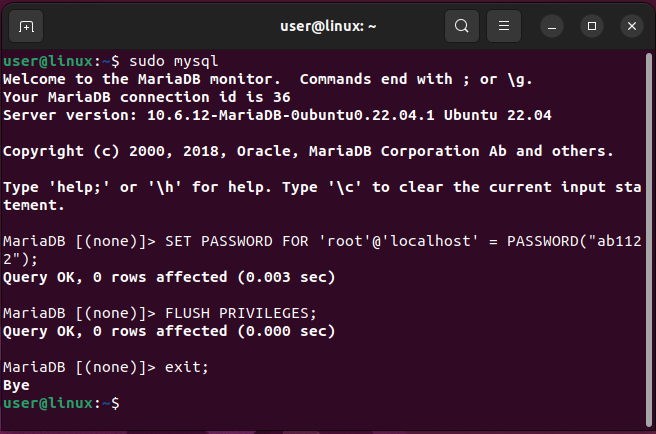
Now to apply the changes use: FLUSH PRIVILEGES; command and afterward exit the database using the exit command:
FLUSH PRIVILEGES; exit; |
Installing Adminer on Ubuntu
After installing each of the prerequisites for Adminer, proceed to installing it on Ubuntu by following the procedures listed below:
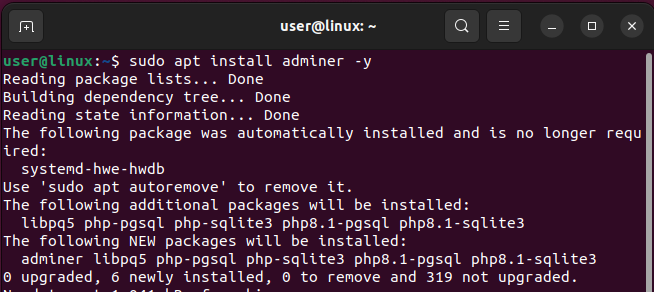
Step 1: Using the apt package manager, install the Adminer now:
sudo apt install adminer -y |
Configure Adminer
Step 2: Configure the Adminer once the tool is installed by using:
sudo a2enconf adminer |

Reload Apache server
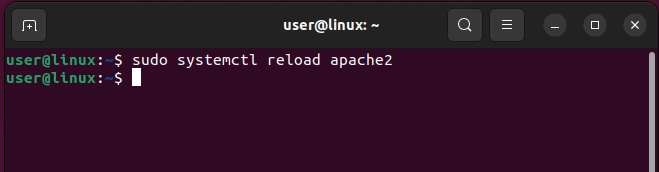
To activate the Adminer new configuration, reload the Apache server at this time using:
sudo systemctl reload apache2 |
Login Adminer
Step 3: Now that everything has been set up, you may visit Adminer, a web-based database management tool, by putting the IP address of the Ubuntu system in the browser’s address bar together with Adminer (you can just use localhost or 127.0.0.1):
127.0.0.1/adminer/ |
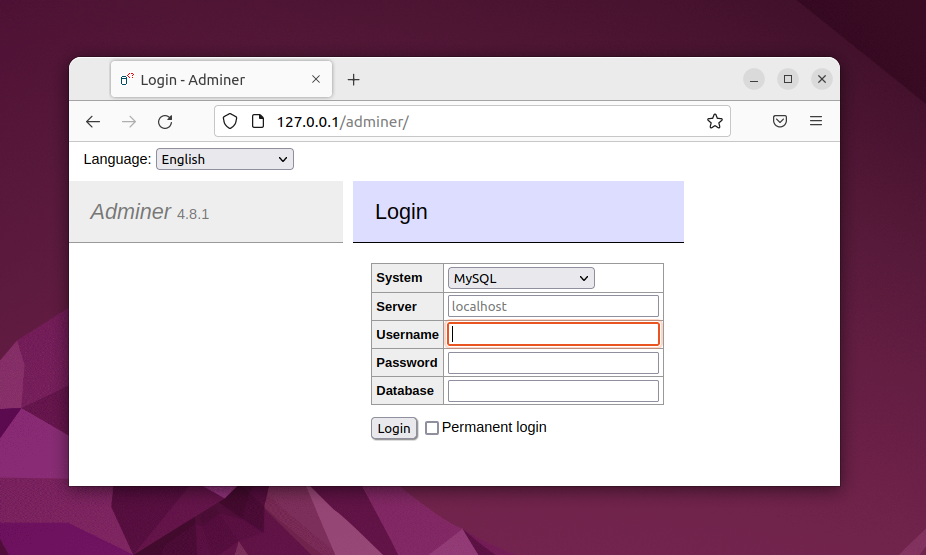
Using the root password you previously specified during server setting, log in now:
Removing Adminer
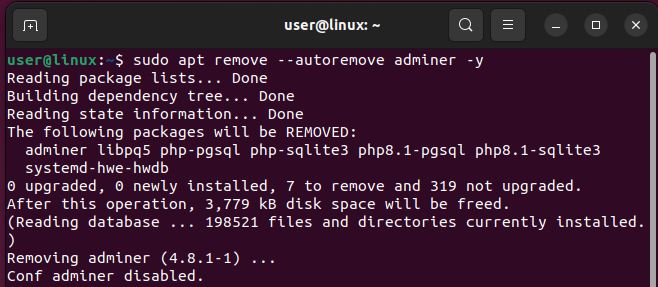
If the Adminer is no longer required, you can completely remove it from your Ubuntu system by using:
sudo apt remove --autoremove adminer -y |
Conclusion
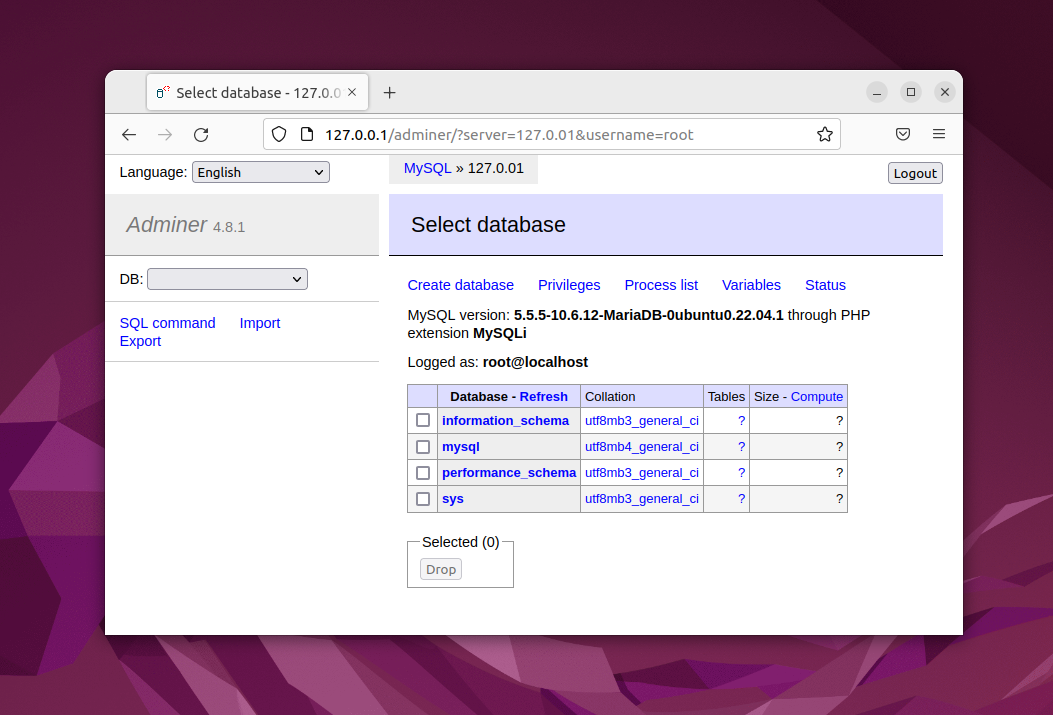
Adminer can be used for basic database management tasks such as creating, editing, and deleting tables, executing SQL queries, and managing users and permissions. It provides a user-friendly interface that makes it easy for developers and database administrators to interact with their databases. By following the steps outlined in this article, you can easily install Adminer on Ubuntu and start managing your databases with ease.
