
How To Install RubyGems on Ubuntu
Ruby is a popular programming language, widely used for developing web applications, scripts, and tools. One of the key features of Ruby is its vast collection of libraries, commonly known as RubyGems, which can be easily installed and used to extend the functionality of your Ruby applications. In this article, we will explore two methods of installing RubyGems on Ubuntu: using the apt package manager and via the tgz file.
- Installing Ruby Gems using Apt Package Manager
- Installing Ruby Gems using TGZ File
Installing Ruby Gems using Apt Package Manager
Ubuntu, like many other Linux distributions, has a built-in package manager called apt. You can use apt to install RubyGems and manage them easily. Here are the steps to install RubyGems using apt:
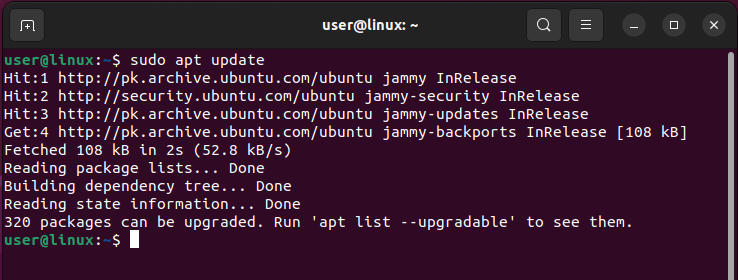
Step 1: Open a terminal window by pressing Ctrl+Alt+T and update the apt package list by running the following command:
sudo apt update
|
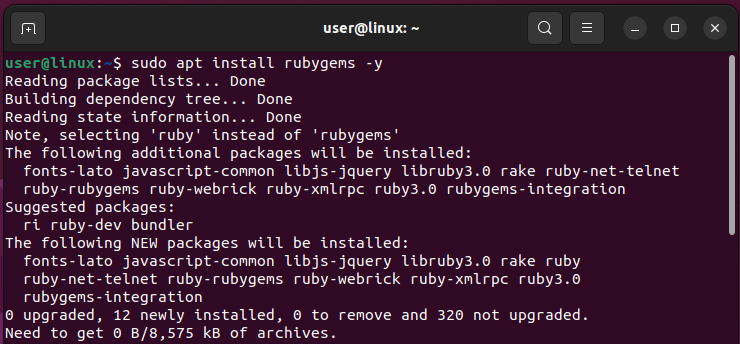
Step 2: Install the RubyGems package by running the following command:
sudo apt install rubygems -y
|
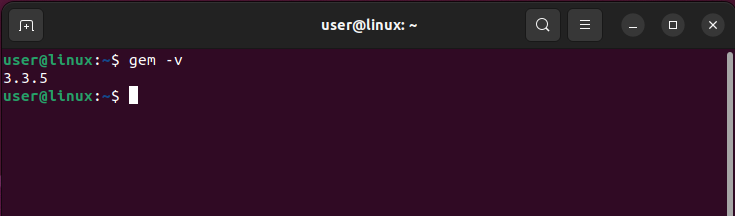
Step 3: Verify that RubyGems is installed by running the following command:
gem -v
|
If RubyGems is installed correctly, you will see the version number of RubyGems in the output:
Removing RubyGems using Apt Package Manager
If you installed RubyGems using the apt package manager, you can remove it using the following command:
sudo apt remove ruby -y
|
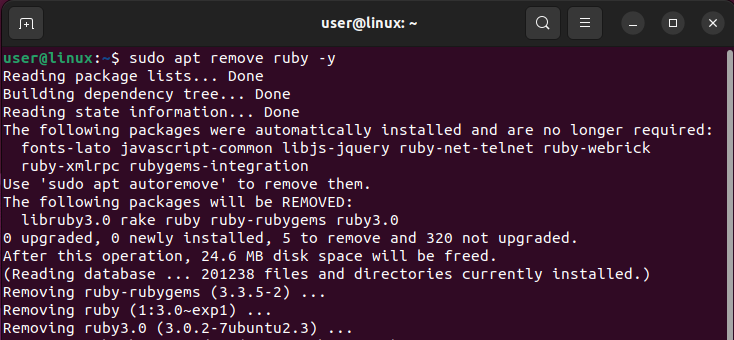
This will remove RubyGems and any dependencies that were installed with it. If you no longer need Ruby or any other packages that were installed as dependencies, you can also run the following command to remove them:
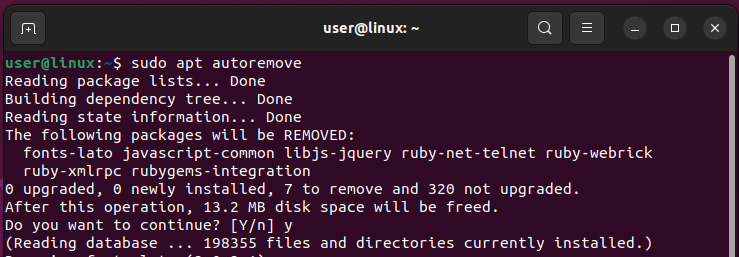
sudo apt autoremove
|
This will remove any packages that were installed as dependencies and are no longer needed:
Installing Ruby Gems using TGZ File
If the RubyGems package is not available in the apt repository, you can download and install it manually using the tgz file. Here are the steps to install RubyGems using the tgz file:
Step 1: Download the RubyGems tgz file from the official website by running the following command:
wget https://rubygems.org/rubygems/rubygems-3.4.12.tgz
|
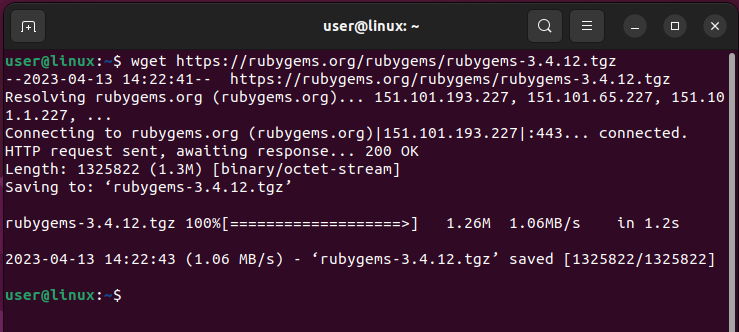
Note: The version number in the above command may change over time. Please visit the official RubyGems website to get the latest version.
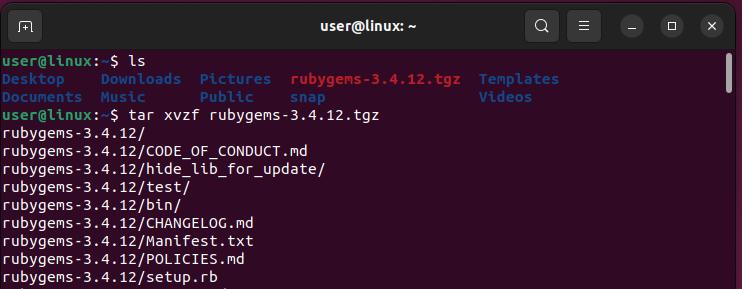
Step 2: Extract the tgz file by running the following command:
tar xvzf rubygems-3.4.12.tgz
|
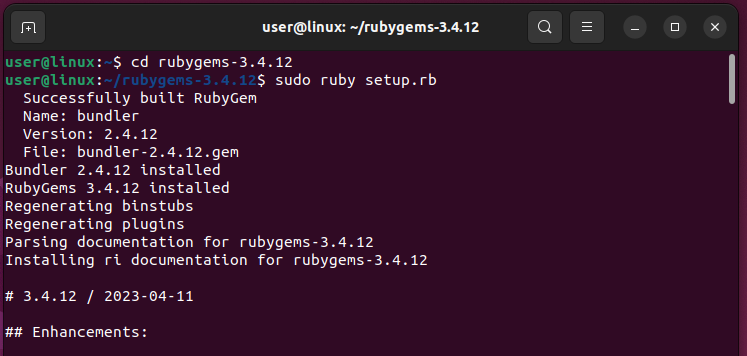
Step 3: Change the directory to the extracted folder by running change directory command, and install RubyGems by running the following command:
sudo ruby setup.rb
|
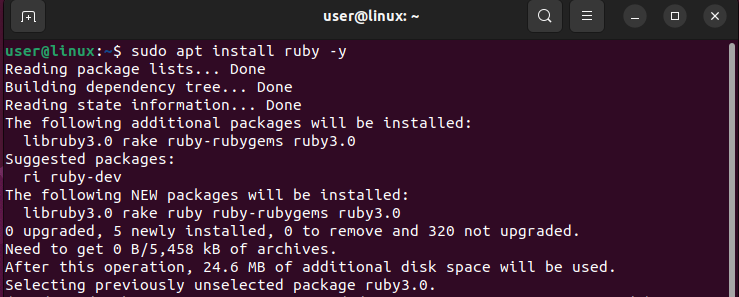
Note: To install the ruby gems this way one should have ruby installed on Ubuntu and if it is not installed the just execute below command to install it:
sudo apt install ruby -y
|
Step 5: Verify that RubyGems is installed by running the following command:
gem -v
|
If RubyGems is installed correctly, you will see the version number of RubyGems in the output:

Removing RubyGems using Tar File
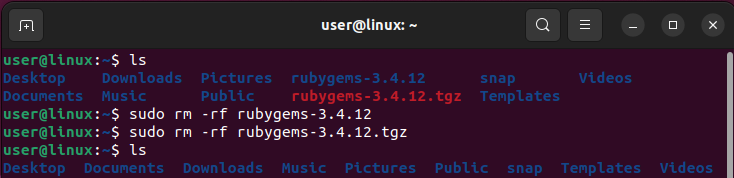
If you installed RubyGems using the tgz file, you can remove it by removing the installed directory along with the extracted file:
sudo rm -rf rubygems-3.4.12
sudo rm -rf rubygems-3.4.12.tgz
|
This will remove the tgz file and the directory containing the RubyGems installation.
Conclusion
Installing RubyGems on Ubuntu is a simple process that can be done using the apt package manager or the tgz file. While the apt method is easier and more convenient, the tgz method is useful when the package is not available in the apt repository or if the latest version is needed. By following the steps outlined in this article, you should be able to install and manage RubyGems on Ubuntu without any issues.
