How to Install Boost on Ubuntu 22.04
Boost is a tool for C++ programmers. It is available for free and works on both Windows and Linux Distributions including Ubuntu 22.04. The Boost is widely used for C++ programming. It also improves the performance and functionality of C++ programming, especially in Ubuntu. This post will provide you an insight into the installation and configuration of Boost libraries and dependencies on Ubuntu 22.04.
There are two different methods to install Boost on Ubuntu 22.04:
- Method 1: Installing Boost via the “apt” installer
- Method 2: Installing Boost from the source i.e. tar.gz
Method 1: Installing Boost via the “apt” Package Installer
The following procedural steps will be performed to install the Boost libraries in Ubuntu 22.04 using the apt installer.
Step 1: Upgrading Ubuntu Official Repository
Run the following command to upgrade the Ubuntu official repository.
sudo apt upgrade |
|---|

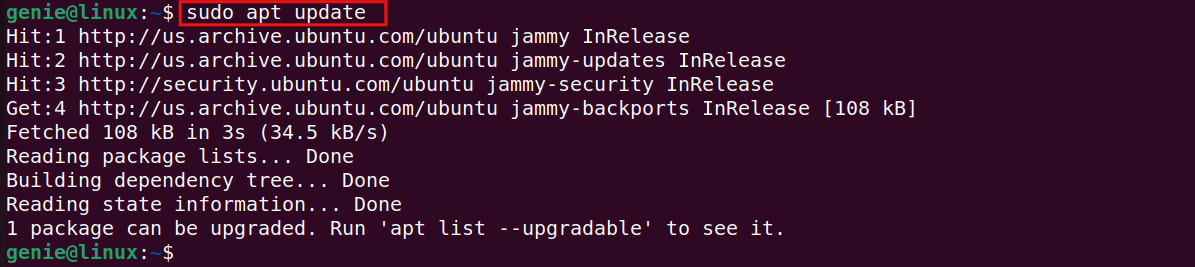
Step 2: Updating Ubuntu System
After upgrading the Ubuntu machine, type the below apt update command and press enter to install new updates in your Ubuntu.
sudo apt update |
|---|
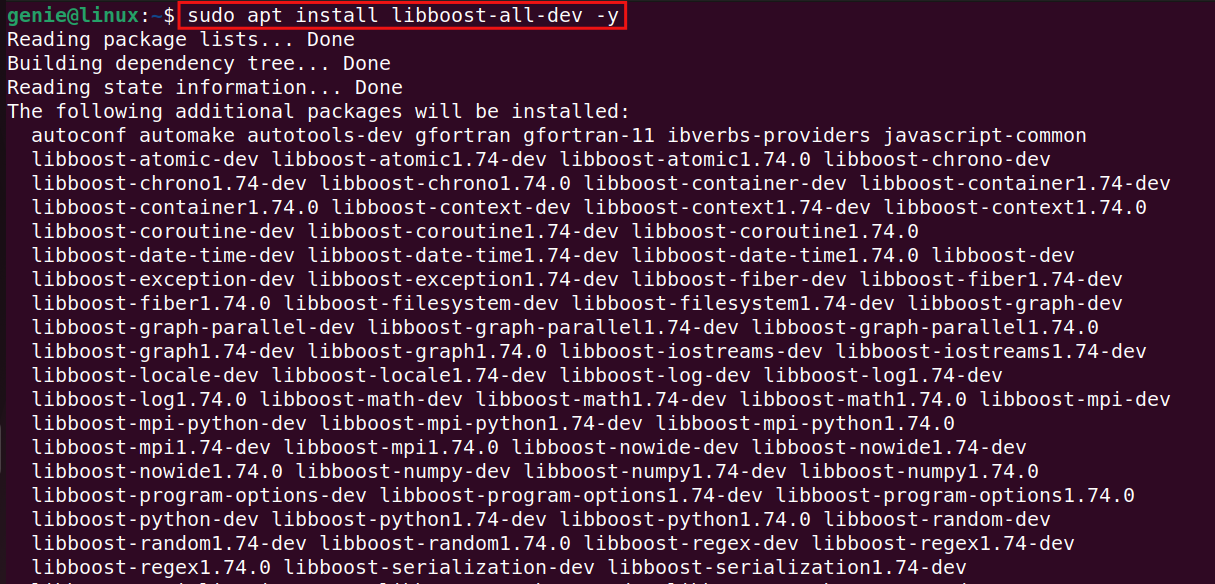
Step 3: Installing Boost using “apt” installer
The “apt” is an installer manager to install and uninstall libraries and dependencies from Ubuntu. It also allows you to install the Boost package and its dependencies on Linux distributions such as Ubuntu.
Now, utilize apt for boost package installation:
sudo apt install libboost-all-dev -y |
|---|
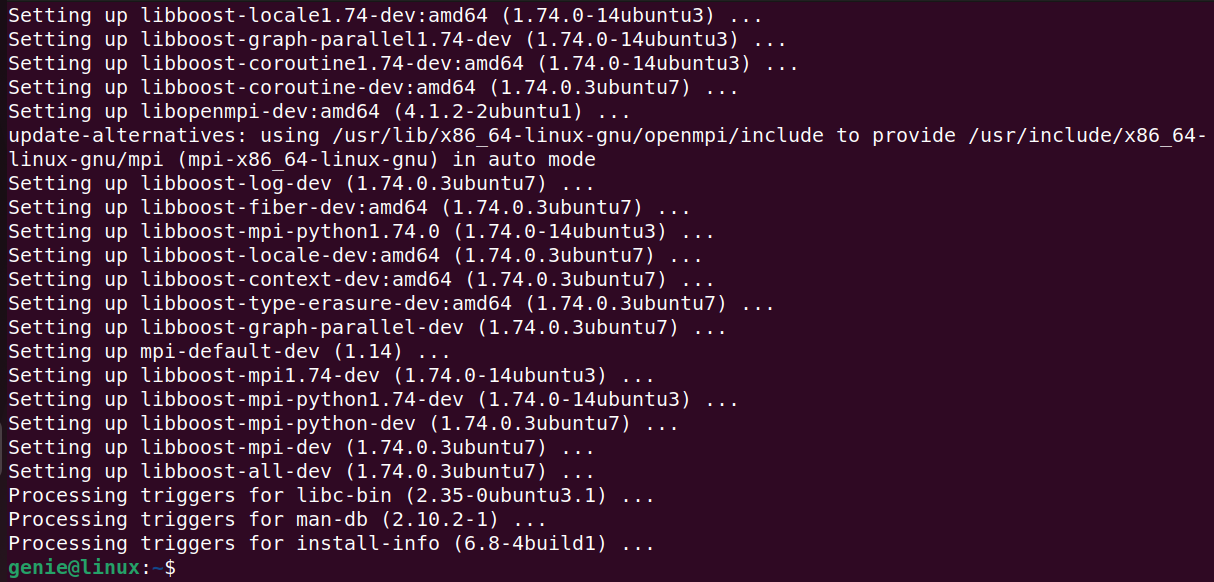
Step 4: Verifying the Boost Package Installation
To check whether the Boost package is installed or not, run the below-mentioned command from CLI.
In addition, you can check all the necessary information about the Boost with the help of this command.
dpkg -s libboost-all-dev |
|---|

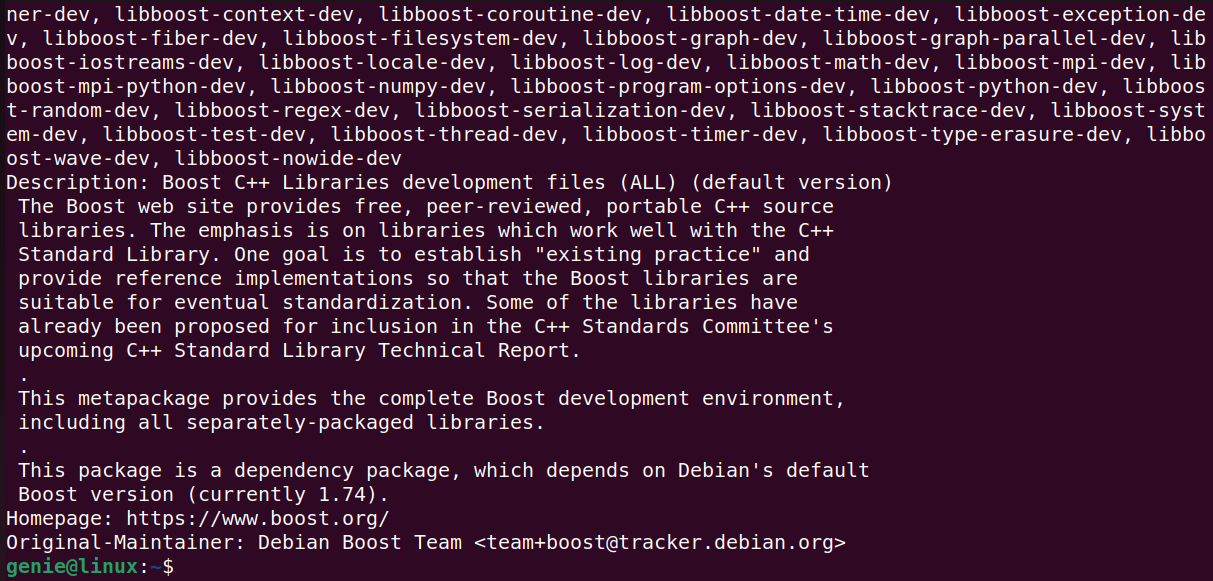
The above screenshot shows that the Boost package along with its dependencies is installed in your Ubuntu 22.04.
Method 2: Installing Boost from the source file i.e. tar.gz
In this method, we will CHECK the installation and configuration process of Boost using the source file.
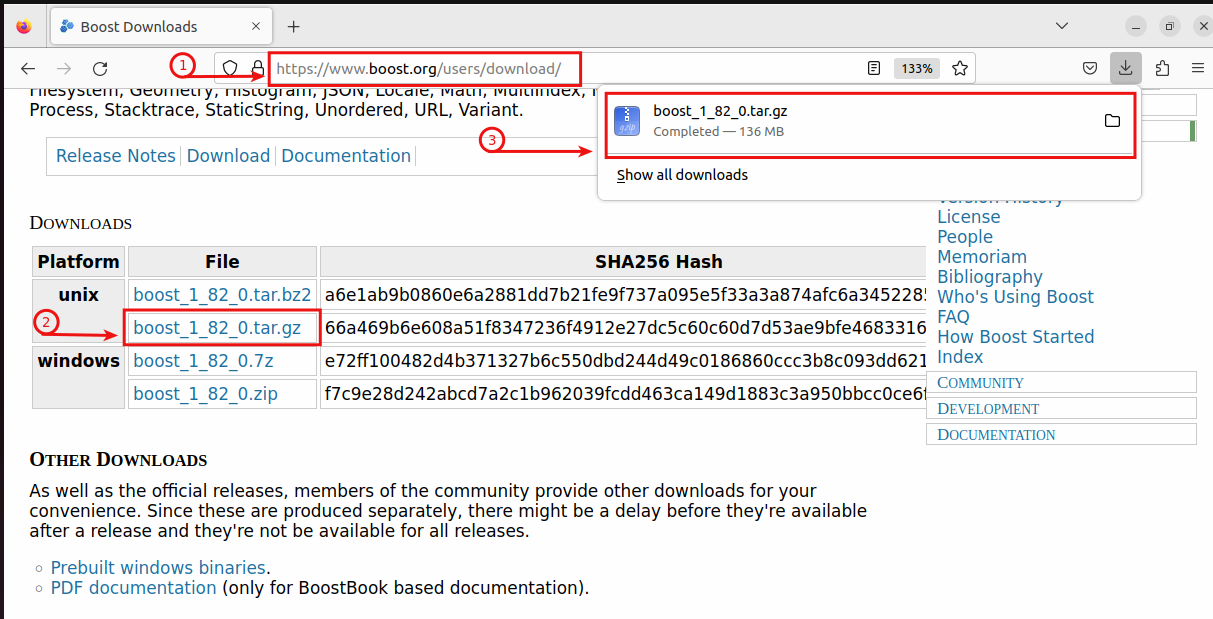
Step 1: To Download the Boost Source File
To get the source file, you need to open the official website of Boost. Then locate the Boost file with tar.gz extension e.g. boost_1_82_0.tar.gz and click to start downloading the source file.
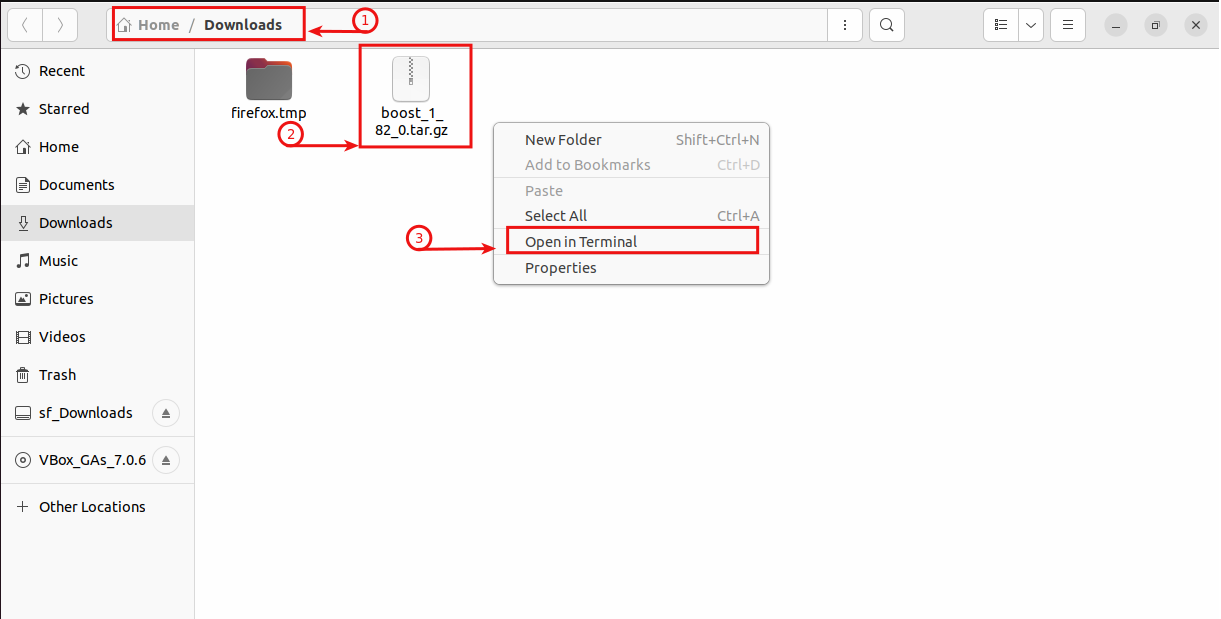
Step 2: Locate the Boost Source File
Go to the destination path, where the source file is downloaded. Press the Right mouse button, and choose the “Open in Terminal” to jump into the terminal window.
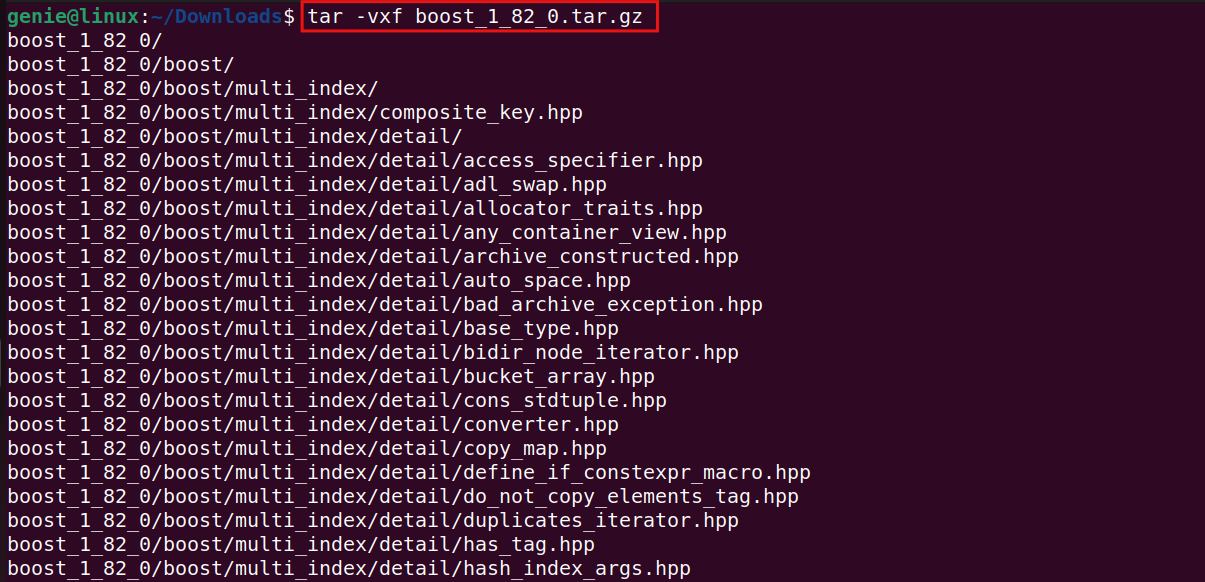
Step 3: Extract the Boost Package
The Boost source file is compressed with the tar.gz extension. To extract the package, use the command written below.
tar -vxf boost_1_82_0.tar.gz |
|---|
The “ls” command is used to list all the available files in the destination folder.
ls |
|---|

To manipulate the Boost source file, you have to change your directory to the extracted folder. Here is the command.
cd boost_1_82_0 |
|---|

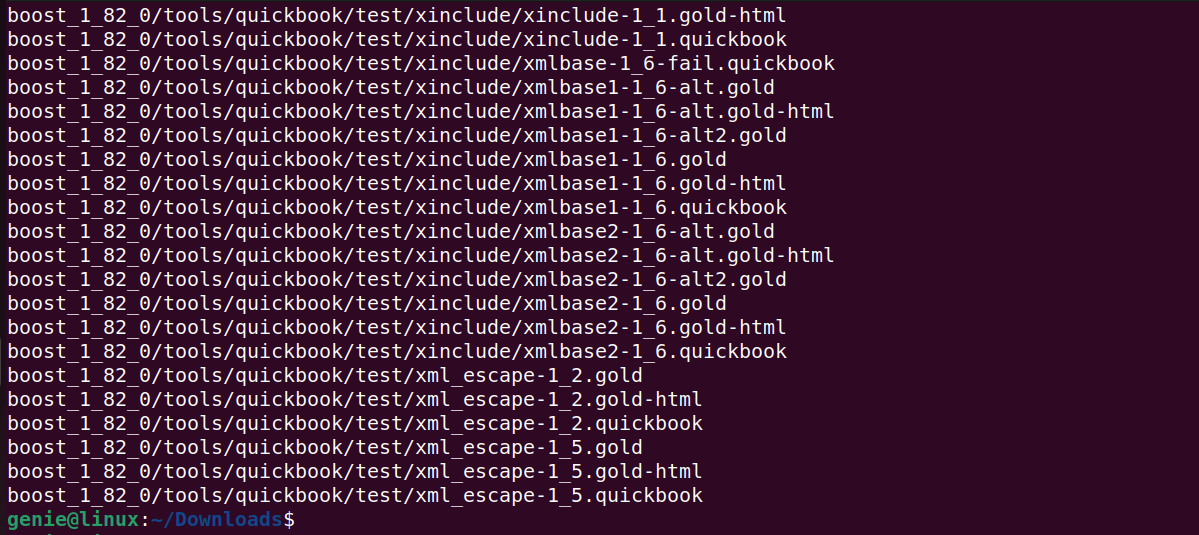
Repeat the ls will help you to display the list files containing boost_1_82_0 directory.
ls |
|---|

As you can see, there are multiple files with their extensions.
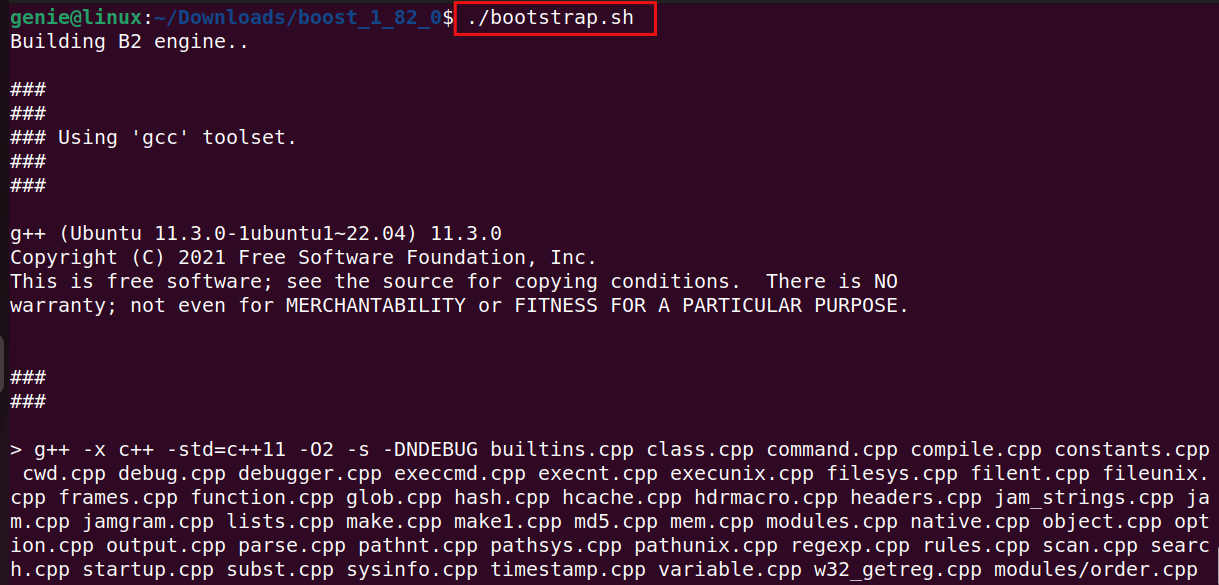
Step 4: Execution of the Boost file
By running the following command, the bootstrap.sh file will execute from the current directory.
./bootstrap.sh |
|---|
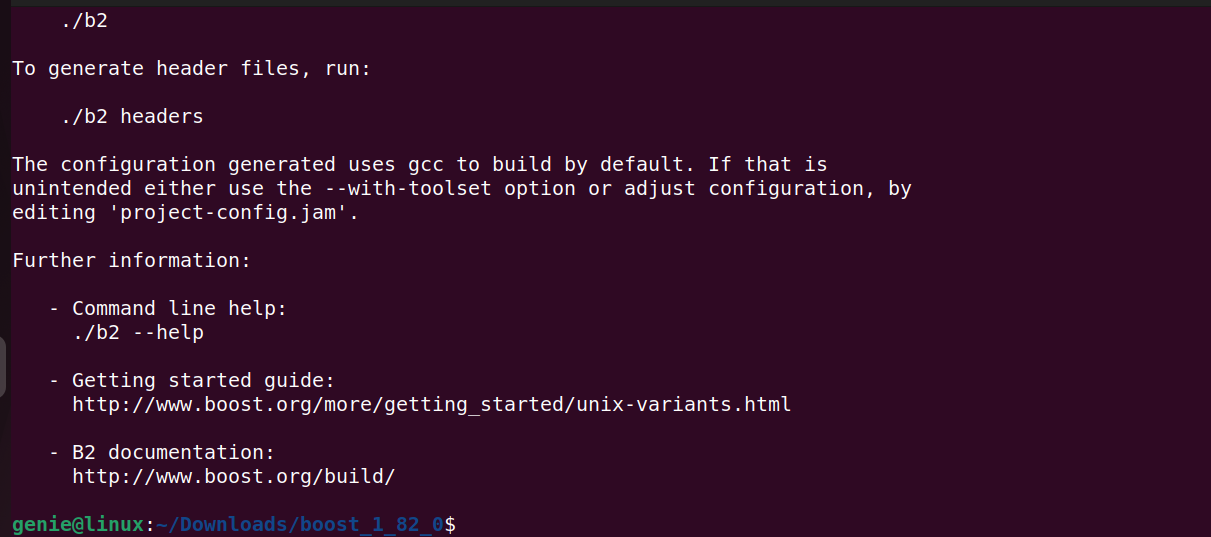
Step 5: Building the Boost Libraries
In the final step, run the given-below command to build the Boost C++ libraries.
./b2 |
|---|

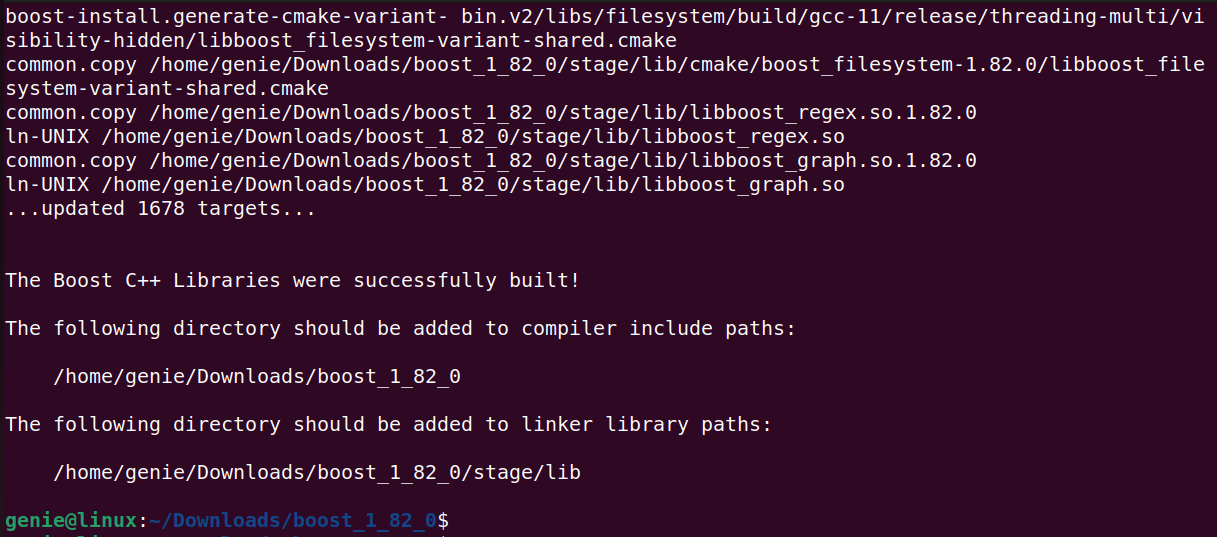
The output result of the ./b2 command shows that the Boost libraries have been configured, successfully.
How to Remove Boost from Ubuntu via Terminal?
If the Boost package is causing issues or is no longer needed, then can easily remove the package along with its libraries and dependencies. The apt purge command will help to remove all the files related to the Boost package from your Ubuntu 22.04. The command is as follows;
sudo apt purge libboost-all-dev -y |
|---|
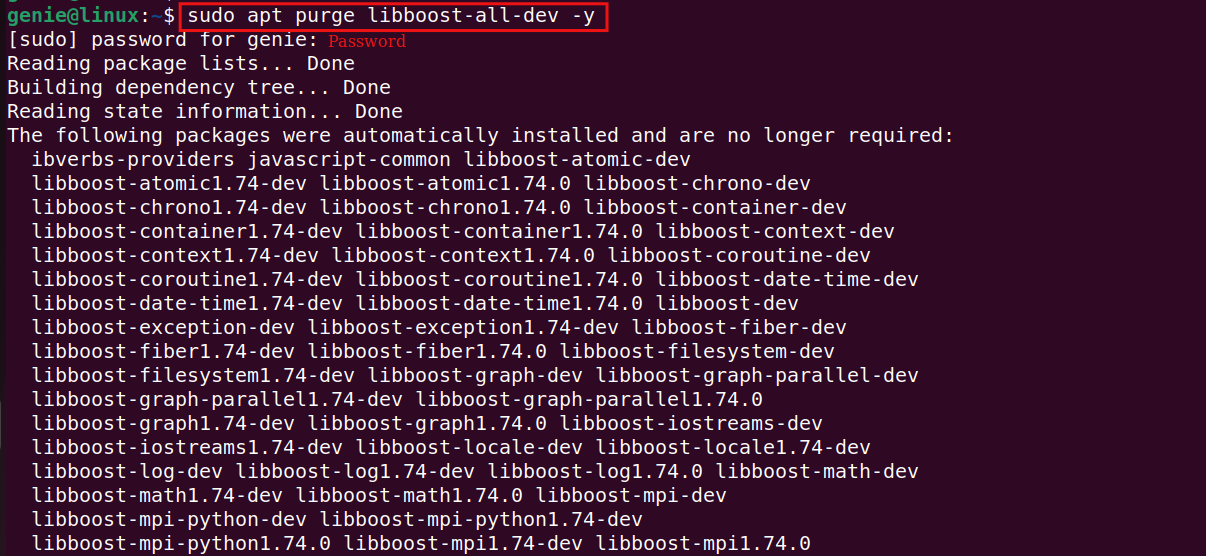
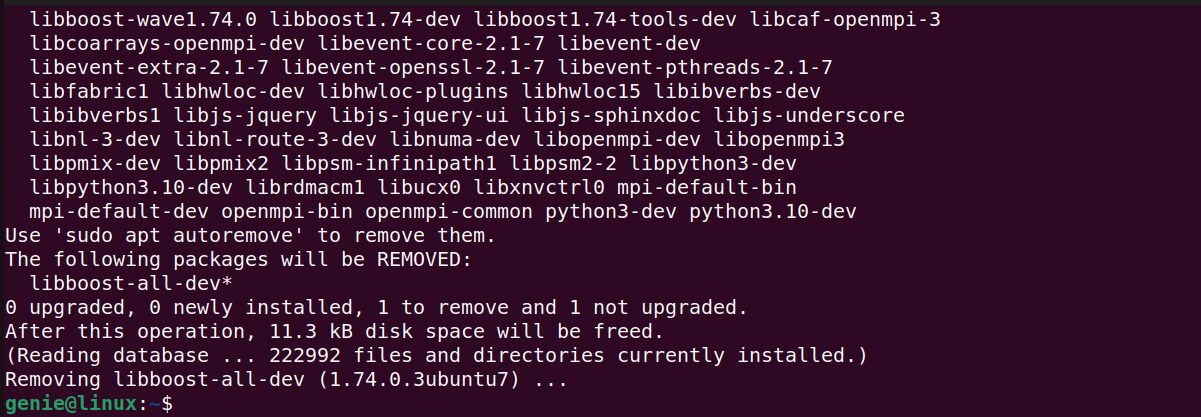
It can be seen in the above screenshot that the Boost package files are removed from your Ubuntu 22.04.
Using the command written below will confirm whether the Boost packages are still available or not.
dpkg -s libboost-all-dev |
|---|

The above message verifies that the Boost C++ is not installed and no information about the package is available.
Conclusion
To Install Boost on Ubuntu 22.04, you need to follow one of the two methods: using the apt package manager or from the Source file (.tar.gz). Open the Ubuntu terminal, type the “sudo apt install libboost-all-dev -y” command, and then press enter to install the Boost packages.
Alternatively, you can use the source file such as boost_1_82_0.tar.gz, to install and configure the Boost on your Ubuntu machine. This article has provided you with different methods for installing and uninstalling Boost packages on Ubuntu 22.04.
