


Budgie is a free, and open-source desktop environment. It is developed by a team known as Buddies of Budgie. It is written in C language and was first released on February 2014.
In this post, I am going to show you how to install the Budgie desktop environment on Ubuntu 22.04 system.
Prerequisite
- sudo or root privileges
- Ubuntu 22.04 instance
Update and Upgrade the System
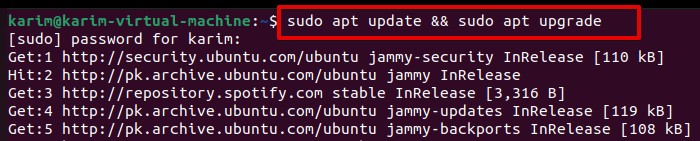
In this first step, we are going to update and upgrade the system repository.
Open up the terminal with the “Ctrl+Alt+T” shortcut key and run the following command on it.
sudo apt update && sudo apt upgrade
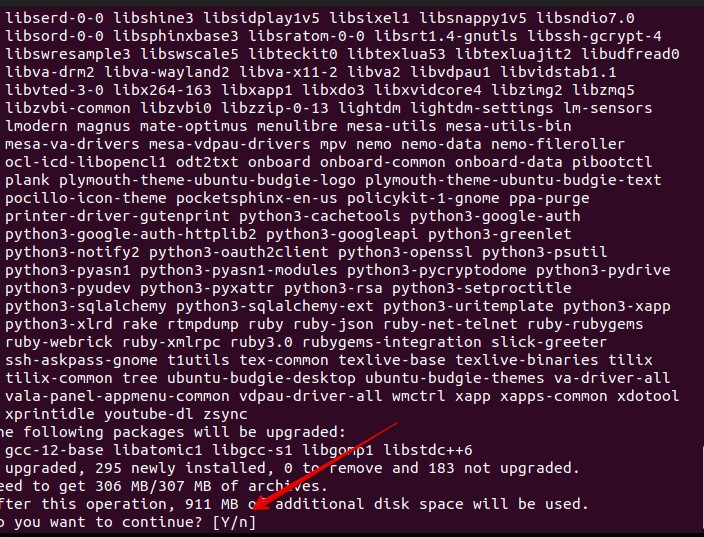
You may be prompted with ‘n/y’ options. Press ‘y’ and hit the [Enter] key from the keyboard.

When you are done, let’s move to installation.
Install Budgie Desktop Environment on Ubuntu 22.04
After you have updated and upgraded the repository, this is the time to install the Budgie desktop environment on Ubuntu 22.04. Use the following command on your terminal.
sudo apt install ubuntu-budgie-desktop

Type ‘y’ and hit the [Enter] key from the keyboard.
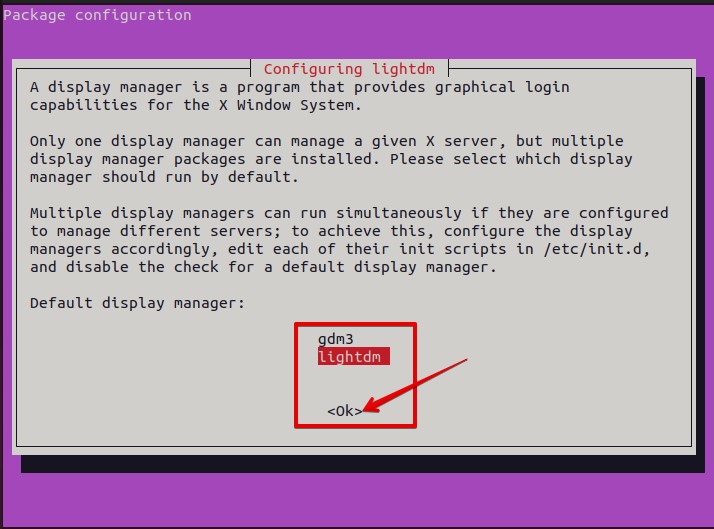
Choose ‘lightdm’ as the default display manager by using the scroll keys from the keyboard.

Wait for the installation to finish. As soon as the installation finishes, reboot the system using the command.
![]()

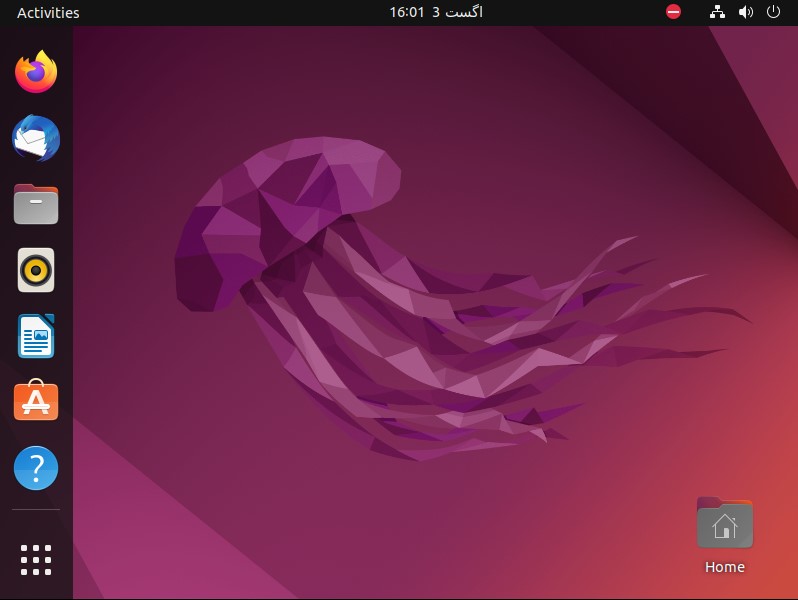
As you can notice from the dashboard, the Budgie desktop has been installed.


How to Remove Budgie Desktop Environment from Ubuntu 22.04
If you want to remove the Budgie desktop environment, execute the following on the terminal.
sudo apt remove ubuntu-budgie-desktop ubuntu-budgie* lightdm
sudo apt autoremove
sudo apt install --reinstall gdm3
Reboot the system.
![]()
You will have an old GDM3 as the default desktop.

Conclusion
Congratulations!! You have successfully installed and removed the Budgie desktop environment on your Ubuntu 22.04 system.
