How to Install Monit on Ubuntu
Monit is a powerful open-source monitoring tool that allows you to monitor and manage your Linux system’s processes, files, directories, and network services. It can be used to ensure that your system is running smoothly and to alert you in case of any problems. In this article, we will show you how to install Monit on Ubuntu 22.04.
Install Monit on Ubuntu
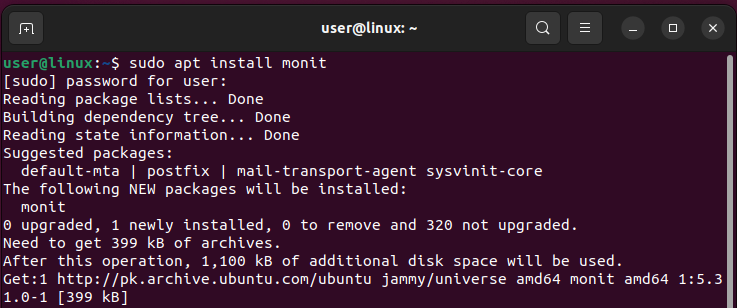
The capability of Monit to take actions automatically when specific criteria are fulfilled is one of its primary characteristics. For instance, Monit has the ability to automatically restart an important service if it discovers that it is not running. This can assist to minimize downtime and ensure that crucial services are always available; to install it on Ubuntu, simply run the command:
sudo apt install monit |
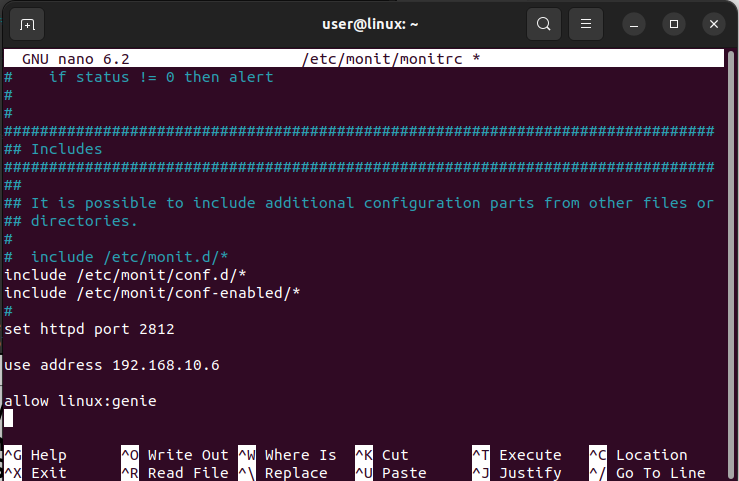
It is now time to add the login, password, and IP address needed to access this monitoring program, as well as to open its configuration file by executing:
sudo nano /etc/monit/monitrc |
Simply add the device’s IP address, port number, and the appropriate login and password after opening the Monit configuration file:
set httpd port 2812 Use address <Your-IP> Allow <username>:<password> |
Once you have finished making configuration changes, simply start this tool service:
sudo systemctl start monit |
After the tool has been switched on, enable it by doing the following command:
sudo systemctl enable monit |
Once it is operational, verify that it is responding to the IP specified in its configuration file by running the command listed below:
sudo netstat -antup|grep -i monit |
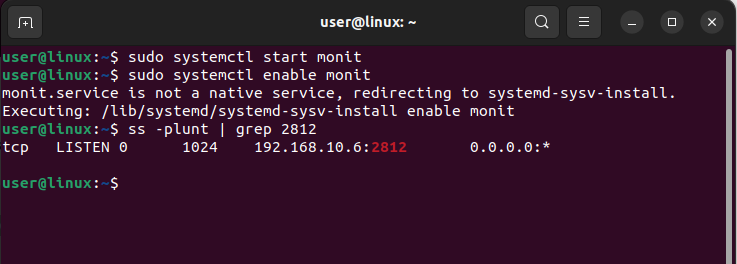
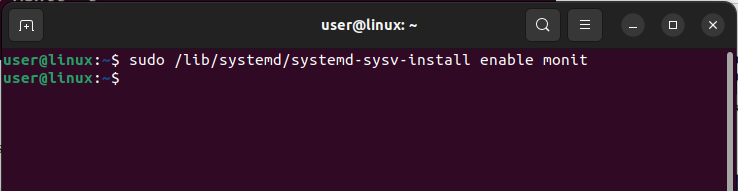
If the Monit service isn’t already enabled, execute the following command to make it such that it starts up with the system and afterwards restart the service:
sudo /lib/systemd/systemd-sysv-install enable monit |
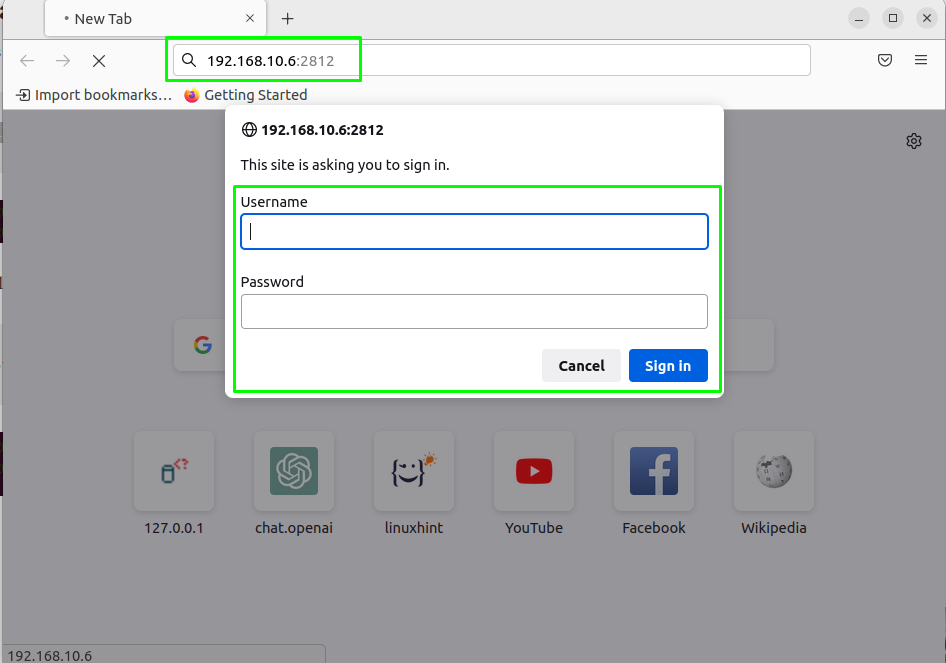
Now, connect in to the tool’s online interface using your Ubuntu IP address and the port specified in the configuration file by using the following login information:
<system-ip-address>:<given-port-number> |
You will see the system resource usages once you have successfully logged into the online interface:
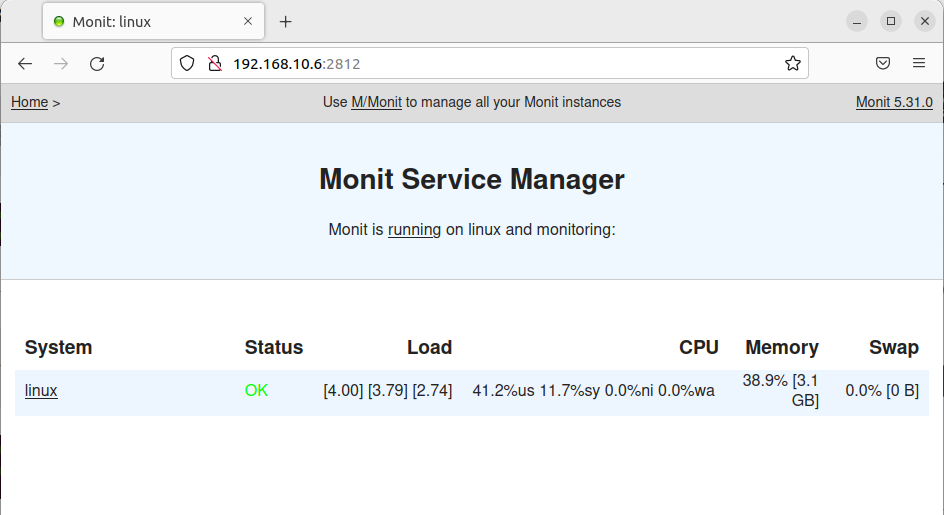
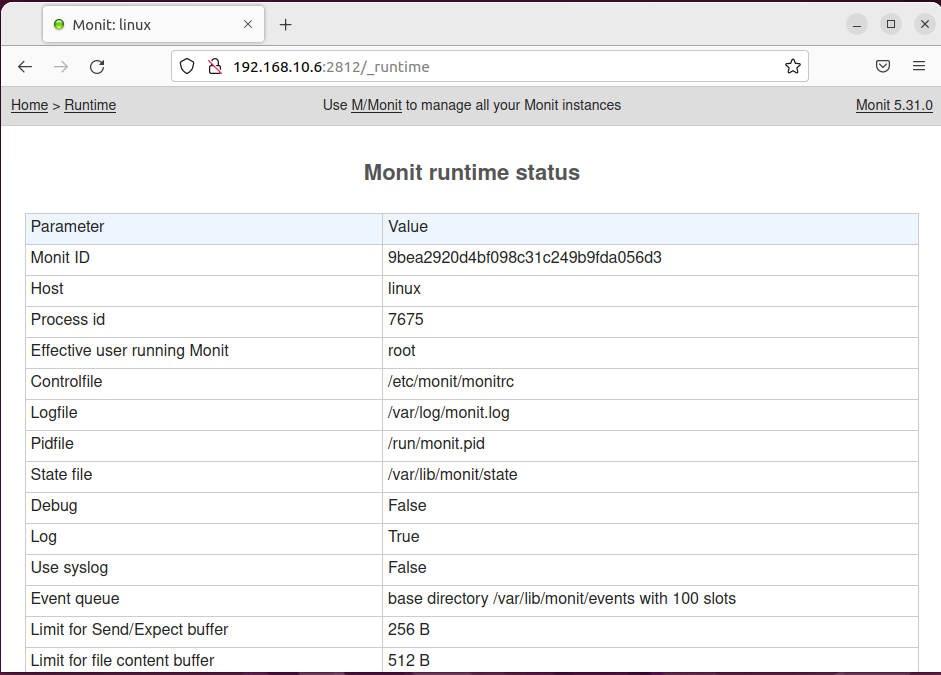
Simply click on “running” to open a new tab with all the status information for the processes now operating on your Linux system, allowing you to take a more thorough look at them:
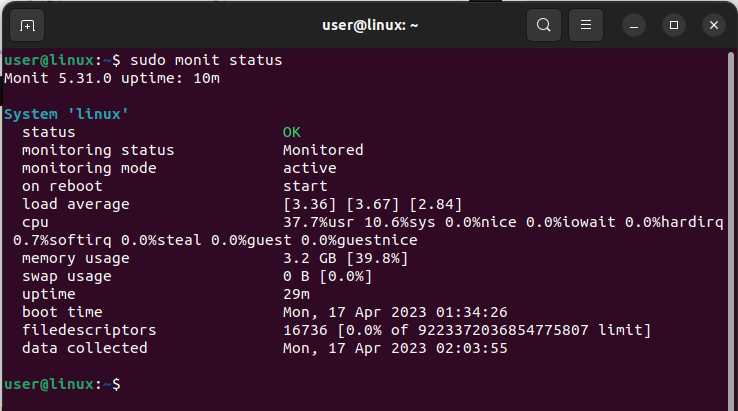
Additionally, you can just use the following command to check the status of the system via the command line:
sudo monit status |
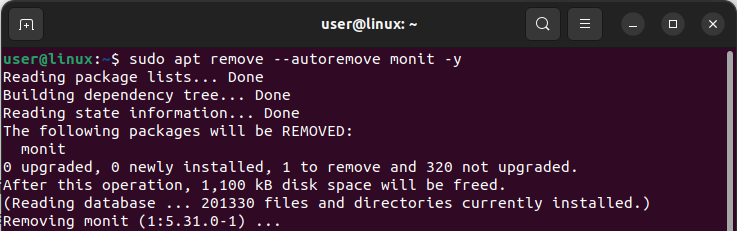
Now, if you installed this program using apt, use the following command to delete it from Ubuntu:
sudo apt remove --autoremove monit -y |
Conclusion
In this article, we have shown you how to install Monit on Ubuntu. Monit is a powerful monitoring tool that can help you keep your system running smoothly. By following the steps outlined in this article, you can easily install and configure Monit on your Ubuntu system.
