
How to Install PyCharm on Ubuntu 22.04
PyCharm is one of the most commonly used integrated development environments (IDE) for software development using Python. With a range of amazing features such as a GUI debugger, code analyzer, integrated tester, and connectors for various version control tools, it provides a host of capabilities to the developers.
Using the professional license, you get support for web frameworks such as Django, web2py as well as Flask. Furthermore, if you want some functionality that’s not available to your out of the box, you can simply install plugins to extend the functionality or write your own to address your needs.
So how can you utilize all this power offered by PyCharm on your computer running Ubuntu 22.04? In this guide, we will explore all the steps you need to perform to install PyCharm on your computer. Let’s get started.
Licenses
Before we start the installation, let’s explore the available licenses so that you know which one to install.
Community: This is a free license for developers with a limited set of features.
Professional: This is the fully equipped version of PyCharm with extended support and a price tag depending on your usage.
Education: This is pretty much the same as the professional edition, doesn’t cost you anything as long as you are a student or a teacher and you cannot create commercial applications using it.
Now you can select any of these depending on your needs.
Update your system repositories
Like with the other installations, it’s highly recommended that we run an update and upgrade before starting any installation so that there are no conflicts during the installation process. In your terminal, run this:
$sudo apt update && sudo apt upgrade -y

Depending on when you performed the last update, the process can take anywhere between a minute to five minutes to complete.
Install Pip
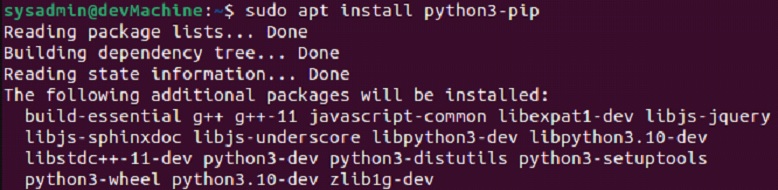
Though we can do this later as well, it’s better if we install pip beforehand for better integration with the PyCharm installation. Kick off the installation using this:
$sudo apt install python3-pip
Once you are done with the installation, you can opt for any of the methods mentioned below.
Method 1 – Through the Ubuntu Software Store
Open up your Ubuntu Software Store. Usually, it is added to the favorites on the left, but you can also launch it from the applications drawer. Now pull up the search bar using the button in the upper left corner, and type in “pycharm”.
From the options that show up, select the one relevant to your license. In this guide, we will be installing the community edition, so let’s select the highlighted option.

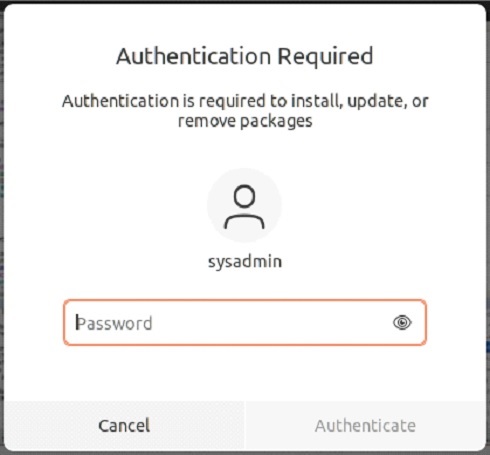
On this next page, select the green “Install” button. It will prompt you to provide your sudo password and once you do that the installation will commence.
When the installation completes the Install button will be replaced by two others for uninstall. With that, you are done. You can move on to the launch section.

Method 2 – Through Snap
This method is fairly straightforward. Just like the last method, we will be installing the community edition. Run:
$sudo snap install pycharm-community --classic

The installation will complete in a couple of minutes. After it installs, you can run the following to verify the installation:
$sudo snap list pycharm-community

With this output, it means that the installation has been completed. If you want to install the other versions you can use the commands below respectively:
$ sudo snap install pycharm-professional --classic
$ sudo snap install pycharm-educational --classic
Launching PyCharm
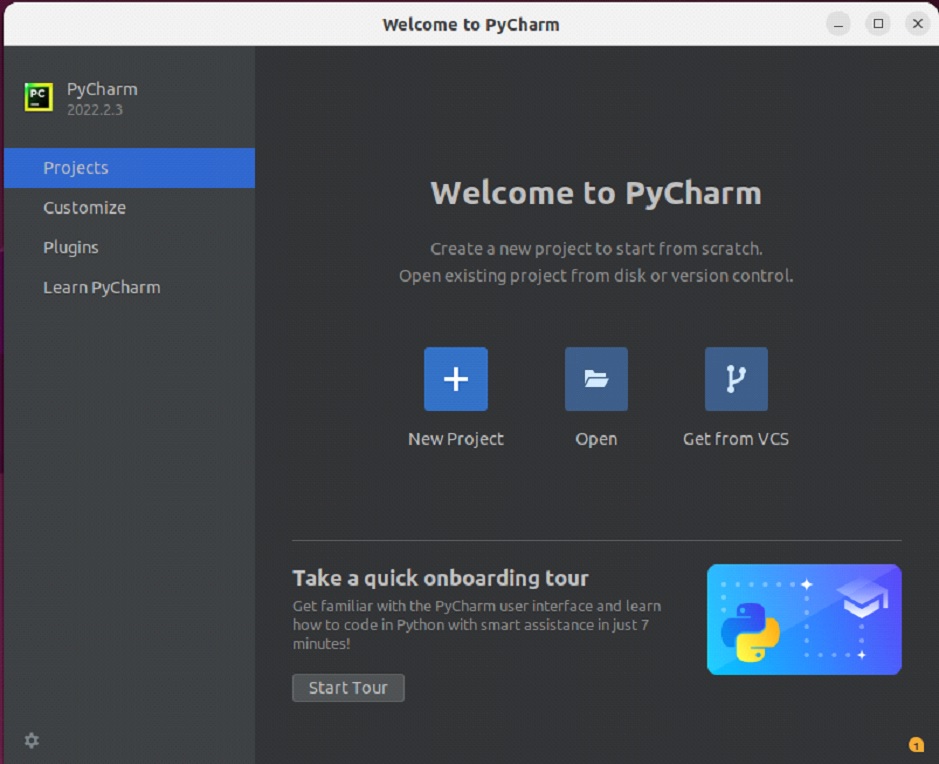
You get two options on how to launch PyCharm on your Ubuntu 22.04. You can go into applications and type in “pycharm” into the search box to pull up the application icon. Click on it to launch the IDE.

Similarly, in your terminal you can execute this to launch the IDE:
$pycharm-community
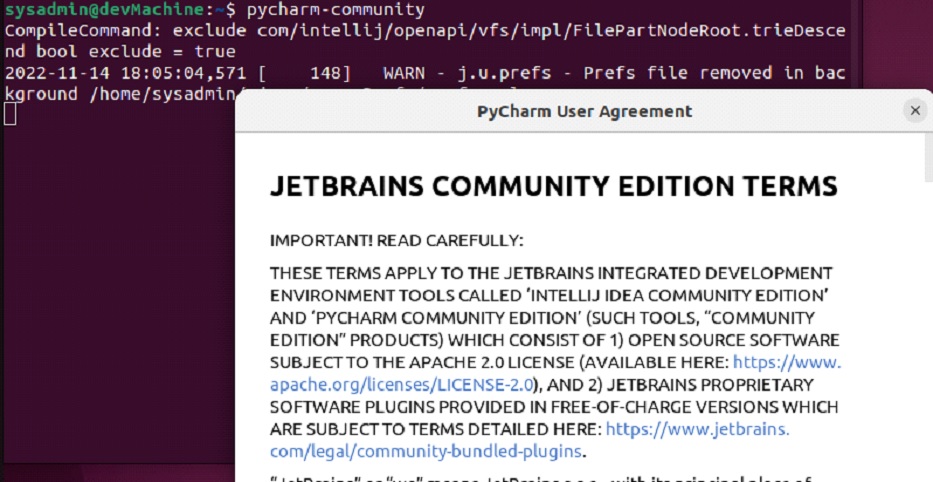
When you launch the IDE for the first time, you will see the user agreement. As you accept it, it will not pop up every time later.
Troubleshooting
If you face the following error “ModuleNotFoundError: No module named ‘distutils.core’” when launching the IDE, you need to run the following to fix it:
$sudo apt-get install python3-distutils
Uninstalling PyCharm
If for any reason you want to uninstall the IDE from your computer and reclaim the consumed disk space, it’s a fairly simple process. If you installed it through the Software Store, you need to head back into the Ubuntu Software Store and navigate to the application page for the IDE.

On this page, you will need to click on the red “bin” button to commence the uninstallation process. It will prompt you to confirm the operation and then ask you for your sudo password.
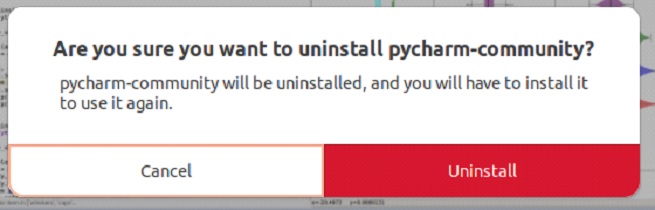
When you provide that, the IDE will be removed from your computer and your disk space will be freed up. Similarly, if you installed the snap, you can remove it using:
$sudo snap remove pycharm-community

If you installed any other version, you can replace “community” with the respective edition mentioned in the command.
Conclusion
That’s all you need to know about the PyCharm on Ubuntu 22.04. You now know how to install it, launch it and uninstall it from your computer. If you face any errors or issues while following the guide, you can engage us through the comments section below and we’ll gladly help you out.
Let us know what you thought of the instructions, or if you have any other comments. Cheers.
