
How to Install Ruby in Ubuntu 22.04
Ruby, currently stands as one of the most popular and employed programming languages in the world. Its open-source and interpreted nature makes it very powerful for designing and developing both front and back-end applications. You can also employ it for various tasks related to data analysis and in general a very wide range of programming tasks. You can efficiently build and deploy effective and scalable apps.
You can install Ruby on your computer running Ubuntu 22.04 through various methods. Here I will explore all the steps involved in these methods, guiding you on how to install it for yourself.
Update your system repositories
Before we explore the various methods for installing Ruby on your computer, let’s run the update and upgrade operations to avoid any conflicts during the installation process.
$sudo apt update && sudo apt upgrade -y

When this process has been completed, we are ready to explore the methods. This step is a pre-requisite for all the methods mentioned below.
Method 1 – Through the official repositories
Let’s start with the simplest way. Ruby is available through the official Ubuntu repositories. In your terminal, you need to run this:
$sudo apt install ruby-full -y
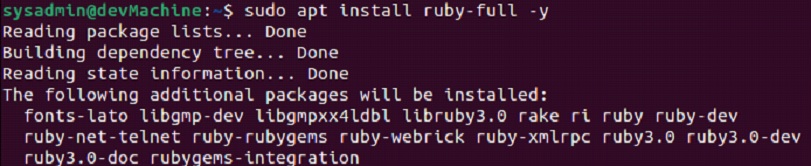
You will soon get your prompt back. If you don’t understand the output and want to confirm that Ruby has been successfully installed, you can run this:
$ruby --version

Uninstalling Ruby
Similar to the simple installation process, you can use the “autoremove” command with the “purge” option to uninstall Ruby from your computer. In your terminal execute this:
$sudo apt autoremove ruby --purge -y
Method 2 – Through the Ruby Version Manager
Ruby Version Manager or RVM is a terminal-based utility that empowers users to easily install, update and employ multiple environments of Ruby on a singular computer. It’s an elaborate setup that requires you to set up multiple packages for proper operations.
Resolve dependencies
Before we install RVM, let’s install all the packages required for Ruby and the Ruby Version Manager to run optimally. Use this to install all the required dependencies:
$sudo apt install curl g++ gcc autoconf automake bison libc6-dev libffi-dev libgdbm-dev libncurses5-dev libsqlite3-dev libtool libyaml-dev make pkg-config sqlite3 zlib1g-dev libgmp-dev libreadline-dev libssl-dev

With this output, all the dependencies will have been successfully installed.
Installing RVM
With these steps complete we can now install RVM using curl.
$curl -sSL https://get.rvm.io | bash
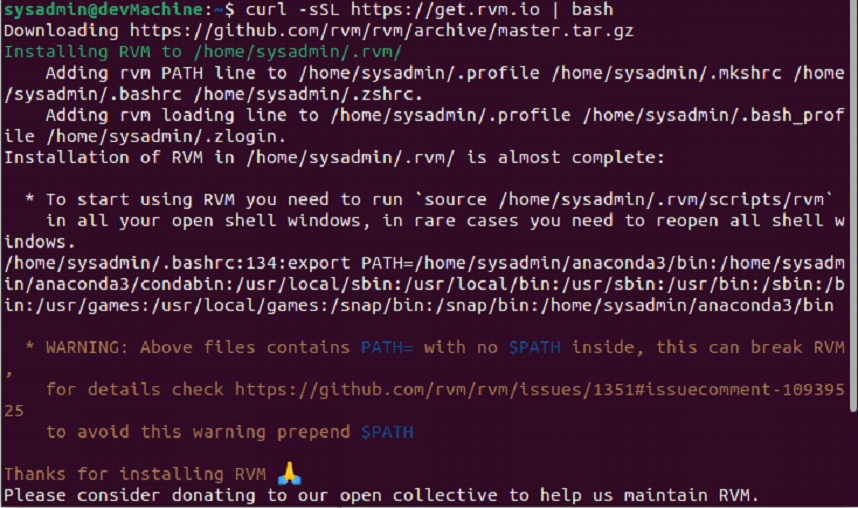
Out of all the installation output messages, this is one of the few that thanked us for the installation. Now with RVM installed, you can start setting up the environment.
Loading the script environment
Use the following command to load up the RVM script environment.
$source ~/.rvm/scripts/rvm
![]()
Installing Ruby
Before installing Ruby, let’s pull up the list of all the available versions to install through RVM. To get the list, execute:
$rvm list known
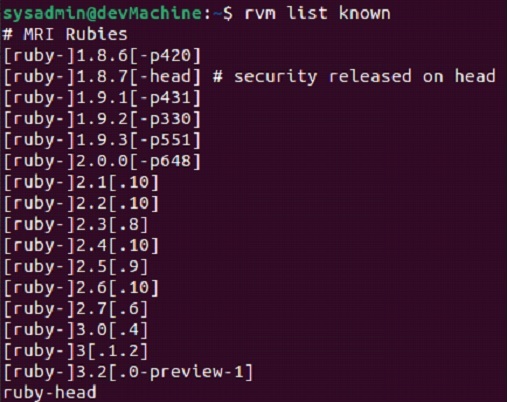
With all of the versions listed in the terminal, we can choose the version we want to install and use the command below to install it, like:
$rvm install ruby-3.1.2

After getting the prompt back, you can run the version command to verify that the installation has been successfully completed.
$ruby --version
Uninstalling RVM
If you want to remove RVM you need to run:
$rvm implode
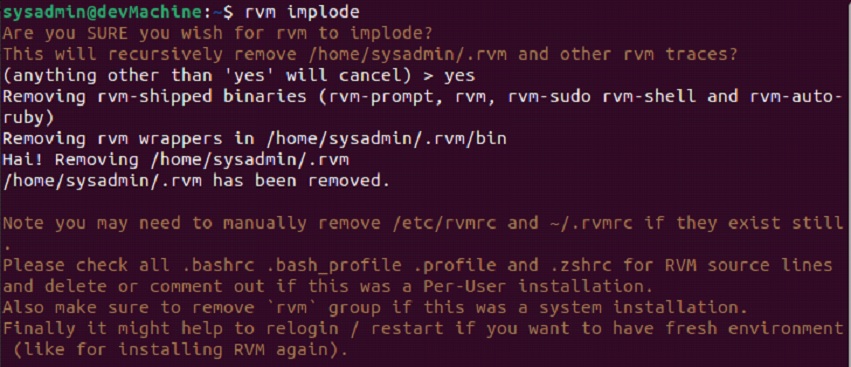
Running the command will remove your “rvm/” directory and all the rubies you build with it. If you face any issue with the implode command, you can use the force option like such:
$rvm implode --force
If you want to remove any lingering traces, make sure to remove the rvm gem as well, by using this:
$gem uninstall rvm
Method 3 – Through Rbenv
Rbenv is another terminal-based utility that allows easy installation and maintenance of Ruby environments in Ubuntu. It is available through the official Ubuntu repositories, and you can install it through a straightforward process.
Resolving dependencies
We need to resolve dependencies for Ruby to operate optimally within Rbenv. Install the following:
$sudo apt install git curl autoconf bison build-essential libssl-dev libyaml-dev libreadline6-dev zlib1g-dev libncurses5-dev libffi-dev libgdbm6 libgdbm-dev libdb-dev

When you get your prompt back, it means that all of these mentioned packages have been successfully installed on your computer.
Installing Rbenv
Leveraging the “apt” repositories, you can install it using:
$sudo apt install rbenv

After this, you can run the version command to make sure that it’s been successfully installed.
Installing Ruby
Like RVM, you now need to pull up the list of the available Ruby versions available to install. You can query the list using:
$rbenv install -l

From the options that show up in the last output, you can select anyone and install your desired version as such:
$rbenv install ruby 3.1.2
In this command, you can replace [ruby 3.1.2] with the version of your choice.

After this, you can run the “version” command to make sure that the installation has been completed without any errors.
Uninstalling Rbenv
If you are done with your project and want to remove Rbenv from your computer, you can completely remove it from your computer using the following:
$sudo apt-get autoremove rbenv --purge
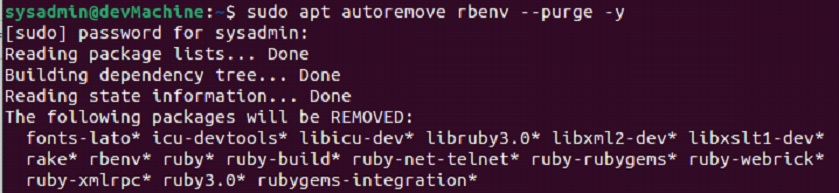
Here using the “autoremove” option will remove all of the dependent packages installed during the initial setup, and the “purge” option removes all the configuration data and other traces of Rbenv from your computer.
Conclusion
All three methods mentioned in this guide can be used to install and use Ruby on your computer running Ubuntu 22.04. All three methods can be used by people with varying levels of expertise.
Like always, if you face any errors or issues during any step of the guide, please drop us a message in the comment section below. Let us know if you have any thoughts or comments below. Cheers.
