
How to Install VirtualBox on Ubuntu 22.04
VirtualBox is a versatile hypervisor that allows users to run multiple operating systems simultaneously on a single computer, eliminating the need for separate hardware. It is highly popular among developers and testers for its extensive features and convenience in creating, testing, and evaluating software across various operating systems. Follow our guide to install VirtualBox on Ubuntu 22.04 and unlock its power.
Update and upgrade your system repositories
There are multiple methods that can be used to install VirtualBox on your Ubuntu 22.04. Before we get started, we need to make sure that there are no pending updates in the system. You can kick off the process by executing with the following command in your terminal:
$sudo apt update && sudo apt upgrade -y
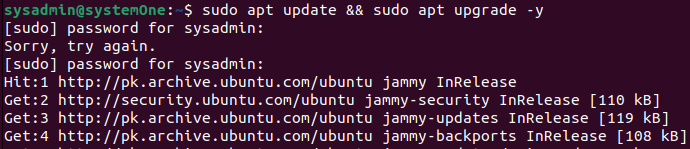
Depending on how long ago you last ran this, this will take this some time to complete. As soon as this completes, you are ready to start the installation through either of the methods mentioned below. Note that this step isn’t mandatory but it can be considered a recommended practice.
Method 1: Installing VirtualBox through the system repository
After the upgrade process completes, you can simply run the following to start the installation process:
$sudo apt install virtualbox -y
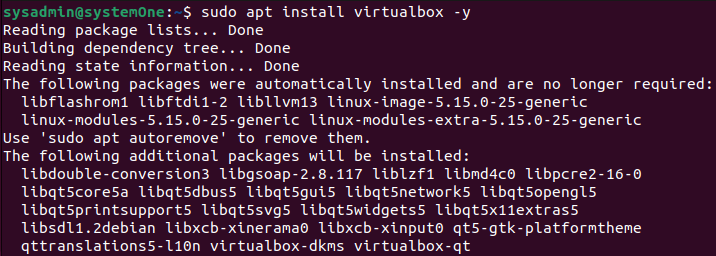
The installation will take up approximately 414MB of free disk space. Note that the system repositories don’t include the latest version of VirtualBox. So, you won’t get the latest features when you launch it after installation.
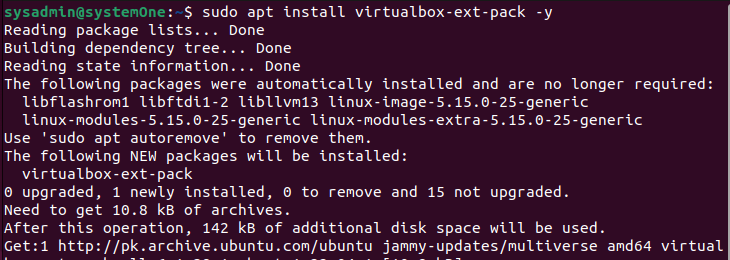
VirtualBox will be ready for use once this process completes. If you want to extend the compatibility and use your USB devices and web cam, along with many more, you’ll need to install the following package:
$sudo apt install virtualbox-ext-pack -y
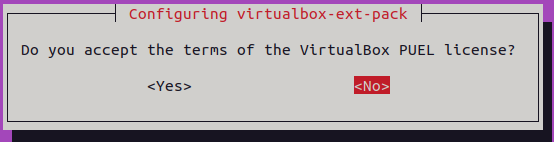
Near the end of the installation completes, the terminal will display a license agreement that you can read and click on <Ok> to accept the agreement terms.
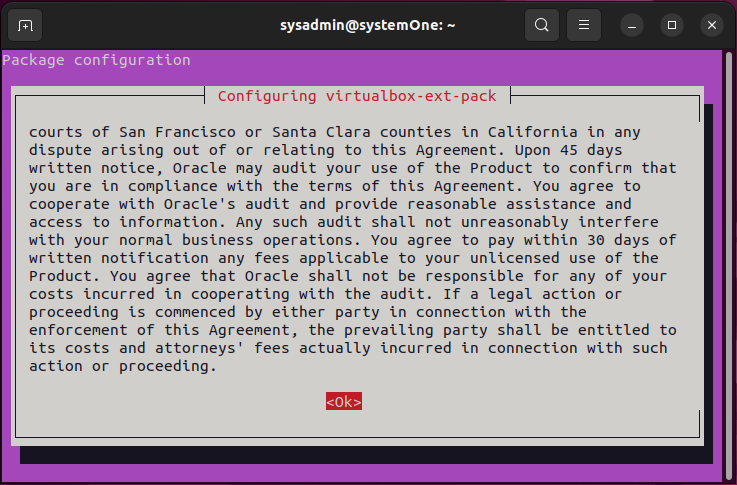
Once you select <Ok> you will be prompted to confirm it once again and then the installation process will complete.
Method 2: Installing VirtualBox through the official website
Like the last method, after the update process, you can simply head over to the downloads page on the official website of VirtualBox.
https://www.virtualbox.org/wiki/Downloads
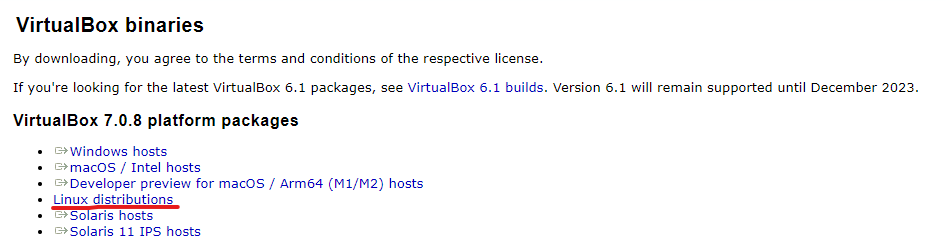
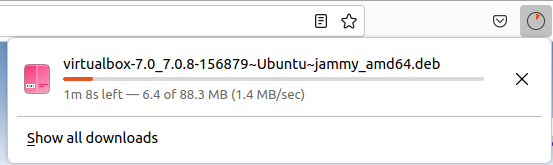
Here you need to click on “Linux Distributions” and on the next page select your installed distribution, which in our case is going to be “Ubuntu 22.04”. You will see the latest deb package start downloading within your browser.
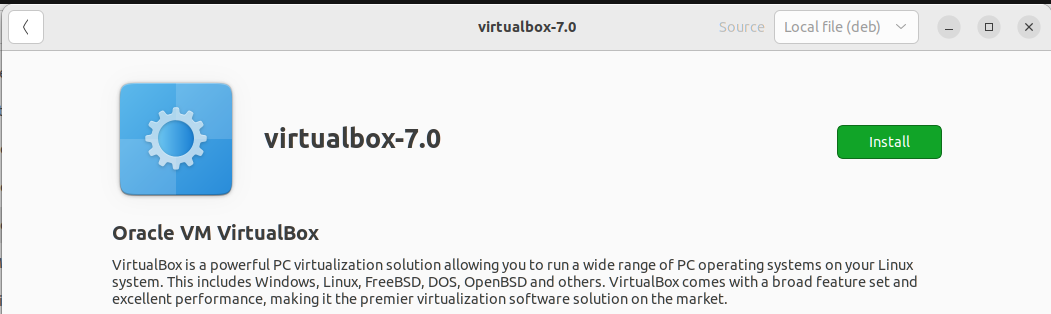
In your file explorer, navigate to the location containing the deb package. Right click on it, select “Open with Other Application” and select “Software Install” and then click on the green button in the upper right corner.
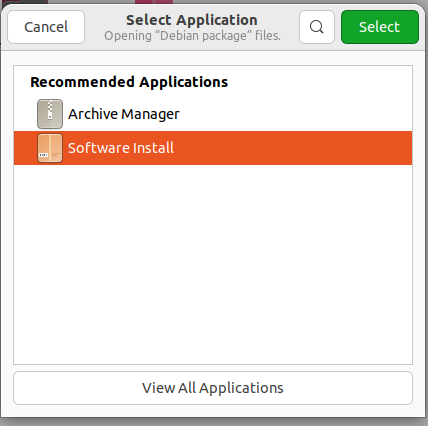
In the next window, click on the install button to start the installation process, and as soon as it completes, you are ready to launch it.
Launching VirtualBox
Like every other tool, there are two ways that you can use to launch VirtualBox on your computer. You can simply go into your application drawer and type in “virtualbox” into the search bar. You will see that the icon pops up, now all you need to do is click on it to launch the application.

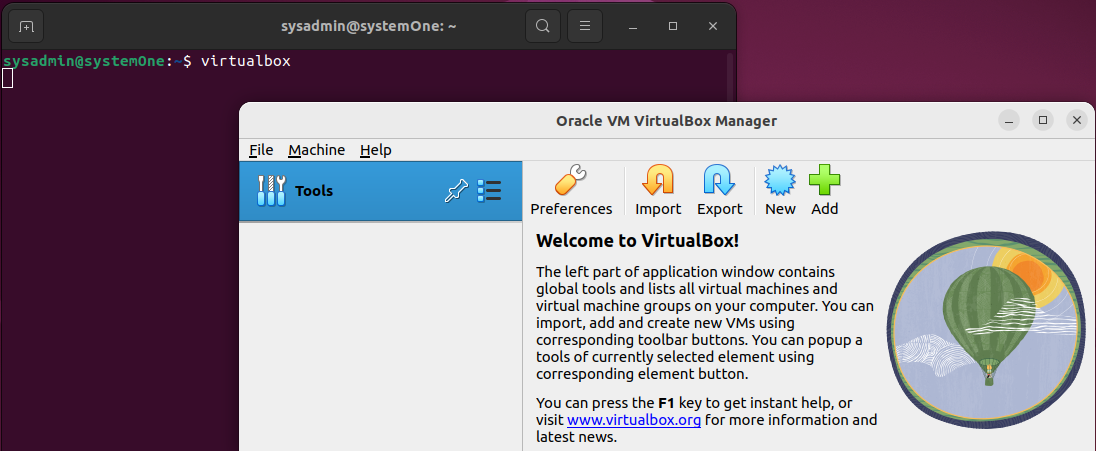
Otherwise, if are working in your terminal and you want to launch it through there, you can simply type the following to launch it:
$virtualbox
Uninstalling VirtualBox
If you want to uninstall VirtualBox from your computer running Ubuntu, you need to follow these steps below:
- Open a terminal window.
- Run the following command to list all the packages that contain the word “virtualbox”:
$dpkg -S virtualbox
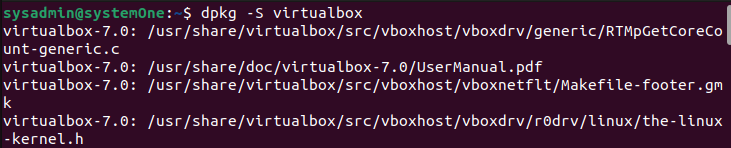
This will list all the packages that are installed on your system that contain the word “virtualbox”.
- Take note of the package names that are listed.
- Run the following command to uninstall VirtualBox:
$sudo apt remove --purge <package_name>
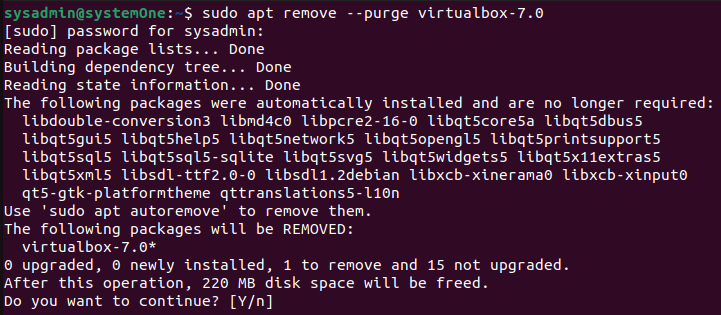
Replace <package_name> with the name of the package that you want to uninstall.
- When prompted, type Y and press Enter to confirm the removal.
- VirtualBox will be uninstalled from your system.
Note: If you have any virtual machines that were created using VirtualBox, you will need to delete them manually. The uninstall command will not delete your virtual machines.
Error handling
Here are some additional tips for uninstalling VirtualBox if you are facing any errors:
- If you are having trouble uninstalling VirtualBox, you can try running the following command:
$sudo apt --reinstall install <package_name>
This will reinstall VirtualBox and then uninstall it again. This may help to resolve any issues that you are having. If you are still having trouble uninstalling VirtualBox, you can let us know and we’ll gladly help you out.
Conclusion
Installing VirtualBox on Ubuntu 22.04 is a simple process that allows users to create and manage virtual machines on their Linux systems. Easily install VirtualBox on Ubuntu 22.04 to create and manage virtual machines, enabling simultaneous operation of multiple operating systems. Embrace the versatility and efficiency of VirtualBox, enabling you to do more with your Ubuntu. Explore different software environments and test applications effortlessly.
