How to Install Zoom on Ubuntu 22.04 LTS
In Ubuntu and other Linux distributions, Zoom is used to attend/host meetings, seminars, conferences, or classes online. Zoom facilitates the participants/host to interact with each other as an audio or video conference alongside the screen-sharing feature. Zoom has a wide community that uses Zoom for various purposes (the majority of them for work, a few of them for casual communications).
In light of Zoom’s importance for Ubuntu users, this post will address the possible methods to install Zoom on Ubuntu 22.04.
How to Install Zoom on Ubuntu 22.04?
In Ubuntu, Zoom can be installed from the snap store (via the command line and the GUI), from the flatpak/flathub repository, and by downloading the “.deb” package from its official website. All these methods are practically demonstrated below:
Method 1: How to Install Zoom Using Snap?
Snap is a widely used tool across various Linux distributions including Ubuntu. A Snap package system comprises three components which are described:
- Snaps: The packages are supported or made available by the Snap store. It is the name of the package available on the snap store.
- Snapd: The tool that manages (responsible for installing, removing, and updating).
- Snap Core: The low-level dependencies that are required for the Snaps.
In Ubuntu, the Snap Store support is available through the terminal and the Ubuntu Software Centre. Let’s dig into the terminal method first:
Method 1.1: Using Terminal Support of Snap Store
Follow the steps below to install Zoom on Ubuntu via the terminal support of Snap Store:
Step 1: Update Packages List
Update the packages list using the command:
$ sudo apt update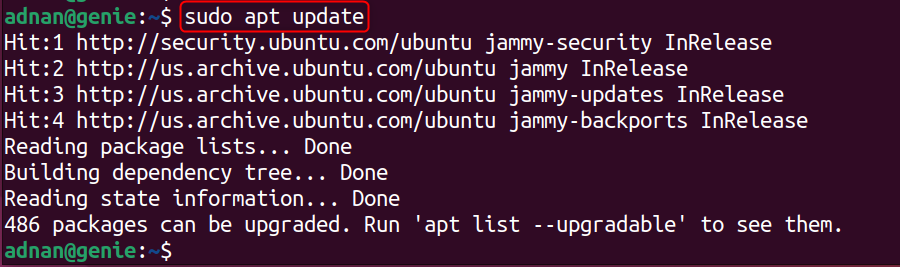
Step 2: Install Snapd and Snap Core
Use the below command to install the Snapd and Snap Core to manage the Snaps and resolve the low-level dependencies of those Snaps:
$ sudo apt install snapd && sudo snap install core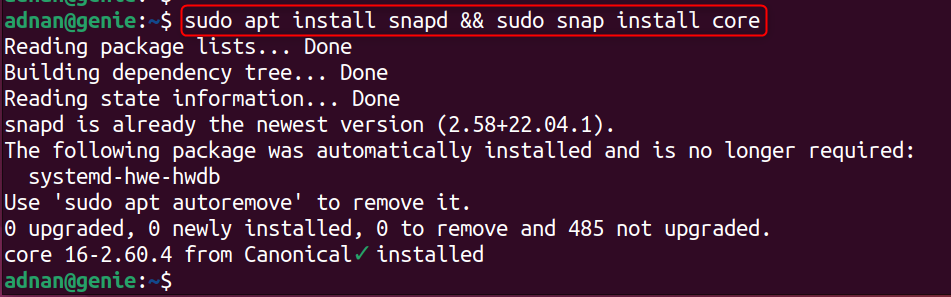
Note: In the recent advancements by the Snap if the Snap core is not available on the system. It won’t stop you from installing the package. Rather, the Snap core is installed at the time of installing the Snaps.
Step 3: Install Zoom
The Zoom is available on the Snap store with the name, “zoom-client” which can be installed via the command:
$ sudo snap install zoom-client
Let’s launch Zoom from the terminal using the command:
$ zoom-clientMethod 1.2: Using the GUI Support of the Snap Store
Ubuntu Software Center supports the packages from the Snap Store as well. To install Zoom, open the Ubuntu Software and search for Zoom in the search bar:
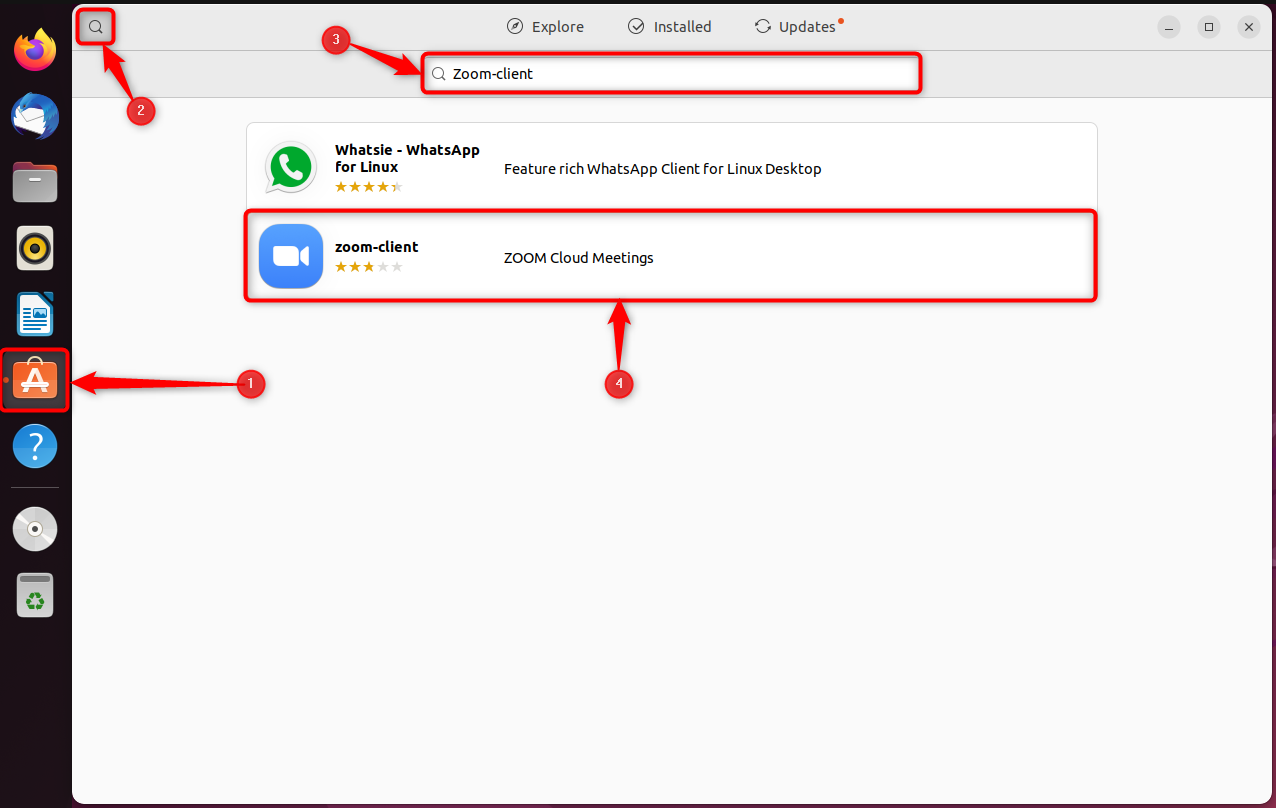
Click on Zoom from the search results to see that the source is Snap Store. Click on the “Install” button:

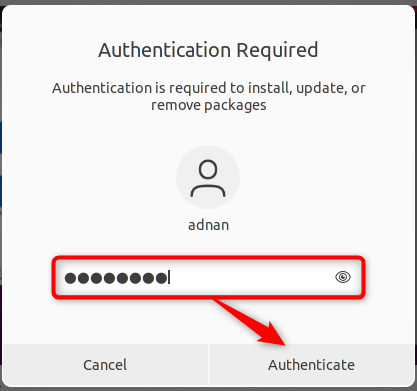
A user’s password is required to proceed further:
The installation will be started and soon the “Install” button will be changed to “Remove”, which assures that “Zoom” has been installed on the system.

Method 2: How to Install Zoom Using the FlatPak?
Flatpak is a package management utility used to install packages on Ubuntu (and on other Linux distros as well). Flatpak fetches the packages from the flathub repository. Thus, the users must install Flatpak and add the flathub repository to their system to install Zoom (or any other package). Let’s Install Zoom using Flatpak:
Step 1: Install Flatpak
Flatpak is available on the default repository of Ubuntu and is installed via the command:
$ sudo apt install flatpak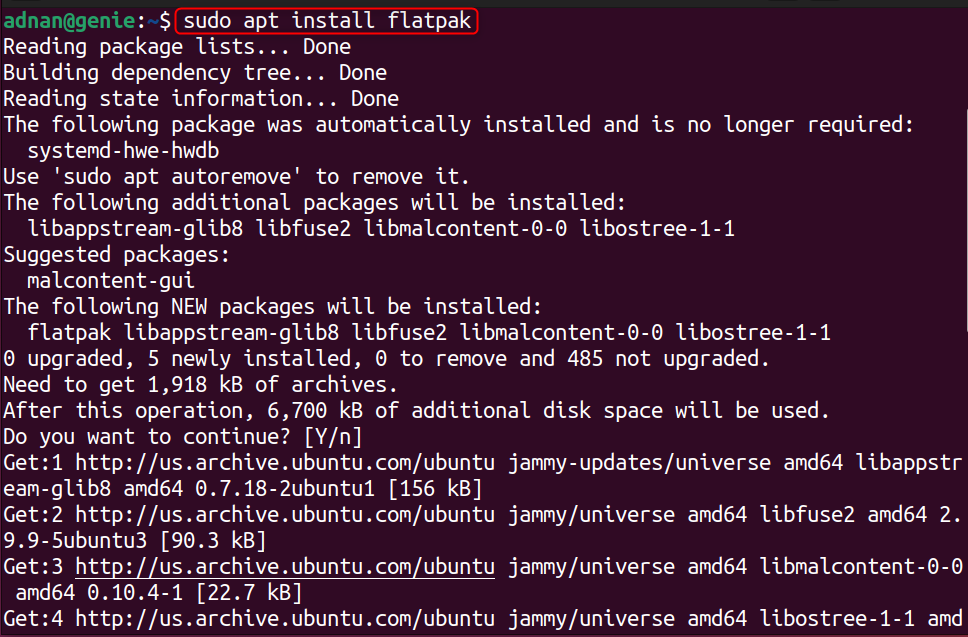
Step 2: Add Flathub Repository
The next step is to add the flathub repository using the command:
$ sudo flatpak remote-add –if-not-exists flathub https://flathub.org/repo/flathub.flatpakrepo
Step 3: Install Zoom Via Flatpak
Now, access the remotely added flathub via the flatpak to install Zoom on Ubuntu:
$ flatpak install flathub us.zoom.Zoom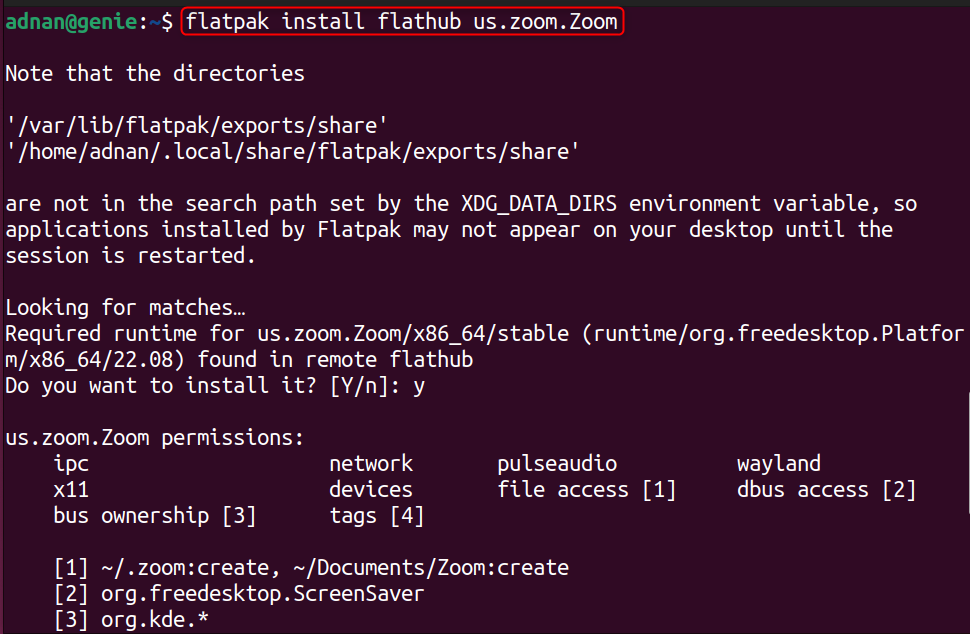

Note: The Zoom installed via flatpak needs a system restart before launching.
Method 3: How to Install Zoom Using the Debian Package?
Zoom has provided the Debian package file on its official website. The Debian package file can be downloaded and then installed on your system. The process is explained below:
Step 1: Download the Debian Package File
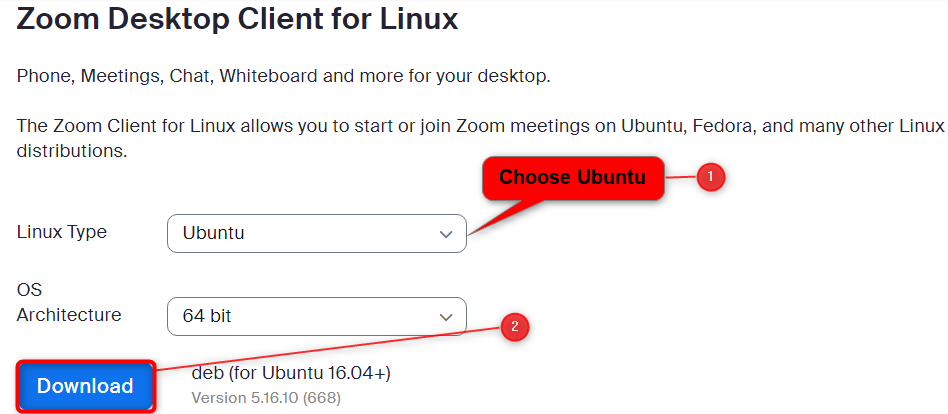
Navigate to the Zoom For Linux page on its official page. Choose Ubuntu as your distribution and click on the “Download”:
Or use the following command to download the “.deb” package from the terminal via the command:
$ wget https://zoom.us/client/5.16.10.668/zoom_amd64.deb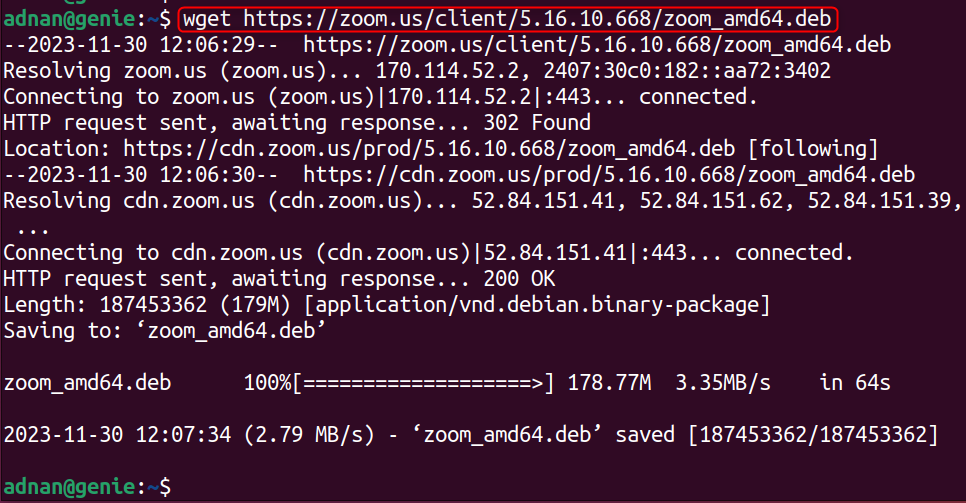
Step 2: Install Zoom From the File
Use the apt or the dpkg command to install the Debian package file. Both the commands are written below (it is recommended to use apt):
Using apt (Recommended):
$ sudo apt install <Path of the Deb File>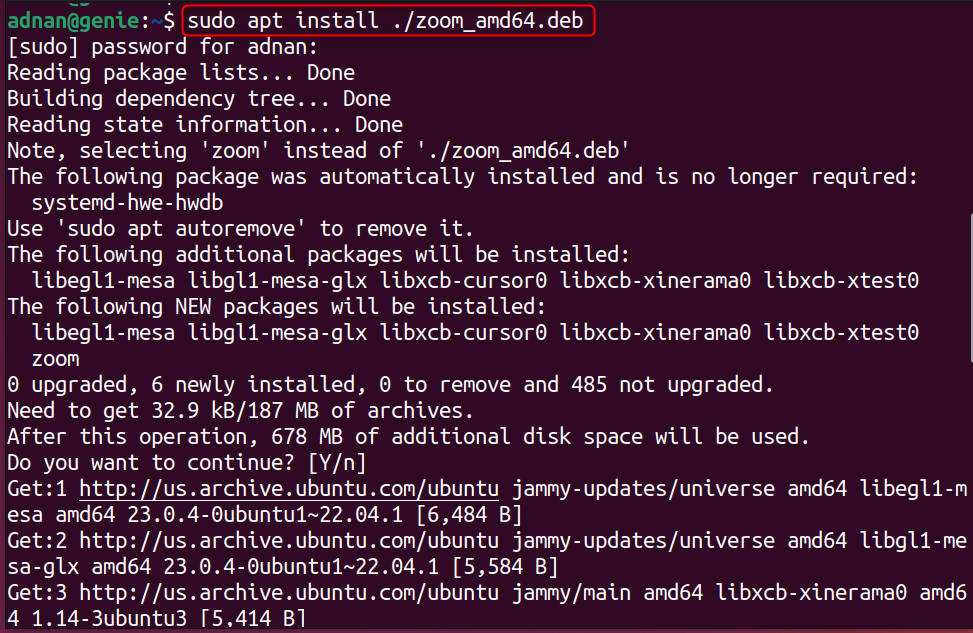
Using dpkg:
$ sudo dpkg -i <Path of the Deb File> #To Install Zoom via dpkg

$ sudo dpkg –configure -a #If you get any Dependency Errors
The installed version of Zoom can be launched from the terminal or the applications menu.
How to Use Zoom on Ubuntu 22.04?
Zoom has a two-way purpose, to join a meeting or to host (a person who starts/initiates) a meeting. Let’s see how to join/host a Zoom meeting on Ubuntu 22.04:
Host a Zoom Meeting on Ubuntu 22.04
If you are about to host a Zoom meeting, then you must have a Zoom account and proceed with the following. Launch Zoom and complete the sign-in/sign-up process:
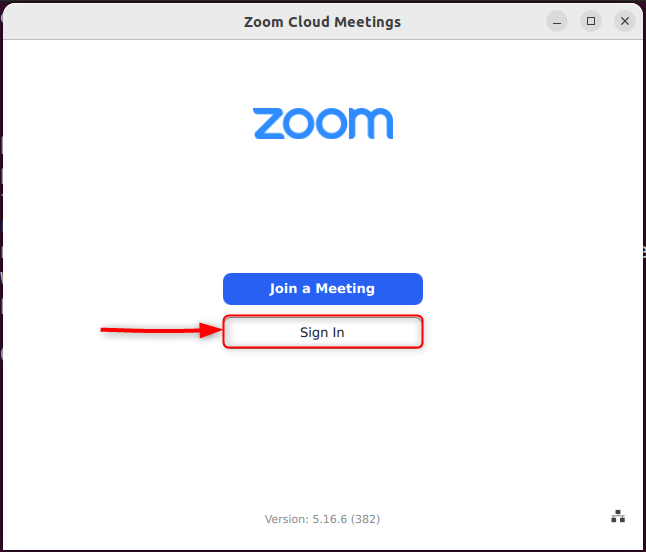
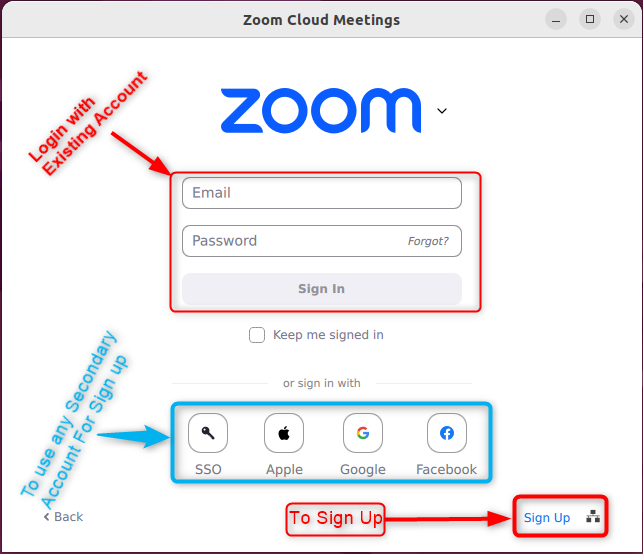
Sign in with the existing account (or use the alternative account for sign up) or Sign up to create a new account:
After completing the Sign, click on the New Meeting button to configure the meeting (that you are about to host):
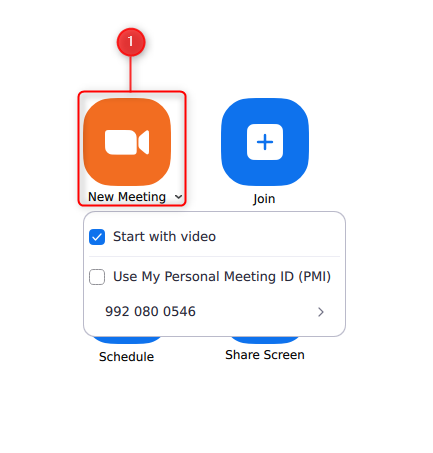
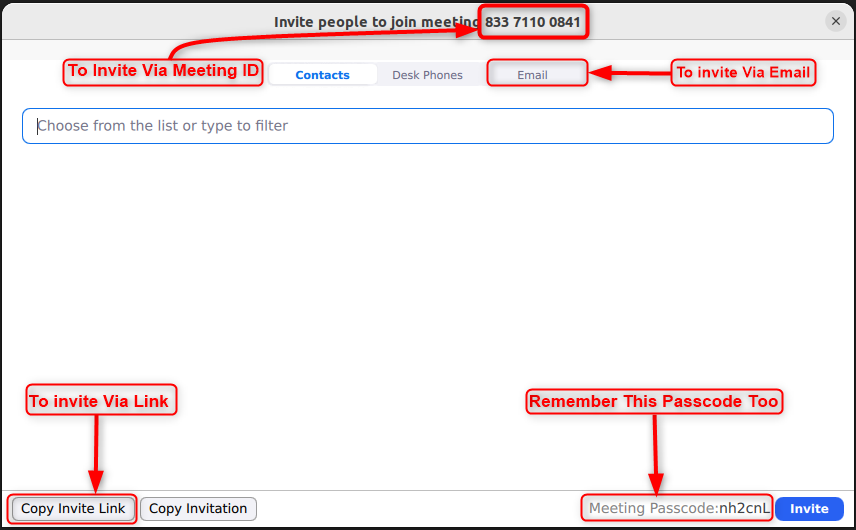
When the meeting starts up, use the shortcut key “CTRL+SHIFT+I” to copy the invitation link. Or use the “CTRL+I” to open the invitation panel and then invite them manually, via email or using the meeting ID:
Join a Zoom Meeting on Ubuntu 22.04
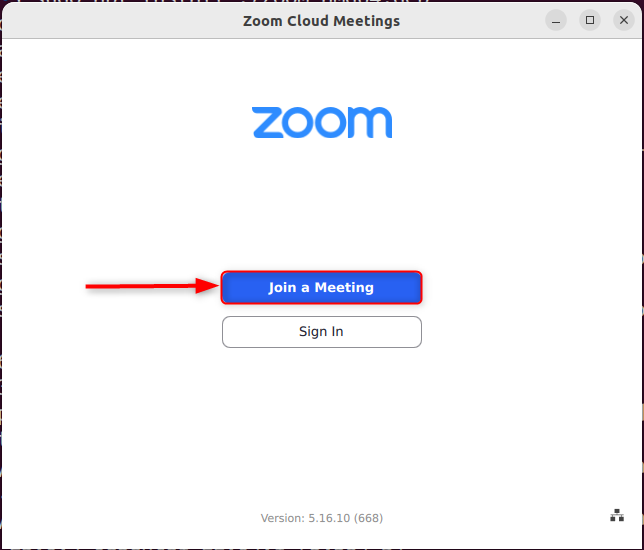
To join a Zoom meeting, the participant (the person who is joining) must have the invitation link or the meeting ID/passcode. For this, open the Zoom app, and click on Join Meeting:
Enter the passcode shared by the host:
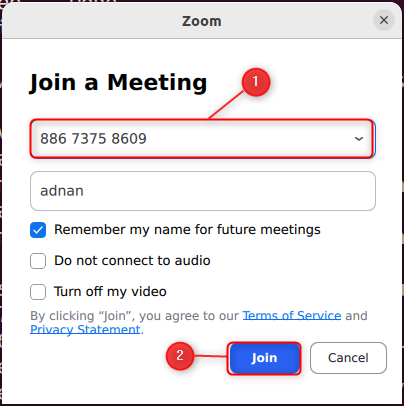
Enter the Passcode (this too to be provided by the host) in the next screen and click on join:
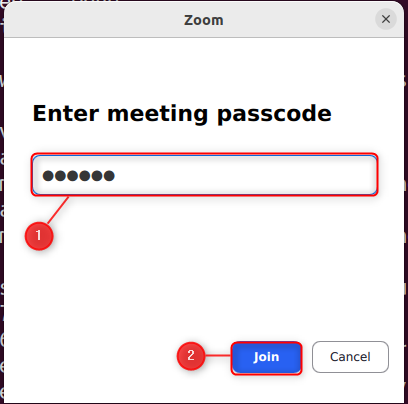
Soon, you will be inside the meeting.
How to Update Zoom on Ubuntu 22.04?
Zoom once installed, can be updated to the newest available version. The update command depends on the method you followed for installation. The commands to install Zoom are provided here:
Update Zoom Via Snap
$ sudo snap refresh zoom-clientUpdate Zoom Via Flatpak
$ flatpak updateUpdate Zoom Via apt (That is Installed Using the Deb File)
There is no direct update command for the package installed via the “.deb” file. To update Zoom following this method, first uninstall Zoom, then download the latest “.deb” package of Zoom and install it.
How to Remove Zoom From Ubuntu 22.04?
The removal method of the Zoom depends on the way you installed the Zoom on your system. As per this guide, the following are the possibilities to remove Zoom from Ubuntu 22.04:
Remove Zoom From Ubuntu | Snap CLI
If Zoom is installed using the Snap, then it can be removed via the command:
$ sudo snap remove zoom-client
Remove Zoom From Ubuntu 22.04 | Snap GUI
Open the Software Center and search for the zoom-client. When you open Zoom, you will get a “Remove” button as shown below:

Click on the “Remove” button and enter the user’s password to successfully remove it.
Remove Zoom From Ubuntu 22.04 | Flatpak Command
If installed with flatpak, Zoom is removed via the following command:
$ flatpak uninstall us.zoom.Zoom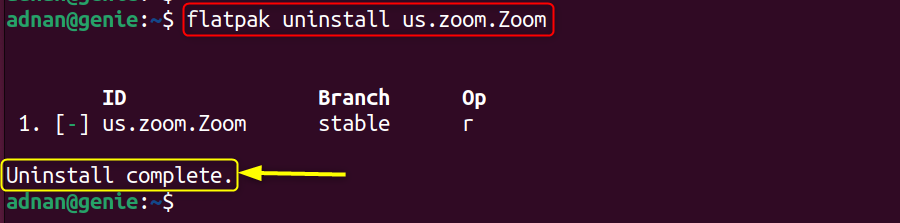
Remove Zoom From Ubuntu 22.04 | apt Command
The following apt command removes the Zoom installed using the “deb” file:
$ sudo apt autoremove zoom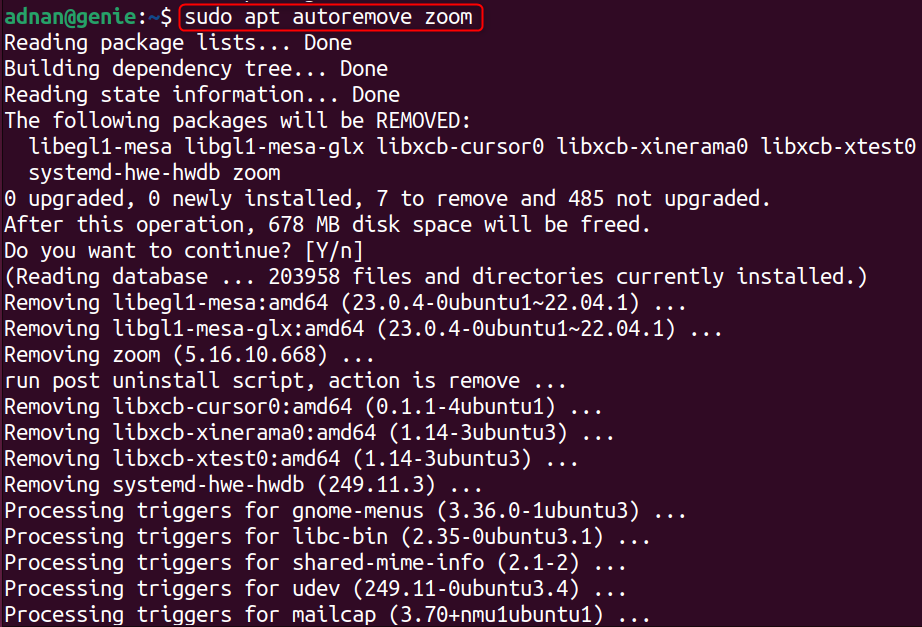
Remove Zoom From Ubuntu 22.04 | dpkg Command
If Zoom is installed using the dpkg utility (the deb file method), then remove it using the command:
$ sudo dpkg –remove zoomThat’s how you can manage (install, use, or uninstall) Zoom on Ubuntu 22.04.
Bottom Line
In Ubuntu, Zoom is available via three different platforms, i.e., Snap Store, Debian Package File, and Flatpak. The Snap and Flatpak packages can be automatically updated (if the automatic updates are enabled) whereas the Debian package’s installation requires a manual update. Thus, the selection of the installation method depends on your requirement/purpose (Snap and Flatpak if the space is not the concern of the Debian package’s method).
This post has briefly demonstrated the methods to install Zoom on Ubuntu via the Snap Store, Flatpak Store, and Debian Package file.
