
Nice and Renice Command in Linux With Examples
If you are a Linux user searching for a way to improve your system’s performance, manage process priorities, and allocate CPU time, then no worries! Linux is a robust operating system that supports multiple tools and commands for optimizing system performance. More specifically, two of these commands, “nice” and “renice”, allow users to adjust process priorities and allocate CPU time effectively.
This blog will cover the following aspects:
- What is Nice Command in Linux?
- What is Renice Command in Linux?
- How to Check/Verify the Nice Value of All Running Processes in Linux?
- How to Use/Utilize Nice Command in Linux?
- How to Use/Utilize Renice Command in Linux?
Let’s move ahead!
What is Nice Command in Linux?
In Linux-based systems such as Ubuntu, the “nice” command is utilized for setting the scheduling priority of a process. It permits you to modify or update the priority level of a running process or set the priority of a new process. This resultantly tells the amount of CPU time the process is allocated as compared to other processes.
Note that the priority is defined by a “nice value”, which ranges from -20 (highest priority) to 19 (lowest priority).
What is Renice Command in Linux?
The “renice” Linux command is utilized for changing the scheduling priority of an existing process. Unlike the “nice” command it does not permit you to set the priority level of a new process.
How to Check/Verify the Nice Value of All Running Processes in Linux?
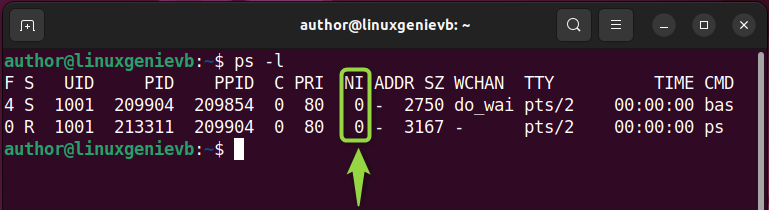
There exist multiple ways for knowing the nice value of the running process in Linux, For instance, you can execute the “ps” command with the “-l” option:
ps -l |
|---|
Note that the “-l” option is added to print out the information in a detailed format. This information will include different fields, such as UID (user ID), PID (process ID), etc.
Here, the values of the NI column represent the “nice” values of all running processes:
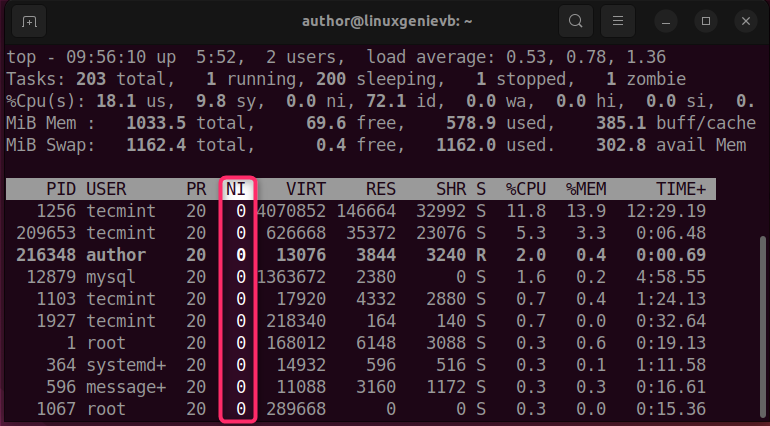
Another approach is to utilize the “top” command in your Ubuntu terminal:
top |
|---|
This command will print out a table containing all of the running processes that are sorted with respect to CPU usage. Moreover, the information related to each process such as its PID, priority, memory usage, and relevant nice value is also displayed:
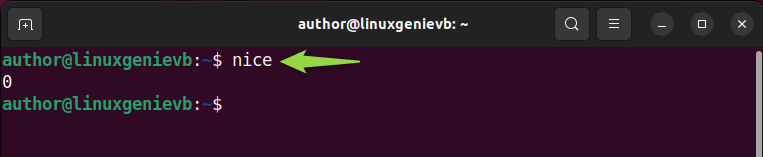
Additionally, you can also view the default nice values for processes by the regular user as follows:
nice |
|---|
How to Use/Utilize Nice Command in Linux?
In order to utilize the Nice command in Linux, check out the provided syntax.
Syntax
nice [Option] [Command] [Args...] |
|---|
Here:
- “nice” is the command.
- “Option” represents the optional command line options that are added to modify the behavior of the nice command. For instance, “-p” is added to set the process priority, and “-n” indicates the nice value.
- “Command” refers to the command that needs to be executed with the modified priority.
- “Args…” are the optional arguments.
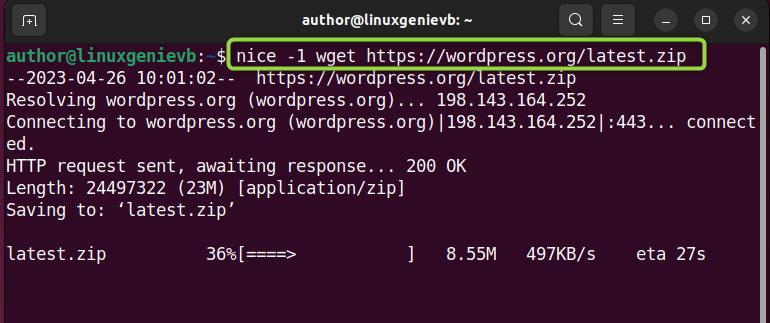
Example: Downloading a File and Setting its Nice value
For instance, in the provided example, we will download the WordPress installation file by utilizing the wget command and then set its nice value as “1”:
nice -1 wget https://wordpress.org/latest.zip |
|---|
Bonus Tip: Setting a Negative Nice Value
In order to set a negative nice value, add double hyper in the same command and run the command with sudo privileges:
nice --1 wget https://wordpress.org/latest.zip |
|---|
How to Use/Utilize Renice Command in Linux?
In order to use Renice command, have a look at the provided syntax.
Syntax
renice [-n] priority [-g|-p|-u] ID |
|---|
Here:
- The “-n” option indicates the value as the new nice value. This value can be positive or negative as per requirements.
- “priority” refers to the new priority which should be between -20 to 19.
- “-g” indicates the process ID is a group ID.
- The “-p” option signifies that the process ID is a process ID.
- The “-u” option indicates that the process ID is a username.
- The “ID” argument refers to the ID of the process group, single process, or user whose priority needs to be changed.
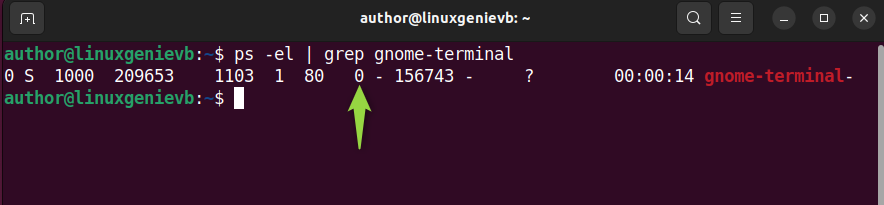
Example: Modifying the Nice Value Using Renice Command
In this example, we will modify or update the nice value of the gnome-terminal process. Before doing so, firstly, we will verify its current value:
ps -el | grep gnome-terminal |
|---|
It can be observed that the current nice value is set to 0:
Now, we will set its nice value to “1” with the help of mentioning the process ID as 1103:
sudo renice -n 1 -p 1103 |
|---|
As you can see, the output signifies that 1 is set as the new priority:

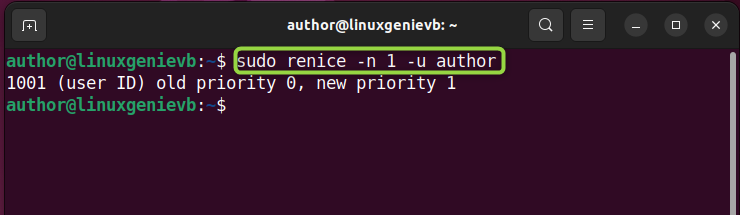
However, in order to modify the property of all of the processes of a specific user at once. Use the “-u” option and mention the username:
sudo renice -n 1 -u author |
|---|
Similarly, you can set the priority of all processes of a particular group by utilizing the “-g” option with the group name.
That was all about using nice and renice commands in Linux.
Conclusion
In Linux-based systems, understanding process priority in Linux is crucial for optimizing system performance. More specifically, the “nice” and “renice” commands offer users a powerful tool for modifying or updating the process priorities and allocating CPU time accordingly. By utilizing these commands effectively and implementing best practices, you can enhance the system’s responsiveness and efficiency. This blog discussed the usage of the nice and renice commands in Linux with examples.
If you are interested or want to check your IP and other network configuration, read this article.
