
Getting Started with Flutter on Ubuntu
Flutter is a freely available open-source UI toolkit by Google specifically designed to facilitate the creation of cross-platform applications from a single shared codebase. It enables you to create and deploy applications across various platforms, including desktops, web, Android, and iOS devices. The Flutter framework is used to create the UI elements of the application, while Dart programming language is used to build the logic.
This guide will concentrate on the installation and configuration of Flutter specifically for the Ubuntu operating system.
- Installing Flutter on Ubuntu
- Creating a Linux Desktop Application using Flutter
- Accessing the Flutter Application Code
- Understanding the Flutter Application Code
- Customizing the Flutter Application
- Building Flutter Application
- Publishing Flutter Application on Snap
Installing Flutter on Ubuntu
The installation of Flutter depends on what type of application would you prefer to develop using it. For example, if you want to develop Linux native as your first application then it will have different tools to be installed. However, tools for other applications can be installed later.
On Ubuntu, you can develop Linux Native, Android, and web apps using Flutter. In this guide, I will focus on the installation of Flutter and building a Linux Desktop app as my first application.
Note: To build an Android application you need to install Android Studio, and for a web application, you need a browser to properly debug the apps.
To install Flutter on Ubuntu, use the snap package manager.
sudo snap install flutter --classic
The Flutter snap package also installs the Dart and configures it.
After installing, run the flutter doctor command with the -v flag to, initialize the flutter, install the required dependencies, and find what is missing.
flutter doctor
It will tell you which toolchain is missing to develop a cross-platform application.

From the above output, it is confirmed that Flutter is properly configured to develop Linux desktop applications, but missing Android Studio and Chrome browser to develop Android and web applications. Since in this guide, we are focusing on building a Linux desktop application, therefore, we do not need these applications. However, if you want to develop Android or Web applications using Flutter, then you need to install them.
To install the Android Studio on Ubuntu, again use the snap package manager.
sudo snap install android-studio --classic
To install Chrome on Ubuntu, use visit the official website and download it.
Now, Flutter is installed and configured for Linux, Android, and Web Applications. In the upcoming steps, we will get started with Flutter, create an application, and launch it.
Getting Started with Flutter on Ubuntu
To get started with Flutter, first, we need to choose the platform to create an app. There are three platforms of choice:
- Linux Desktop
- Android
- Web
I will select the Linux Desktop platform.
Creating a Linux Desktop Application using Flutter
To create a Linux Desktop application using Flutter, first launch the terminal and execute the flutter command with the create option and application name:
flutter create mylinuxapp
Here, mylinuxapp is the application name.
You can also give the project package name using the –org flag.
flutter create --org com.exampleproject mylinuxapp
The above commands will create a Flutter project and default Flutter application. If you are new to application development then you need to know that each application has a package name, which is termed a unique identifier of the app. Conventionally, the reverse of the domain name is used; for example, if your company’s or organization’s domain is mycompany.com then give the package name com.mycompany.
Note that the application name will always be in small characters.

In the above output, it can be seen a project is created in the mylinuxapp directory, which is the project directory.
Next, navigate to the mylinuxapp directory:
cd mylinuxapp
To display a list of all the files located within the directory, you can employ the ls command.
Each new Flutter project comes with a default app, which can be immediately launched using the flutter run command.
flutter run

The output shows that the application has run successfully.
Accessing the Flutter Application Code
To access and modify the Flutter application code on Linux you can use any IDE or text editor such as Visual Studio Code, Eclipse, Atom, Sublime Text, Brackets, or Vim. The Dart program can easily be edited on any simple text editor. For those who are new to Flutter, I would propose using Visual Studio Code as it offers excellent support for Flutter development.
Inside the project directory, you will find a variety of directories and files, each containing specific components, resources, and configurations relevant to the project. Our primary focus will be on the main.dart file, which is situated within the lib directory of our project. Open main.dart in any text editor, and modify it. Ensure you are in the project directory, and run the following command to open the file in the Vim editor.
vim lib/main.dart

Let’s understand the above code in the next section.
Understanding the Flutter Application Code
Now, it’s time to understand the default Flutter application file. But before going any further, it’s important to learn that the Flutter application is made up of various types of widgets; widgets are of two types:
- Stateless
- Stateful
Note: The widgets are the fundamental building blocks of a Flutter application.
Stateless Widget
This widget has no state, which means once this widget is created, it cannot be modified. In the application code, the MyApp widget is stateless which contains a build method that returns the MaterialApp widget.

Stateful Widget
This widget can be changed even after building the application. In the application code, MyHomePage is a stateful widget that contains a subclass _MyHomePageState which contains the counter variable that changes when you press the + button.

Some commonly used flutter widgets are listed below:
| Widget | Description |
|---|---|
| Text | The Text widget is used to add text to any widget |
| Row | This is a layout widget used to add rows |
| Column | This is a layout widget used to add columns |
| ListView | This is used to create the scrollable list |
| AppBar | This widget signifies the application’s top bar |
| BottomNavigationBar | This widget is used to add a navigation bar at the bottom |
| TabBar | This widget is used to add tabs to the application |
| TabBarView | This widget is used to display the contents of the tab |
Customizing the Flutter Application
The default flutter application can easily be customized by modifying its properties.
At the top of the file, there is a main() method, that runs our application which is MyApp in this case, however, it depends on what name you give to your application. Let’s begin with modifying a few elements of the app.
Changing Theme Color
The default theme color is purple, it can be changed by modifying the color property of the MaterialApp widget.

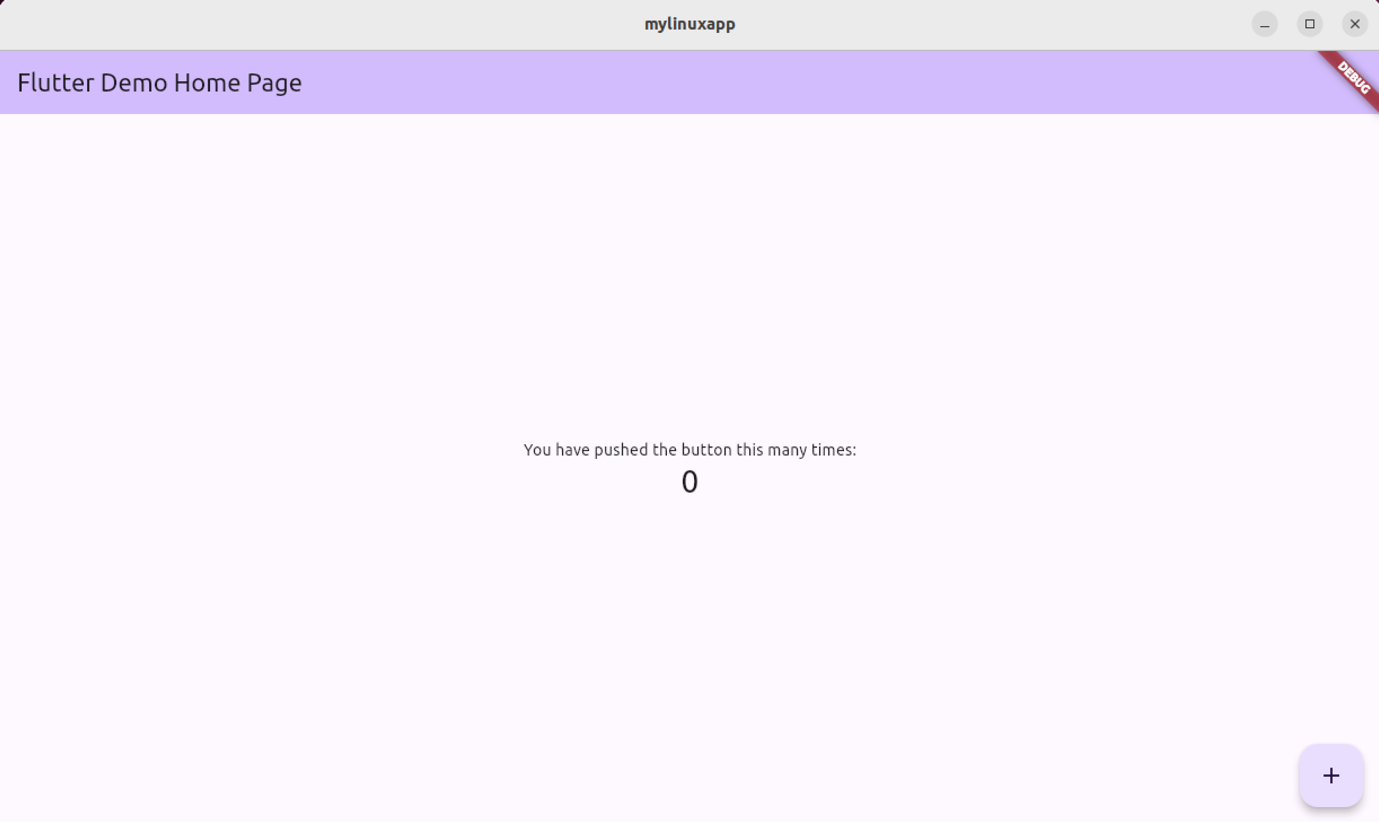
The default application looks like this:
Let’s change Colors.deepPurple to Colors.blue; here is the output, the theme color is changed from purple to blue.
Changing Home Page Title
The default tile can be modified by changing the MyHomePage title:

Let’s change it to Welcome to My Linux App:

Changing App Bar Color
By default, the app bar color is the same as the theme color, how about changing it to another color?
Find the AppBar widget and change the backgroundColor property to backgroundColor: Colors.grey.

As can be seen in the following image, the app bar color is gray while other theme items are still in blue.

Removing Debug Banner
In the default Flutter application, you can see a Debug banner at the top left corner of the application window.

To remove this banner, in the MaterialApp widget add debugShowCheckedModeBanner: false and add a comma after it.

The banner has been removed from view, as clearly depicted in the image below.

Building Flutter Application
To build the Flutter application use, the flutter build command with the platform name. For example, to build applications for Linux use:
flutter build linux
The application will be saved in the build/linux/arm64/release/bundle directory of the Flutter project with the name of the project file name. Here, the app is built for arm64; the architecture may vary depending on your operating system’s hardware.

To run the application, use ./mylinuxapp in the terminal.
Publishing Flutter Application on Snap
To distribute the application created by Flutter, it needs to be released for a specific package manager. By default, the flutter supports Snap package management of the Linux apps.
Installing Tools
To publish the Flutter application on the Snap store, you need the following tools:
- Snapcraft
- LXD
The snapcraft is a command line tool to build the snap package of the Flutter project, while LXD is a container manager.
To install the snapcraft use the command given below:
sudo snap install snapcraft --classic
The next tool is the container manager; to begin the installation of LXD, execute the command given below:
sudo snap install lxd
Lastly, to automatically configure the LXD, use init –auto options with lxd command.
lxd init --auto
Creating snapcraft.yaml File
To build a snap package, it requires a snapcraft.yaml file. It has to be created in the Flutter project directory.
First, create a snap directory in the flutter project directory.
mkdir snap
In the snap directory, and create a snapcraft.yaml file.
sudo nano /snap/snapcraft.yaml
And add the following lines in it:
name: MyLinuxApp

version: ‘1.0’

summary: My first Linux app

description: My first Linux application created by using Flutter

confinement: strict

base: core22

grade: stable


apps:

 MyLinuxApp:

 command: home/user/mylinuxapp/build/linux/arm64/release/bundle/mylinuxapp

parts:

 MyLinuxApp:

 source: .

 plugin: flutter

 flutter-target: lib/main.dart

Note: The snapcraft.yaml file is sensitive to white space; so carefully add indentations.
The first part containing, the name, version, summary, and description is the metadata of the application.
The confinement is used to specify the level of confinement, here, I set it strict which is the default level. Other confinement levels are, classic, devmode, and jailmode.
The base sets the minimum requirement for the Ubuntu version of the snap package. Here it is set to core22 which means the minimum requirement for the package to run is Ubuntu 22.04.
The grade signifies the stability level, here it is set to stable, other levels are beta, candidate, and devel.
In the apps segment, the path of the binary needs to be set against the command option. It indicates the application will then run upon executing the snap package.
The parts segment contains the libraries, binaries, and other files required to be part of the snap package.
Creating Desktop Entry File (Optional)
This file is used to create the GUI part of the application, which includes the icon and application name.
Create another directory in the snap directory named gui.
mkdir snap/gui
Then create a .desktop file it with your application name.
sudo nano snap/gui/MyLinuxApp.desktop
And add the following lines in it:
[Desktop Entry]

Name=MyLinuxApp

Comment=My first Linux app

Exec=/home/user/mylinuxapp/build/linux/arm64/release/bundle/mylinuxapp

Icon=/home/user/mylinuxapp/snap/gui/icon.png

Terminal=false

Type=Application

Categories=Technology
Set the application binary against the Exec and desktop icon path against the Icon section. If the application is not running or using the terminal environment, set the Terminal setting to false.
Building the Snap Package
After creating the snapcraft.yaml file, set the LXD container as backend using:
snapcraft --use-lxd
Finally, run the snapcraft command to complete the snap package building process.
snapcraft

Testing the Snap Package
To test the snap package, it needs to be installed.
sudo snap install ./MyLinuxApp_1.0_arm64.snap
Publishing Snap Package
To publish the snap package, you need to create a developer account on snapcraft.io.
Now, log in to the snapcraft account from the terminal.
snapcraft login

Then upload your application for publishing using:
snapcraft --upload --release=stable <path_of_snap_package>
Other options for the –release option are edge, beta, and candidate.
Once done, the snap has its automatic parameters to curate and publish the application.
Conclusion
Flutter is an open-source framework used to design the UI elements of the application. It uses the Dart programming language to the build the logic of the application.
Flutter is used to develop and publish applications across multiple platforms using a single base code. Flutter applications can be developed on any platform, such as Android, iOS, Windows, macOS, and Linux. This guide covers how to install and configure Flutter on Ubuntu and how to create, modify, and build a default Flutter application. Finally, publish the Flutter app to the Snap Store.
