
How to Install KVM on Ubuntu 22.04
KVM is a virtualization technology that is open-source and permits several virtual machines to operate on a single Linux host machine like Ubuntu 22.04. It is a popular choice for creating and managing virtualized environments due to its performance, security, and cost-effectiveness. It also offers an abstraction layer between VMs and hardware. More specifically, KVM can virtualize ARM, x86, and other architectures.
In this blog, we will check out the method for the installation and uninstallation of KVM on Ubuntu 22.04.
How to Install KVM on Ubuntu 22.04?
The following steps demonstrate the process for installing KVM on Ubuntu 22.04.
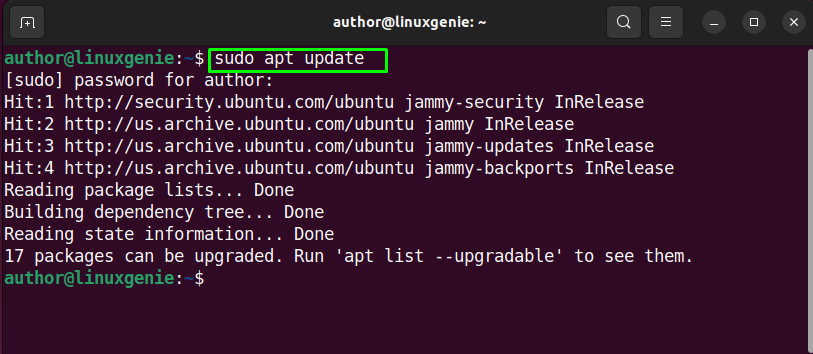
Step 1: Update the packages
For updating the packages, open up the terminal by hitting “CTRL+ALT+T”. After that, write down the following command:
sudo apt update |
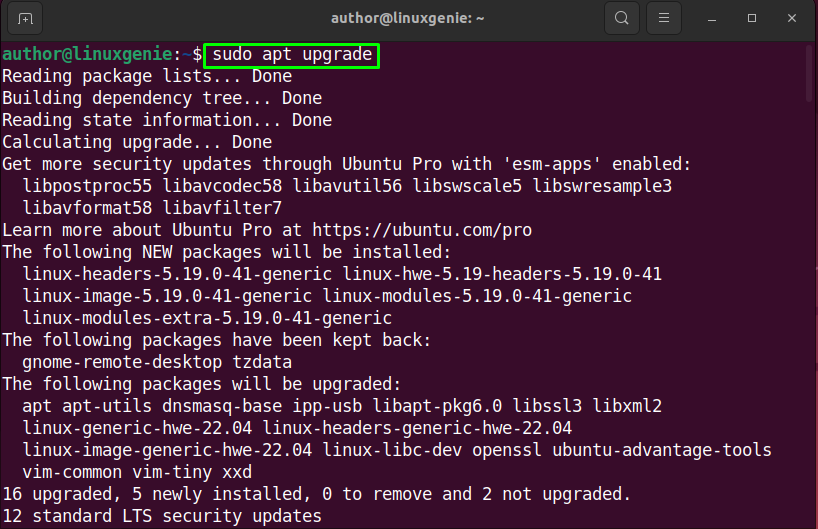
Step 2: Upgrade the package
Run the mentioned command in the terminal for upgrading the packages:
sudo apt upgrade |
Note: Run the following command in the terminal to check if KVM is compatible. If the command returns a non-zero value, it means that the CPU supports virtualization.
egrep -c '(vmx|svm)' /proc/cpuinfo |
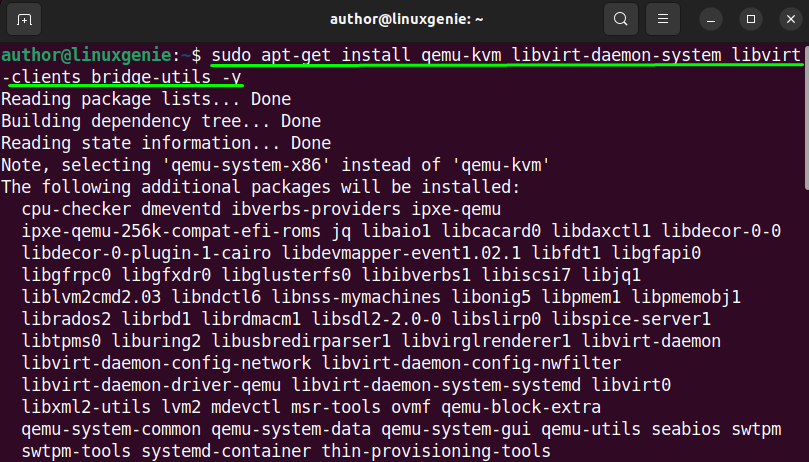
Step 3: Install KVM
Install KVM by executing the command below in the terminal:
sudo apt-get install qemu-kvm libvirt-daemon-system libvirt-clients bridge-utils -y |
Wait till the KVM installation process gets completed:
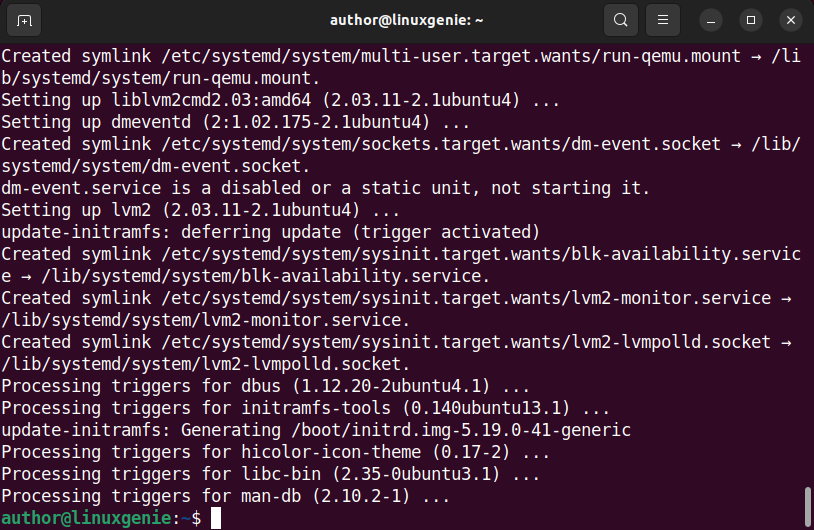
KVM has been installed successfully.
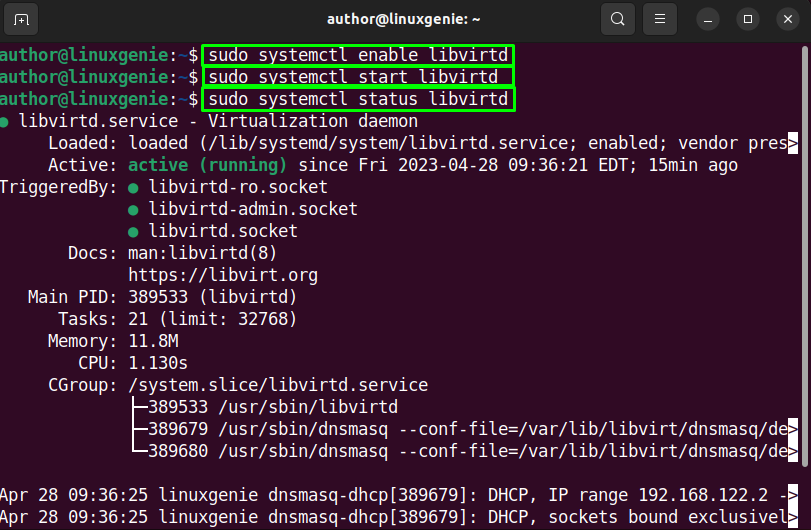
Step 4: Enable, Start, and Check libvirtd services
To enable, start, and check the status of libvirtd services, execute the mentioned commands:
sudo systemctl enable libvirtd |
sudo systemctl start libvirtd |
sudo systemctl status libvirtd |
Step 5: Add user to KVM
For adding your user to KVM, type the mentioned command in the terminal:
sudo usermod -aG kvm author |
Note: “author” is the username.
Step 6: Add user to libvirt group
Likewise, add the user to the libvirt group:
sudo usermod -aG libvirt author |
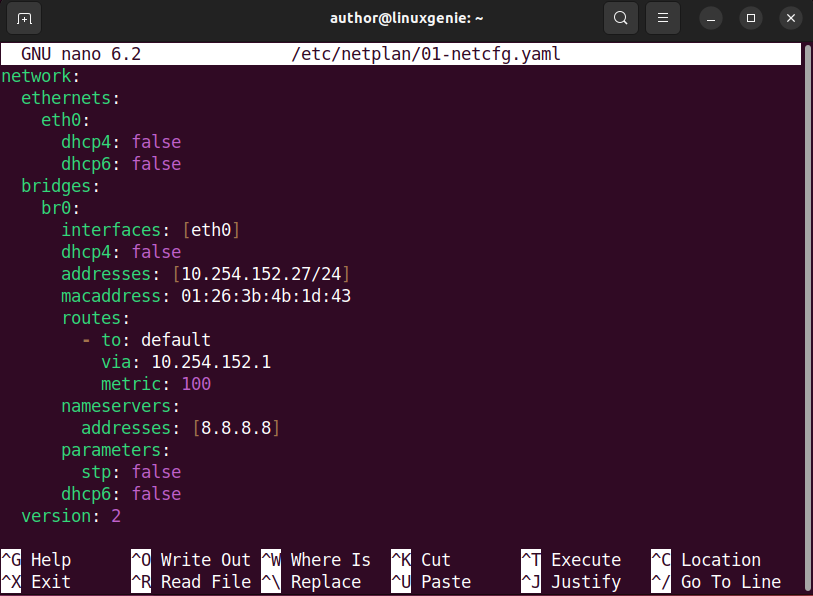
Step 7: Create a Bridge Network for VMs
Next, type out the following command for establishing a bridge network:
sudo nano /etc/netplan/01-netcfg.yaml |

After that, append the mentioned configuration in the opened file:
network: ethernets: eth0: dhcp4: false dhcp6: false bridges: br0: interfaces: [eth0] dhcp4: false addresses: [10.254.152.27/24] macaddress: 01:26:3b:4b:1d:43 routes: - to: default via: 10.254.152.1 metric: 100 nameservers: addresses: [8.8.8.8] parameters: stp: false dhcp6: false version: 2 |
Hit “CTRL+O” and “CTRL+X” to save and exit the file.
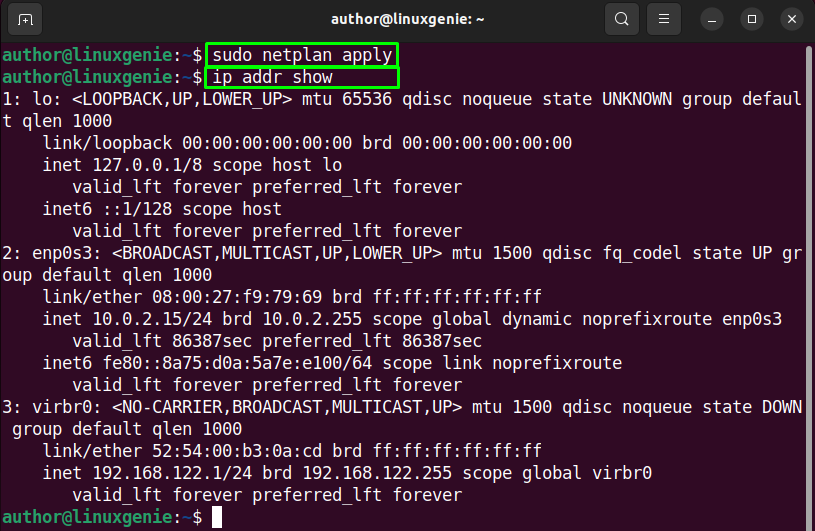
Step 8: Use Netplan to apply changes
Execute the mentioned command for applying the configuration:
sudo netplan apply |
Step 9: Review Changes
To review the changes, utilize the mentioned command, and hit Enter:
ip addr show |
That’s how you can install KVM on Ubuntu 22.04.
How to Remove/Uninstall KVM on Ubuntu 22.4?
To remove KVM from your Ubuntu 22.04, implement the following approach:
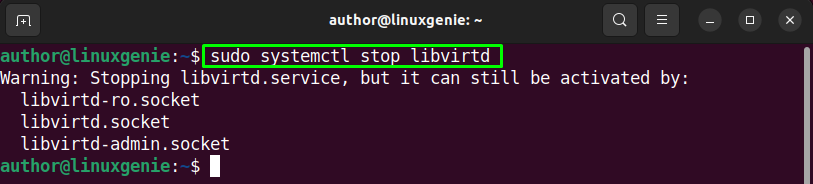
Step 1: Stop the libvirt service
As the first step, you need to stop the libvirt service:
sudo systemctl stop libvirtd |
Step 2: Remove the KVM packages
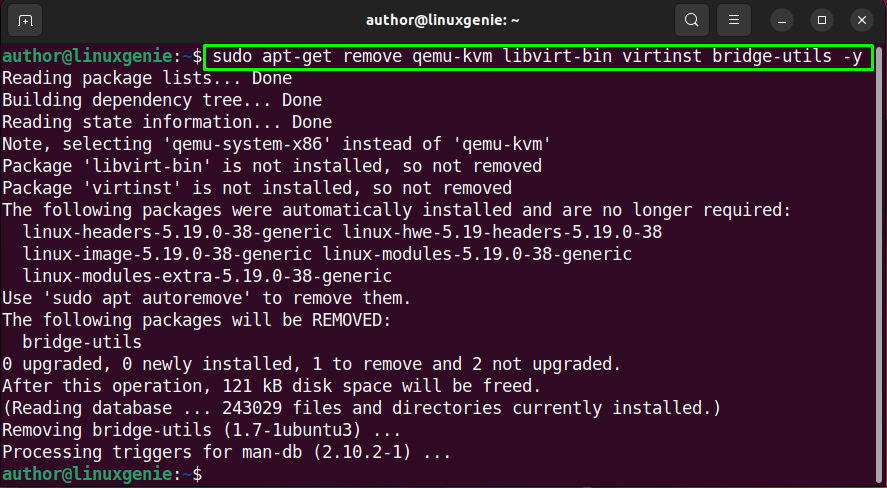
Next, remove the KVM packages by utilizing the command below, in the terminal:
sudo apt-get remove qemu-kvm libvirt-bin virtinst bridge-utils -y |
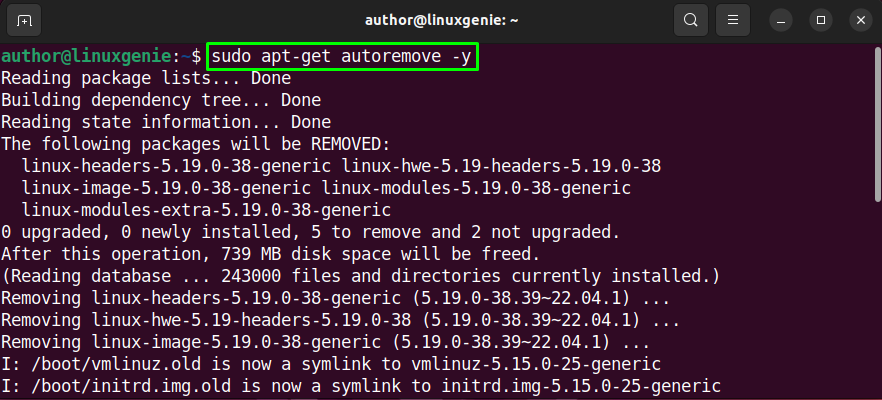
Step 3: Remove the dependencies
Remove any remaining dependencies that were automatically installed by KVM:
sudo apt-get autoremove -y |
Eventually, KVM will get uninstalled from your Ubuntu 22.04.
Conclusion
To install KVM on Ubuntu 22.04, you need to upgrade and update the packages first by utilizing the terminal. After that, execute “sudo apt-get install qemu-kvm libvirt-daemon-system libvirt-clients bridge-utils -y” in the terminal. Next, enable and start the libvirtd services. You can check its status as well. Then, add the user to the libvirt group and KVM. Create a bridge network for VMs, and lastly, apply the changes through Netplan. This blog covers the method of installing KVM on Ubuntu 22.04.
Follow Linux Genie to remain up-to-date related to the latest trends and technologies!
