
How to Install NextCloud on Ubuntu 22.04
NextCloud is a software platform for hosting and sharing files and collaborating on documents, calendars, and other data. It is free and open-source software that permits users to store and access their data from anywhere with an internet connection and provides a range of features for managing and sharing data securely.
NextCloud can be self-hosted on a server, or it can be utilized through a hosting service. It is a popular alternative to proprietary cloud services like Dropbox, Google Drive, and Microsoft OneDrive.
In this blog, we will check out the method for the installation of NextCloud on Ubuntu 22.04.
How to Install NextCloud on Ubuntu 22.04?
Follow the procedure listed here to install NextCloud on Ubuntu 22.04.
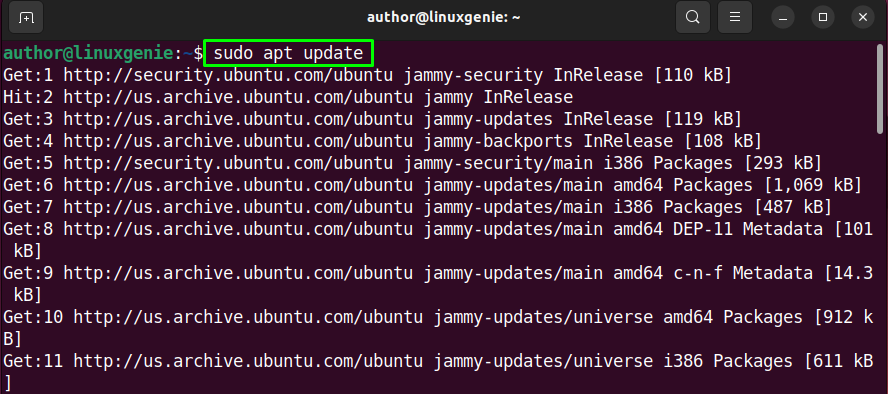
Step 1: Update the packages
Press “CTRL+ALT+T” to launch the terminal. Next, run the mentioned command:
sudo apt update |
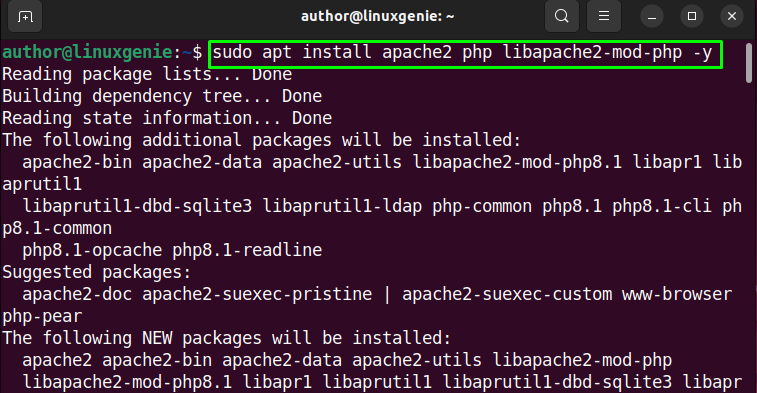
Step 2: Install Apache web server and PHP
For installing the Apache webserver and PHP execute the command below in the terminal:
sudo apt install apache2 php libapache2-mod-php -y |
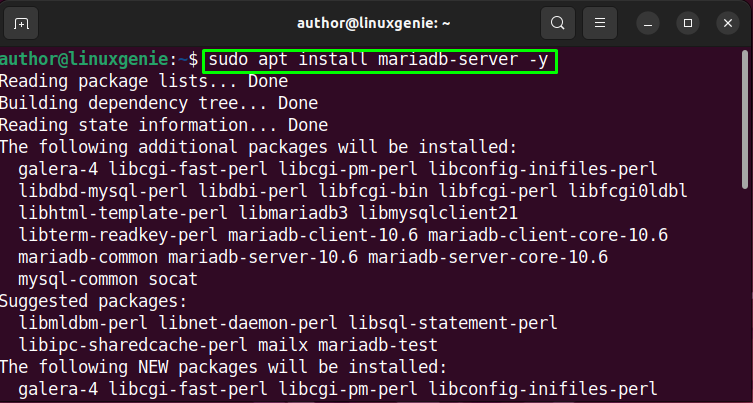
Step 3: Install MariaDB server
As the next step, install the MariaDB server by utilizing the command below:
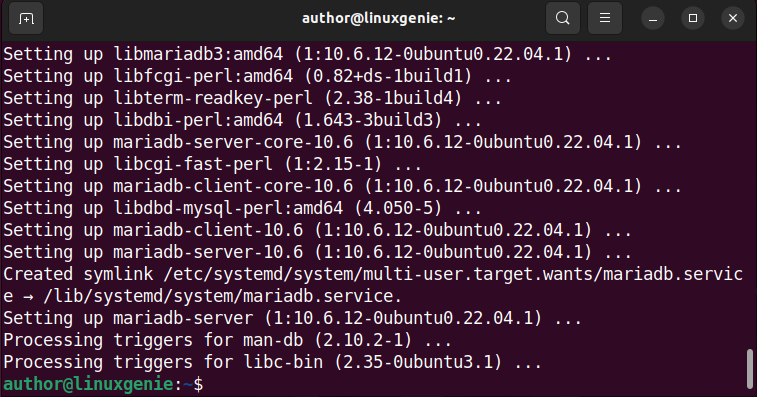
sudo apt install mariadb-server -y |
Wait for a few minutes to get the installation done:
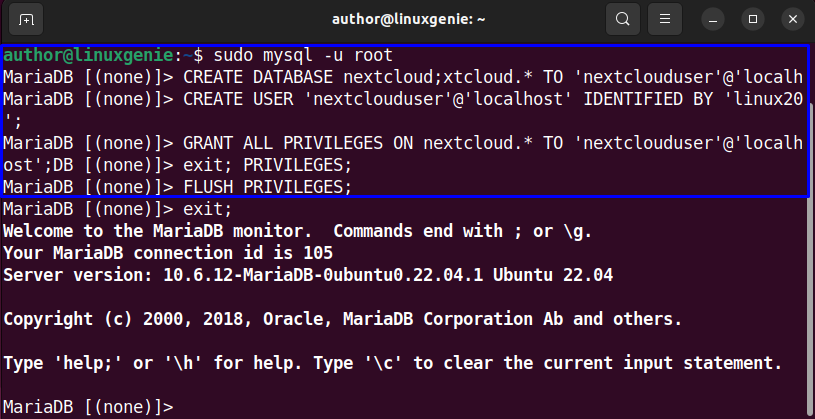
Step 4: Create a new database and user
For creating a new database and user, write out the below commands in the terminal:
sudo mysql -u root MariaDB [(none)]> CREATE DATABASE nextcloud; MariaDB [(none)]> CREATE USER 'nextclouduser'@'localhost' IDENTIFIED BY 'linux20'; MariaDB [(none)]> GRANT ALL PRIVILEGES ON nextcloud.* TO 'nextclouduser'@'localhost'; MariaDB [(none)]> FLUSH PRIVILEGES; MariaDB [(none)]> exit; |
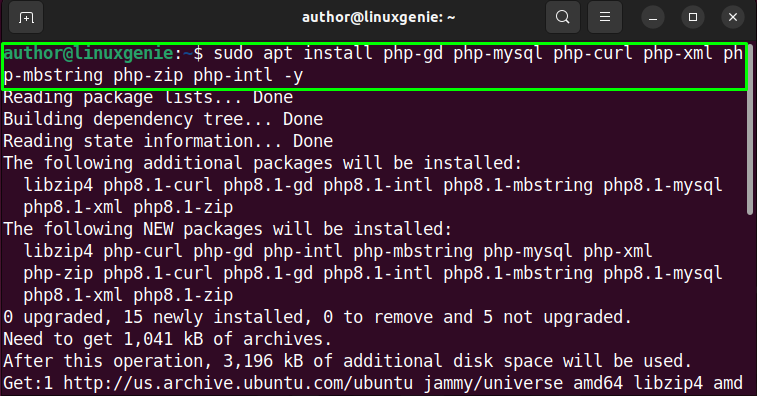
Step 5: Install required PHP modules
As the next step, you are supposed to install the necessary PHP modules:
sudo apt install php-gd php-mysql php-curl php-xml php-mbstring php-zip php-intl -y |
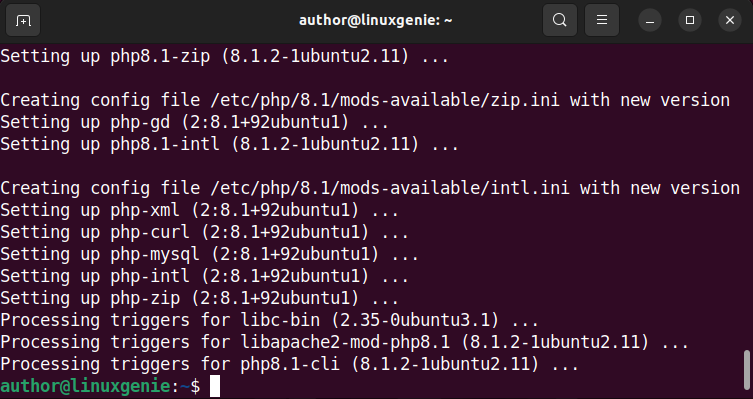
Let the installation process get completed:
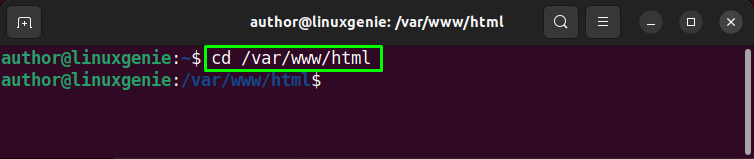
Step 6: Download NextCloud
Next, change the directory. By navigating to the “/var/www/html” directory, we can place the NextCloud files directly in the directory where they will be served by the web server:
cd /var/www/html |
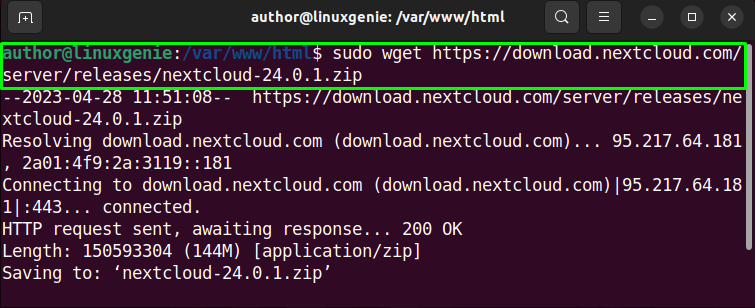
Run the below command to download NextCloud:
sudo wget https://download.nextcloud.com/server/releases/nextcloud-24.0.1.zip |
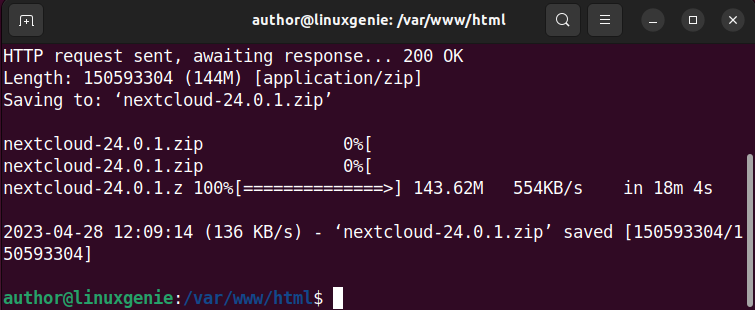
Wait until it gets downloaded:
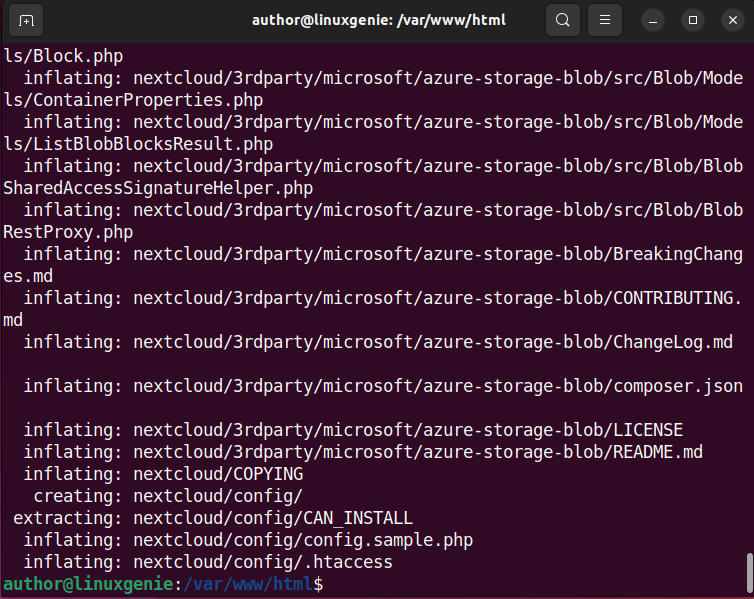
Step 7: Unzip the downloaded file
Unzip the downloaded NextCloud file:

Step 8: Change the Ownership
Utilize the command below to change the ownership of the NextCloud files and directories to the “www-data” user and group:
sudo chown -R www-data:www-data /var/www/html/nextcloud |

Step 9: Set up an Apache Virtual Host File
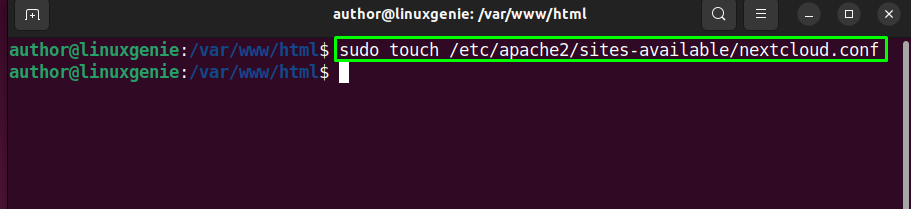
Set up a configuration file by executing the mentioned command:
sudo touch /etc/apache2/sites-available/nextcloud.conf |
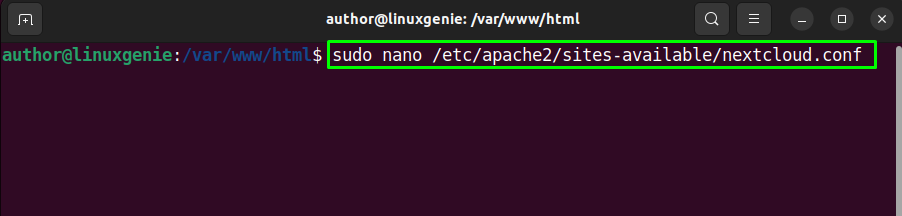
Then, type-out the command below to open up the file:
sudo nano /etc/apache2/sites-available/nextcloud.conf |
Next, paste the mentioned code in that file:
<VirtualHost *:80> ServerName yourdomain.com DocumentRoot /var/www/html/nextcloud<Directory /var/www/html/nextcloud/> Require all granted Options FollowSymlinks MultiViews AllowOverride All <IfModule mod_dav.c> Dav off </IfModule> </Directory>ErrorLog /var/log/apache2/yourdomain.com.error_log CustomLog /var/log/apache2/yourdomain.com.access_log common </VirtualHost> |
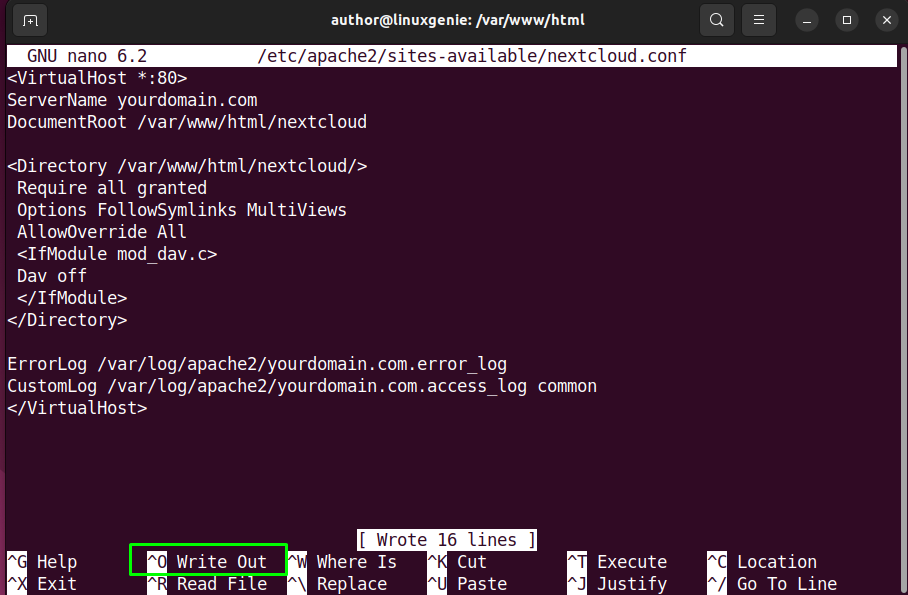
Hit “CTRL+O” to save the changes, and “CTRL+X” to exit:
Step 10: Enabling NextCloud Virtual Host and Rewrite Module
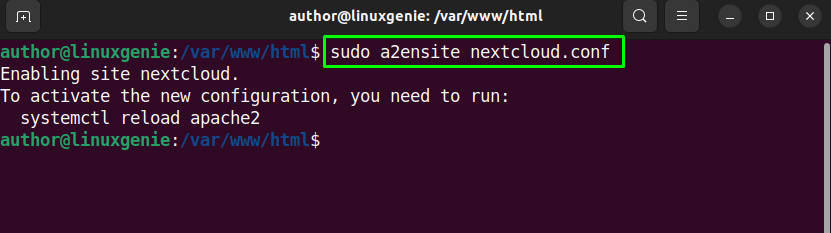
Enable the NextCloud virtual host configuration in Apache by running:
sudo a2ensite nextcloud.conf |
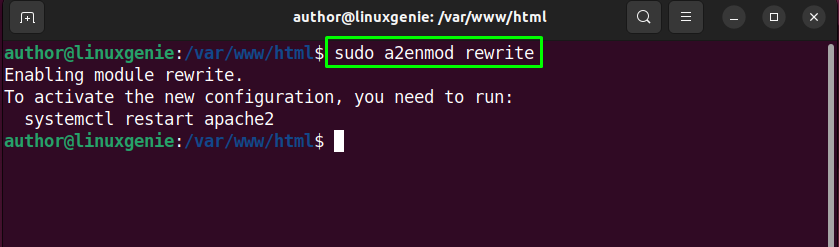
Next, enable the “mod_rewrite” module in Apache by running:
sudo a2enmod rewrite |
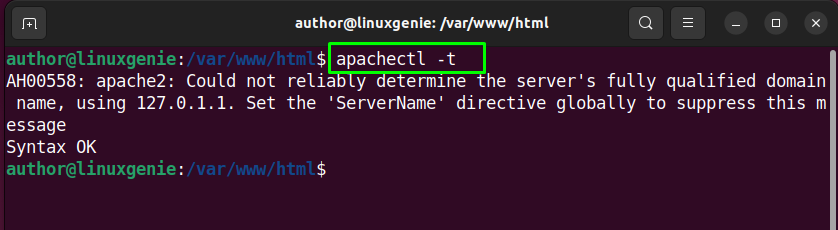
Step 11: Verify Apache2’s configuration syntax
To verify the Apache2 configuration syntax, execute the mentioned command:
apachectl -t |
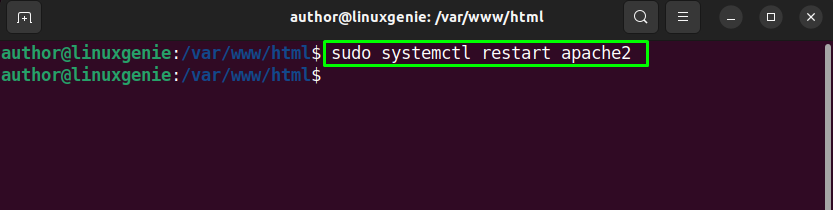
 After that, restart the Apache service:
sudo systemctl restart apache2 |
How to Launch/Open NextCloud on Ubuntu 22.04?
Open your Ubuntu 22.04 web browser, and type “127.0.0.1” in the address bar:
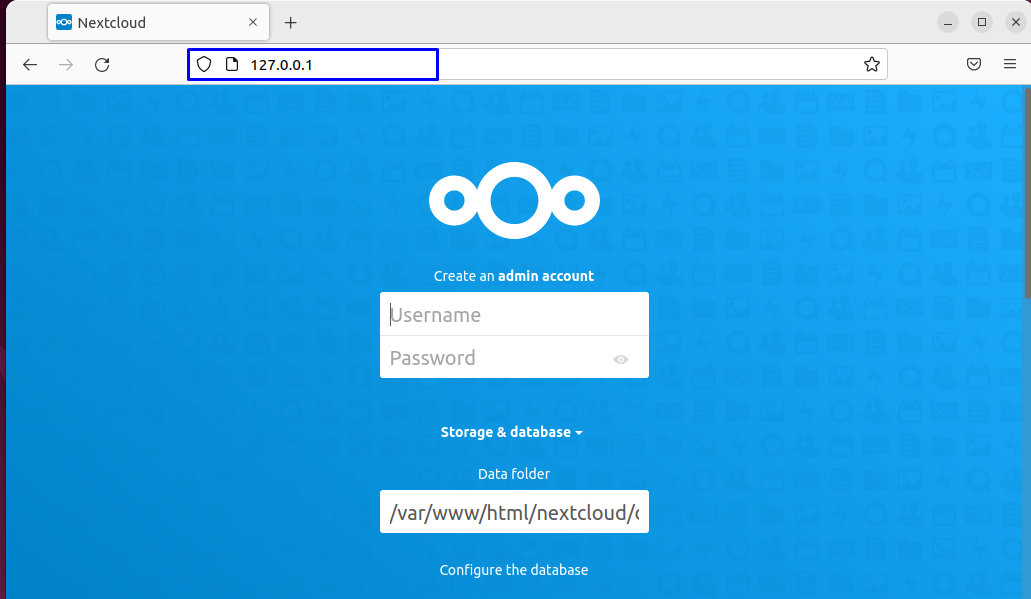
Enter a username and a strong password to create an admin account:
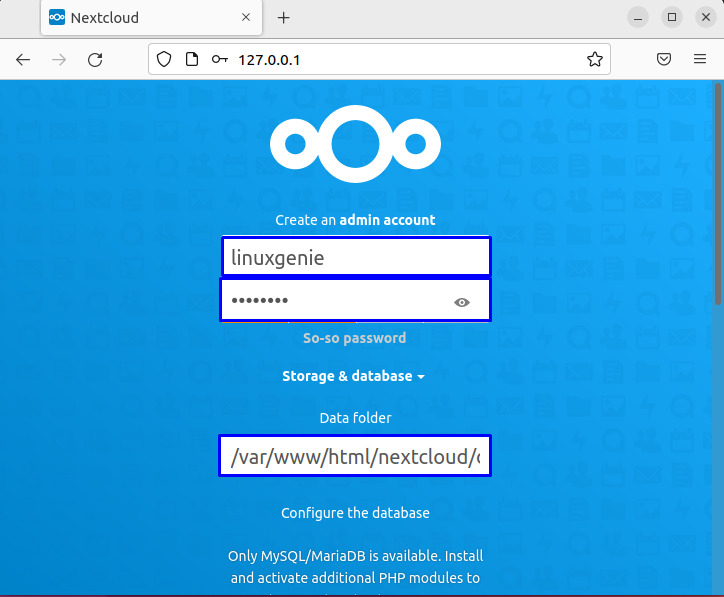
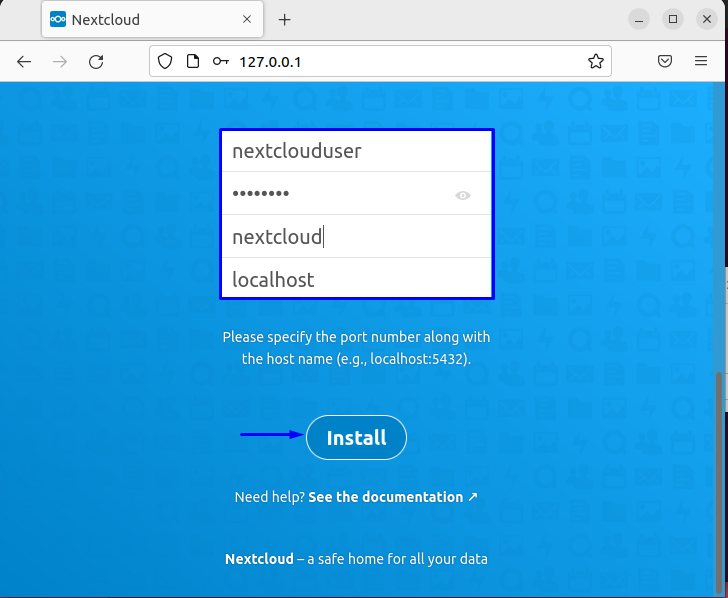
After that, specify “dbusername”, “password”, “dbname”, and “hostname” one-by-one. Then, hit the “Install” button:
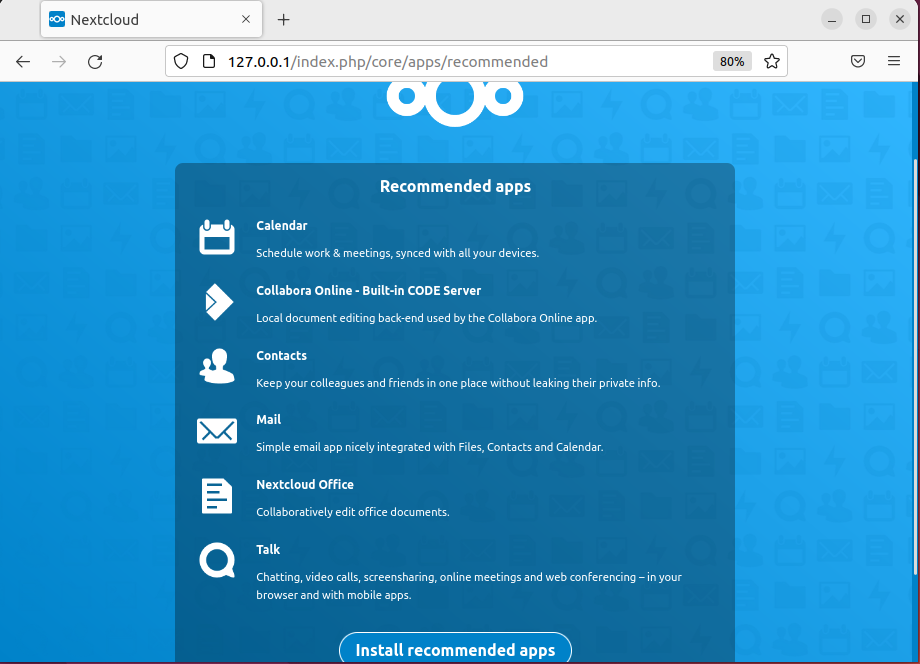
Click on “Install recommended apps” to continue the installation process:
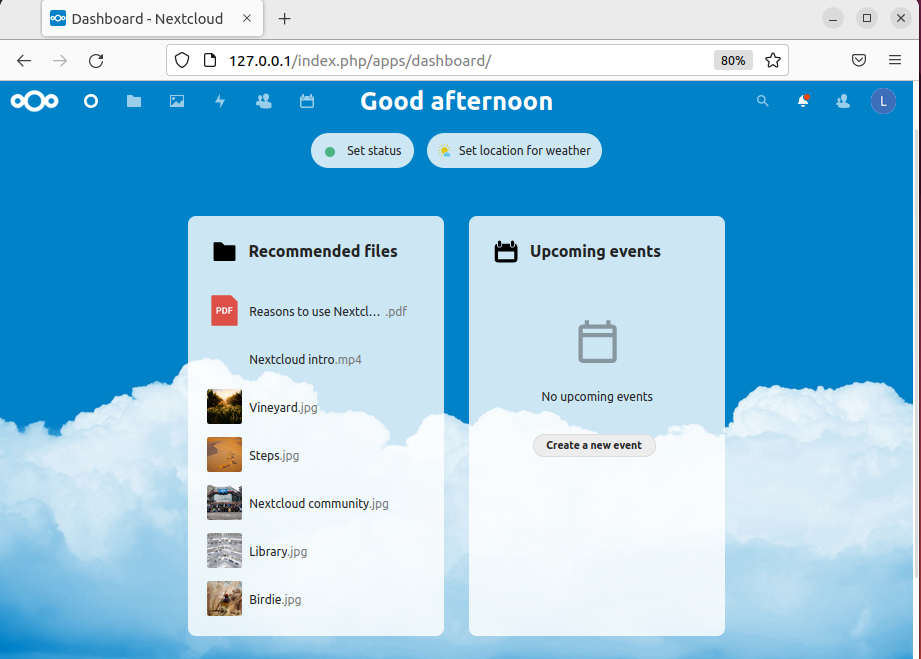
Finally, NextCloud has been installed successfully:
That was all about installing NextCloud on Ubuntu 22.04.
Conclusion
To install NextCloud on Ubuntu 22.04, update the packages then, install Apache web server and PHP. After that, install the MariaDB server, then, create a new database and user. Next, install the necessary PHP modules. Before downloading NextCloud, change the directory to “cd /var/www/html“. Then, utilize the “sudo wget https://download.nextcloud.com/server/releases/nextcloud-24.0.1.zip” command, and unzip the downloaded file.
Now, change the ownership, and set up an Apache virtual host file. Restart the Apache service and complete the installation process. That’s how you can install NextCloud on Ubuntu 22.04.
Follow Linux Genie to remain up-to-date related to the latest trends and technologies!
