How to Install TeamViewer on Ubuntu
TeamViewer is the go-to tool for many individuals and organizations looking to reliably connect to a remote computer. Not only does it let you securely connect with remote computers, but you can also transfer files between the computer, chat with the users on the other end, sync your clipboard contents with the client computer amongst many others. It plays an integral part for the helpdesk staff when their users are unable to follow the instructions and resolve the issue.
Though it comes loaded with a plethora of features, TeamViewer is a really simple and easy-to-use application. You just need to install it on both PCs and then connect using the unique ID and passwords. While the functionality is geared more towards IT professionals, support agents, and DevOps professionals, it is free to download and use for everyone.
In this guide, I will detail the ways you can install TeamViewer on Ubuntu 22.04, Debian, and other Debian-based Linux distributions. Let’s get started.
Install required packages
Whatever method you go with, you need the tools present in the “apt-transport-https” and the “gnupg2” packages. Though these might already be available in your system, running the following will ensure that there will not be any dependency-related concerns during the installation:
$sudo apt install wget apt-transport-https gnupg2 -y
Update Ubuntu System
After this has been installed successfully, just run “update” and “upgrade” to avoid any conflicts during the installation process:
$sudo apt update && sudo apt upgrade -y
Now that the preliminary steps are taken care of, we need to acquire the installation package
Download install package
Through our terminal, we will be hitting the official TeamViewer site to download the official installation package. Run:
$wget https://download.teamviewer.com/download/linux/teamviewer_amd64.deb
Depending on your bandwidth the process will take some time to complete, that said, it took me under a minute to completely download the whole package.
Install Teamviewer through the package
With all the setup done, you can now run the install command to kick-off the installation process:
$ sudo apt install ./teamviewer_amd64.deb
When you get your prompt back, it means that the installation has been completed.
Launch TeamViewer
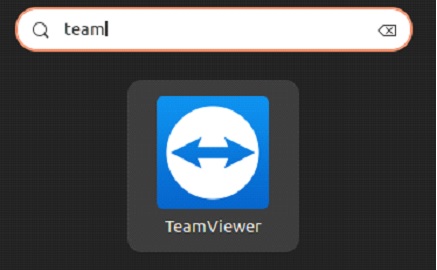
Launching it is pretty easy. You can head into the applications drawer and type in “team” to pull up the application icon and then click on it to launch the application.
Otherwise, you can type in the name into your terminal to launch the application:
$teamviewer
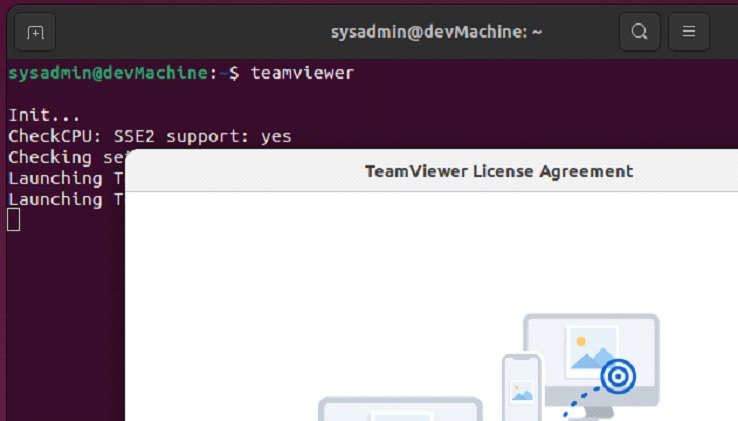
The first time you launch the application, you will be greeted with the License Agreement. You can click on the respective buttons to read through the “EULA” and “DPA”.
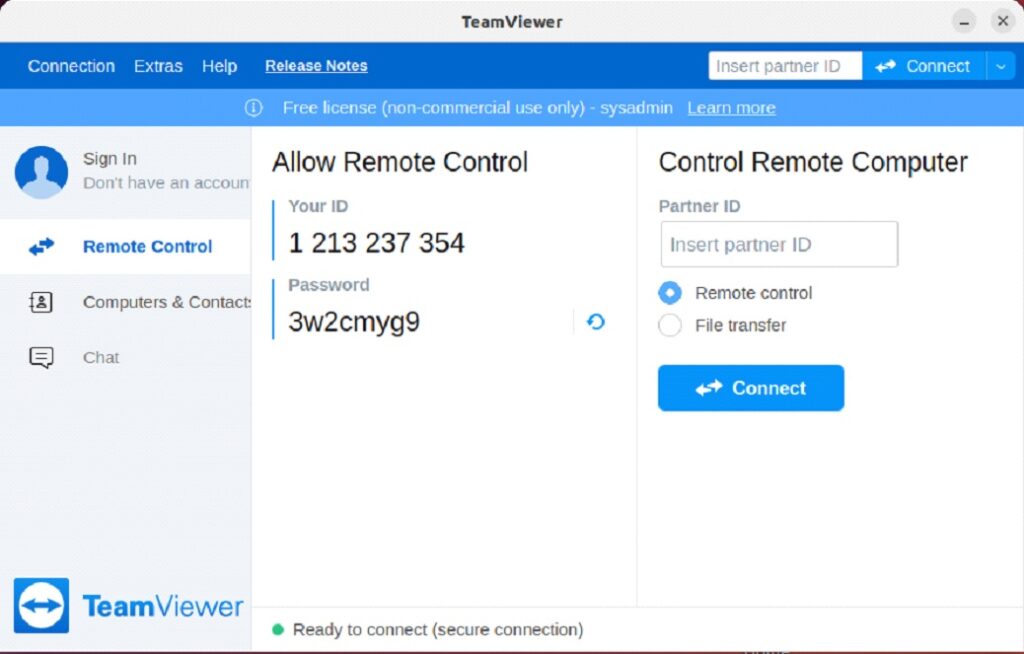
Once done, select the “I accept” check box and click on continue to launch the application.
Uninstall TeamViewer
If for any reason you want to remove TeamViewer from your computer and reclaim your consumed diskspace, you can easily remove it from your computer. All you need to do is run:
$sudo apt autoremove teamviewer --purge -y
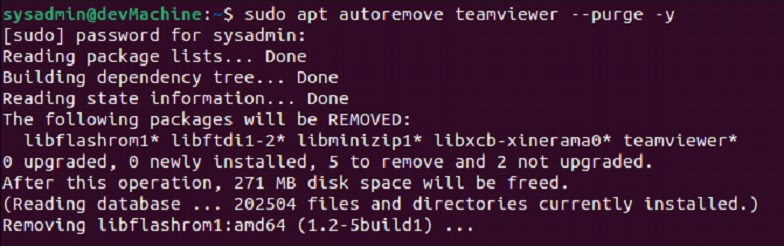
This will remove the installation and the dependencies that were set up during the installation process.
Conclusion
TeamViewer is a very powerful tool, that helps connect with remote computers and manage them. Though in a normal session, you would have to provide user ID and password to authenticate the connection, you can set it up in a way to bypass that.
In this guide, we explored how to install, launch and uninstall TeamViewer on your computer running Ubuntu 22.04. Like always, if you’ve hit a snag at any step of the process, feel free to let us know in the comments below.
