
How to Install GNOME Desktop Environment on Linux Mint?
Linux Mint comes with multiple desktop environments including MATE, XFCE, and Cinnamon. However, Linux Mint users are not limited to them only, they can install other popular Linux desktop environments, like GNOME. GNOME comes as a default Desktop environment for various Debian/Ubuntu-based Linux distributions. GNOME offers a bundle of amazing features, like a user-friendly Interface, customization, performance, accessibility, multimedia apps, applications ecosystem, community, and collaborations.
Inspired by its wide range of features, this write-up will describe the installation of the GNOME Desktop Environment on Linux Mint, with the following outline:
How to Install GNOME Desktop Environment on Linux Mint?
Installing the GNOME desktop environment on the Linux Mint system is easy for all users including beginners, as well as experienced. Follow the below-mentioned process for that purpose.
Step 1: Update System
Update your Linux Mint system by using the provided command:
sudo apt update
Step 2: Install GNOME Desktop
Now, you have two options, either you can go with the full GNOME desktop environment having all the GNOME utilities or you can install the stripped-down version of it having the minimal amount of features. In our case, we will install the complete GNOME desktop environment by using the given command:
sudo apt install gnome
Once the above command is executed then a screen prompt appears that will ask you to configure the default display manager. Now, press the “Enter” key to hit the soft “OK” button:

Then, select the desired option that you want to set as a default display manager. Afterward, press the “Tab” key to select “OK” and hit the “Enter” key. This shows the GNOME login screen after starting the Linux Mint system. Here, we have selected the “gdm3” display manager:

The GNOME desktop environment has been installed successfully:

Alternatively: If you want to install the GNOME desktop environment with the minimum amount of GNOME packages, then you have to install a package name by using the following command:
sudo apt install <gnome_package_name>After configuring the default display manager, you need to restart your system to apply all the added changes in the system repository by running the following command in the terminal:
rebootStep 3: Login to GNOME Desktop
Choose the user to proceed further:

Click on the cog icon in the bottom right corner and select the “GNOME”:

Next, provide your system password and hit the “Enter” key:

As you can see, now you are logged in to the GNOME desktop:

How to Install and Use GNOME Tweaks on Linux Mint?
If you want to customize your desktop with additional features in the GNOME desktop environment, then you need to install the “GNOME Tweaks Tool” software. To do so, execute the below-provided command:
sudo apt install gnome-tweaks
Once installed, execute the following command to launch the Tweaks tool. Alternatively, you can open it manually from the application menu:
gnome-tweaksThen, in the Tweaks Tool you will get the below-highlighted categories:
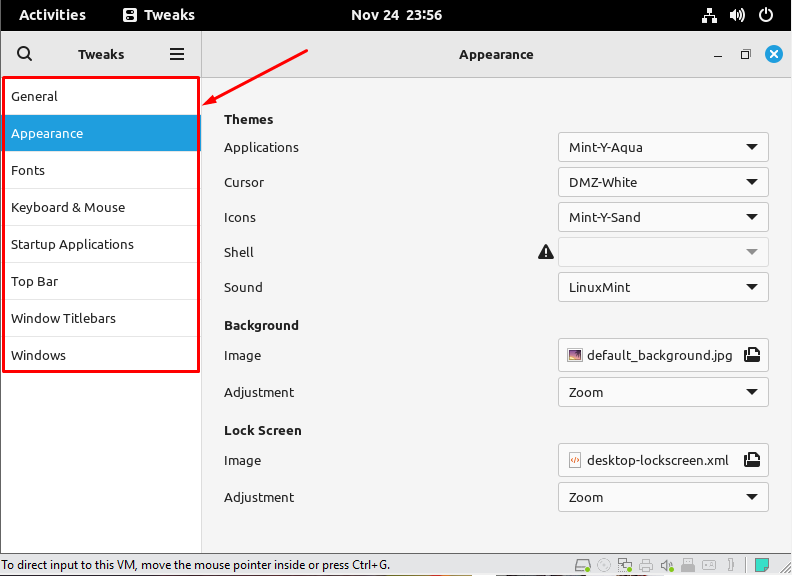
Here, you can change the appearance of the desktop, such as “Themes”, “Background”, and “Lock Screen”, adjust the “Font” size, and style, “Keyboard & Mouse”, “Startup Applications” settings, and many more.
How to Uninstall GNOME Desktop Environment From Linux Mint?
If you want to fall back to any of the default Desktop environments (MATE, XFCE, or Cinnamon), then use the following remove (with –autoremove) command to uninstall GNOME:
sudo apt remove –autoremove gnome
The GNOME desktop environment is removed from your Linux Mint system.
Wrapping-Up
To install the GNOME desktop Environment on Linux Mint, first, update your system through the “sudo apt update” command. Then, execute the “sudo apt install gnome” command. GNOME is well known for its customization and easy-to-use facility. This write-up has compiled the easiest steps for installing the GNOME desktop environments on Linux Mint.
