How to Install Python on Linux Mint?
Python is a well-known high-level programming language. It is widely utilized in multiple fields, such as website development, data analysis, AI applications, machine learning, and automation.
Additionally, Python is the core package of the Linux Mint as various system utilities depend on it. If you are a Linux Mint user and want to work with Python’s latest version, then update its current version as well as configure it on your system to enhance your experience.
This tutorial will describe the installation process of Python on Linux Mint, with the below-provided outline:
- How to Install Python on Linux Mint?
- How to Utilize Python on Linux Mint?
- How to Install and Manage Python Packages On Linux Mint?
Let’s go through them one by one!
How to Install Python on Linux Mint?
Python is by default installed on the Linux Mint system. However, you can update the current version of it to the latest without having to install it from the beginning. For that purpose, the following approaches are used:
- Approach 1: Install Python from APT on Linux Mint
- Approach 2: How to Install Python from Source Code on Linux Mint?
- Approach 3: How to Install Python From the PPA Repository on Linux Mint?
Approach 1: Install Python from APT on Linux Mint
APT(Advance Package Tool) is the default package manager for Linux Mint. By using this package manager, you can download and install the latest version of Python on your Linux Mint system from the official Linux repository.
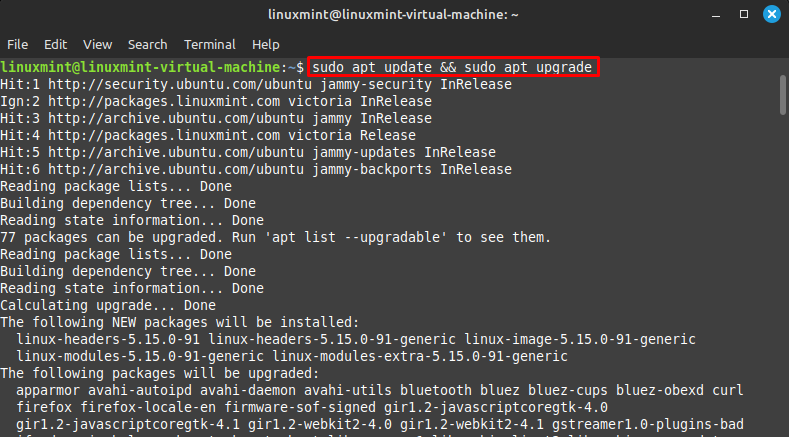
Step 1: Update Mint Repositories
Use the given command to update and upgrade the system repositories:
sudo apt update && sudo apt upgrade
Step 2: Install Python Using APT
Install Python using the below provided “apt” command:
sudo apt install python3
According to the given output, our system already has an updated version of Python:

Approach 2: How to Install Python from Source Code on Linux Mint?
You can easily download the newest version of Python on your Linux Mint system as well as install it through its source code. This can be done through the below procedure:
Step 1: Update Mint Repositories
Update and upgrade your system repositories:
sudo apt update && sudo apt upgrade

Step 2: Check Current Version
Check the currently installed version of Python on Linux Mint by executing the following command:
python3 --version

Step 3: Install Essential Dependencies
To install some essential packages that are required while installing Python on Linux Mint, use the following command:
sudo apt install -y zlib1g-dev libsqlite3-dev libnss3-dev libssl-dev build-essential libgdbm-dev wget libbz2-dev libffi-dev libncurses5-dev libreadline-dev

Step 4: Get Python Source Code
Run the “wget” command to download the updated version of Python’s source code file from its official website:
wget https://www.python.org/ftp/python/3.12.0/Python-3.12.0.tgz

Note: At the time of writing this blog, the latest version of Python is “3.12.0”. If you want to get the latest update of Python, do visit this page and find its latest version.
Step 5: Extract the Source Code File
Once downloading is completed, execute the “tar” command to unpack\extract the source file content on your system:
tar -zxvf Python-3.12.0.tgz
Here:
- “-z” is utilized to extract the compressed tarball content.
- “-x” is utilized to extract a tarball.
- “-v” is utilized to show the extraction progress.
- “-f” is utilized to specify the file name:

Step 6: Navigate to the Python Directory
Execute the given command and redirect to the extracted Python source directory:
cd Python-3.12.0

Step 7: Configure Packages on Linux Mint
Then, run the “./configure” command to configure the necessary packages that are required for installing Python:
./configure --enable-optimizations
In the above-given command, the “–enable-optimizations” option is used to enable all the optimizations including PGO(Profile Guided Optimization) and TLO(Link Time Optimization) to enhance the runtime performance of the program that you are configuring (Python in our case):

Step 8: Build Installation Packages
Run the “make” command to simultaneously build the process and split the task into small chunks with the “-j” option. This option is used for specifying the particular number of jobs to run in parallel and make it more optimized:
sudo make -j 4

Step 9: Install Python on Linux Mint
Execute the “make altinstall” command to install Python without overwriting its default binary library, such as “/usr/bin/python”:
sudo make altinstall

After that, use the “python3 –version” command to check the version of Python:
python3 --version
Given output indicates that Python’s version is not updated yet:

Step 10: Update Python’s Executable Path
Once the installation is completed, update the Python’s executable path to allow the system to load the recently installed version on Linux Mint. For that purpose, first, execute the “cd” command and navigate to the “/usr/bin”(where the executables are placed) directory:
cd /usr/bin

Step 11: Remove Python Folder
Remove the existing Python directory from the Linux Mint system to map the latest executable of Python. To do so, run the “rm” command:
sudo rm python3

Step 12: Link the Latest Python Version
Now, link the latest Python version with the Python commands. For that purpose, execute the provided commands.
Execute the given command to link the “python” command with Python3.12:
sudo ln -s /usr/local/bin/python3.12 python
In the above-described command:
- The “ln” command is utilized for generating a link that points to other files or directories.
- The “-s” flag is utilized to specify that it will be a symbolic link on your system.
- “/usr/local/…….” is the path where Python’s latest version has been installed.
Map the executable to “python3” as follows:
sudo ln -s /usr/local/bin/python3.12 python3

Now, whenever the “python” or “python3” command is run, the system will load the Python version 3.12.0.
Step 13: Check Python’s Updated Version
To verify whether the latest version of Python has been successfully updated or not, use the given command:
python3 --version

Approach 3: How to Install Python From the PPA Repository on Linux Mint?
Another approach to installing Python on the Linux mint system is from the PPA repository. This repository is a collection of program packages that permit users to install those software packages that are unavailable in the official package repositories (however, this is not for every case). Let’s proceed with the Python installation:
Before proceeding, let’s check the current Python version via the command:
python3 --version

Prerequisites: Install Dependencies
Execute the provided command to install some dependencies that are required before installing the Python:
sudo apt install software-properties-common
Here, “software-properties-common” is a software package that shows an abstraction of used apt repositories in a Linux system:

Step 1: Import the PPA Repository
Now, add the PPA(Personal Package Archive) repository by using the following command:
sudo add-apt-repository ppa:deadsnakes/ppa

PPA repo has been added successfully:

After doing so, update and upgrade the apt list by using the given command:
sudo apt update && sudo apt upgrade

Step 2: Install Python
Install Python’s updated version on your Linux mint system through the given command. In our case, “Python3.12” is the latest version at the time of writing this blog:
sudo apt install python3.12

The installation has been successful. In the upcoming steps, the newly installed Python version will be mapped to the Python executable in the Linux Mint.
Step 3: Remove Python’s Previous Directory
Navigate to the bin directory and remove Python’s existing directory (to unload the currently loaded python’s executable) from the bin through the given command:
cd /usr/bin && sudo rm python3

Step 4: Rename Python3.12 Directory
Rename the Python3.12 directory with “python3” by using the “cp” command. This will enable the system to recognize the latest version:
sudo cp python3.12 python3

Step 5: Verify Installation
Lastly, run the provided command to verify that the latest version of Python has been installed successfully:
python3 --version

How to Use Python on Linux Mint?
You can use Python on your system. To do so, first, open the Python shell by running the “python3” command:
python3
Then, type Python code in the shell and execute it by pressing the “Enter” key. For instance, we have printed the given message on the screen:
print("Welcome to my Linuxgenie Webpage")
To exit the Python shell, run the below-given command:
exit()

How to Install and Manage Python Packages on Linux Mint?
Python’s standard package manager is “pip” which permits users to install, update, and upgrade Python packages and libraries as well as uninstall them from their system.
Here, first, we will install the “pip” and then use it to manage packages on Linux Mint.
Step 1: Install pip With Python Packages on Linux Mint
Usually, “pip” is included with Python installations. If not, then use the below-stated command:
sudo apt install python3-pip

Step 2: Verify installed pip
Use the provided command to check the currently installed “pip” package manager’s version:
pip --version

Step 3: Upgrade “pip” Current Version
Now, upgrade “pip” to the newest version by running the below-stated command:
python3 -m pip install --upgrade pip

Install Python Package with “pip”
Now, use the “pip” to install Python libraries and packages. For example, we want to install the “numpy” (You can replace “numpy” with any package or library that you want to install on your system) library with “pip”:
pip install numpy

Remove Python Packages
The ”pip” is also used for uninstalling those packages or libraries. Let’s remove numpy via “pip” as follows:
pip uninstall numpy

Note: Here, replace the “numpy” with the particular package or library name that you want to uninstall from your system.
That’s all! You have learned the different approaches for installing Python on Linux Mint.
Wrap Up
The updated Linux Mint contains the newest available version of Python. If you want to install Python’s latest version, then you can do this by checking the latest available from the official repository using APT, PPA repository, or source code. All methods are easy but installing Python from the official repository is quite better than installing it through others. This guide provided different approaches for Python installation on the Linux Mint system.
