
How to Install OpenCV on Ubuntu 22.04
OpenCV is a computer vision library that is open-source and free for use. It is widely used for a variety of applications, such as facial recognition, object tracking, and motion detection. OpenCV was developed by Intel and is written in C++, with interfaces available for Python, Java, and other programming languages.
Ubuntu, a free and open-source computer operating system, has its roots in the Debian GNU/Linux distribution. Because it combines the features of a Unix OS with an extra, customizable graphical user interface, Ubuntu is widely used in educational and scientific institutions. While Ubuntu does have a server version, it is most often utilized on desktop PCs. Today, you can get Ubuntu in a wide range of guises and niche versions.
This tutorial shows you how to set up OpenCV on Ubuntu and to understand how to install OpenCV from source code, including the most current stable version. Please refer to the portion of this page headed “Utilizing the Source to install OpenCV” further down. The installation process can be carried out in whatever way is most practical for you.
Installing OpenCV
You can install OpenCV by typing the below command:
$ sudo apt install libopencv-dev python3-opencv |

Utilizing the Source to install OpenCV
The most current version of the OpenCV library may be obtained by compiling it from its source code. You’ll have full say over how the build is tailored to your machine’s specifications. This method is recommended for setting up OpenCV. To install the most recent OpenCV version directly from the source, follow these instructions:
Make backups of OpenCV and all its source code repositories:
$ mkdir ~/opencv_build && cd ~/opencv_build $ git clone https://github.com/opencv/opencv.git $ git clone https://github.com/opencv/opencv_contrib.git |
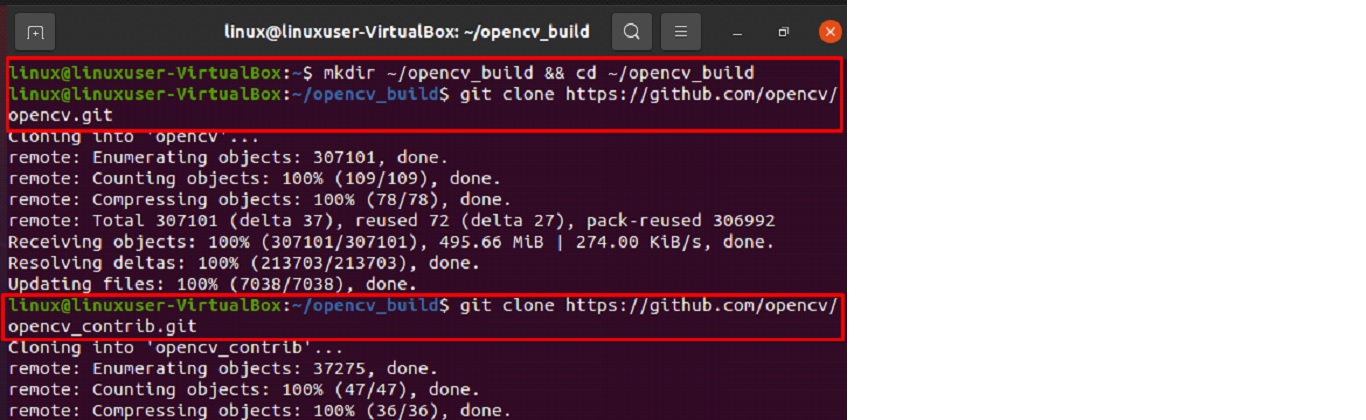
Github’s default source code version is currently at 4.3.0.
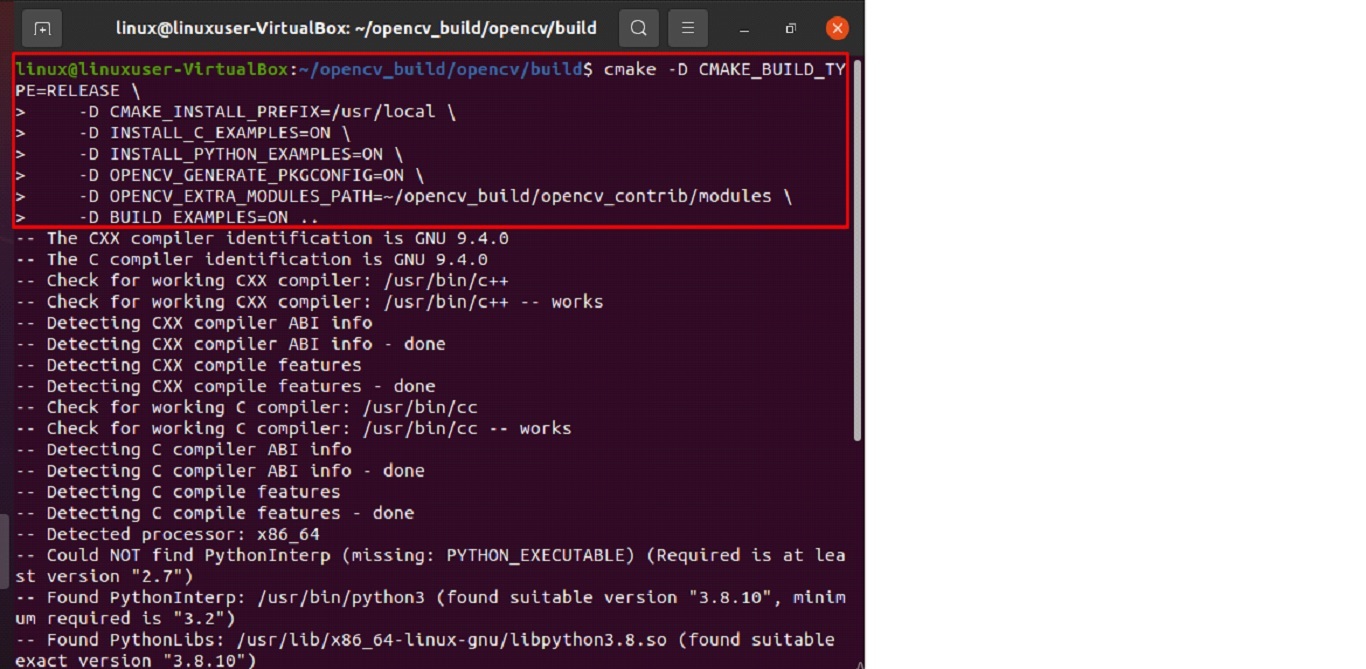
Make a temporary directory to construct in, and then go to it after the download is complete:
$ cd ~/opencv_build/opencv $ mkdir -p build && cd build |

To make OpenCV, you only need to setup CMake:
After that you need to start the compilation process using:
$ make -j8 |
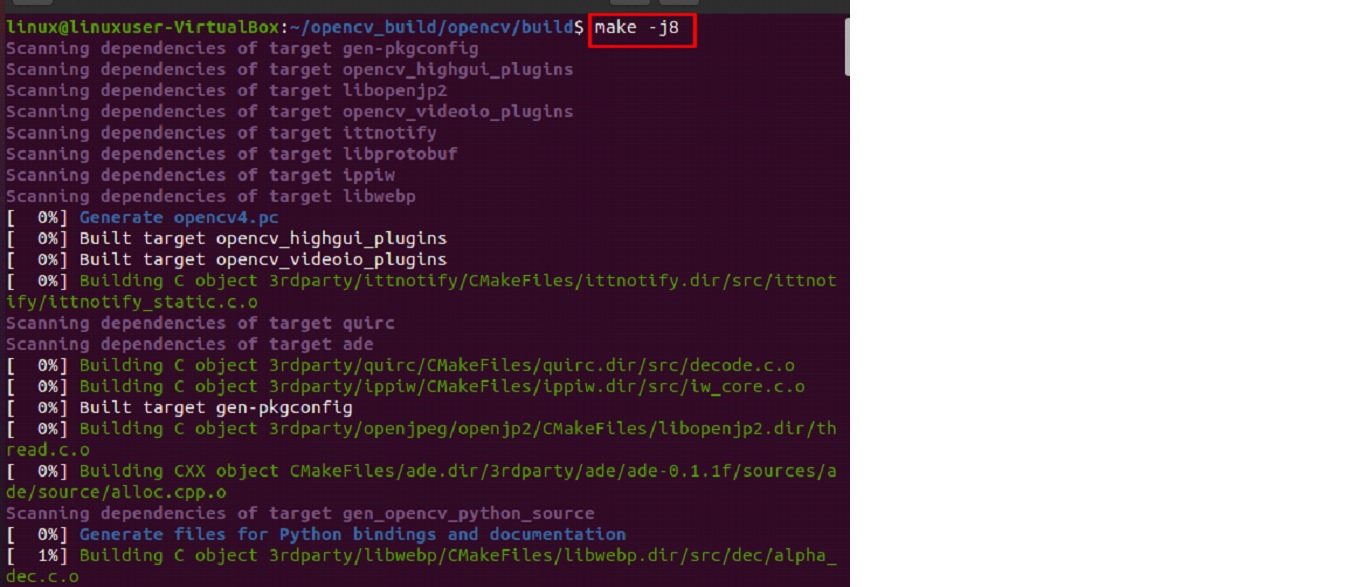
Modify the -j option to suit your CPU. The time required to create is system-specific, so if you’re not sure how many cores your CPU has, run nproc into the terminal to find out.
The next step is to Set up the OpenCV you can do this using the below command:
$ sudo make install |

Type the following steps to see the OpenCV version to ensure proper installation.
$ pkg-config --modversion opencv4 |
$ python3 -c "import cv2; print(cv2.__version__)" |

Conclusion
Two distinct ways have been shown for you to install OpenCV on Ubuntu 22.04. Your goals and preferences will dictate the strategy you use. Although it is easier to install OpenCV from the prepackaged version provided by the Ubuntu repository, you should consider developing OpenCV from scratch to get the most flexibility.
