
How to Set JAVA_HOME Variable on Ubuntu 22.04
Are you looking to use Java on your Ubuntu 22.04 system and set up the essential “JAVA_HOME” environment variable? This user-friendly guide makes the process a breeze!
Keep your system up-to-date, follow the installation steps, and seamlessly insert the “JAVA_HOME” variable into your system without the need for complicated commands. And don’t worry about removing Java later; we’ll show you how it’s a simple process.
With Java and the “JAVA_HOME” variable in place, you can unlock a world of possibilities on Ubuntu 22.04 – get ready to explore all its potential! Let’s dive in!
Features of Java
Below are some fantastic features of Java:
- Platform Independence: Java’s “Write Once, Run Anywhere” (WORA) approach allows code to be compiled into platform-independent bytecode, making it runnable on any device with a Java Virtual Machine (JVM).
- Object-Oriented: Java follows the object-oriented programming (OOP) paradigm, emphasizing the use of classes and objects to create organized and reusable code.
- Automatic Garbage Collection: Java’s built-in garbage collector automatically manages memory, freeing developers from manual memory allocation and deallocation tasks.
- Comprehensive Standard Library: Java’s extensive standard library provides a wealth of pre-built classes and APIs, simplifying everyday programming tasks like input/output, networking, and more.
- Multi-threading Support: Java offers robust support for multi-threading, enabling concurrent execution of tasks and optimal utilization of multi-core processors.
How to Install Java on Ubuntu 22.04?
First of all, update all the packages list to further proceed with the installation process:
sudo apt update |

Now, install Java on Ubuntu 22.04 by using the following command
sudo apt install default-jdk |

How to Set JAVA_HOME Variable on Ubuntu 22.04?
Utilize the below command to add the “JAVA_HOME” environment variable at the end of the “.bashrc” file:
echo 'export JAVA_HOME=/usr/lib/jvm/default-java' >> ~/.bashrc |

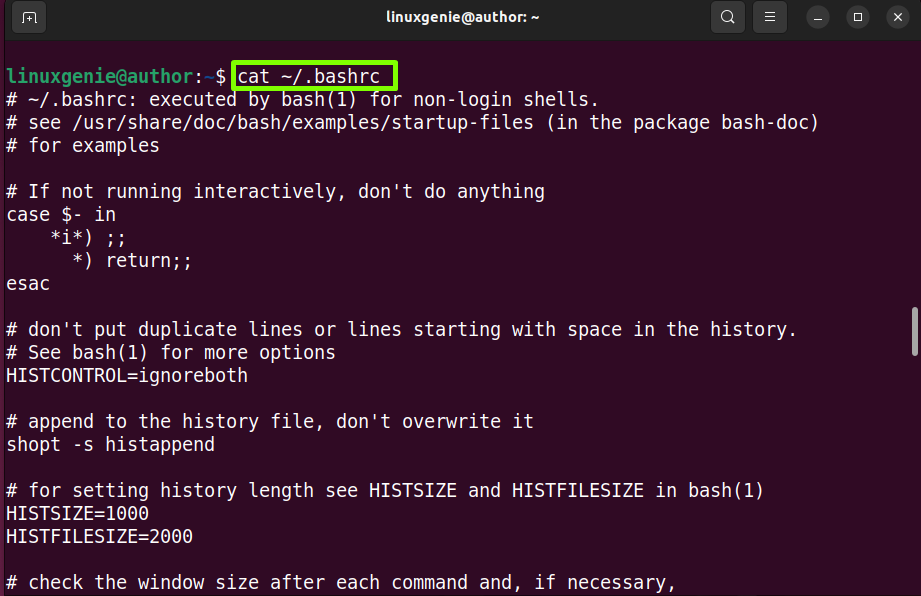
After that, to check whether it is added at the end of the file or not, run the below command:
cat ~/.bashrc |
To make the “JAVA_HOME” variable available for use, write out the below command:
source ~/.bashrc |

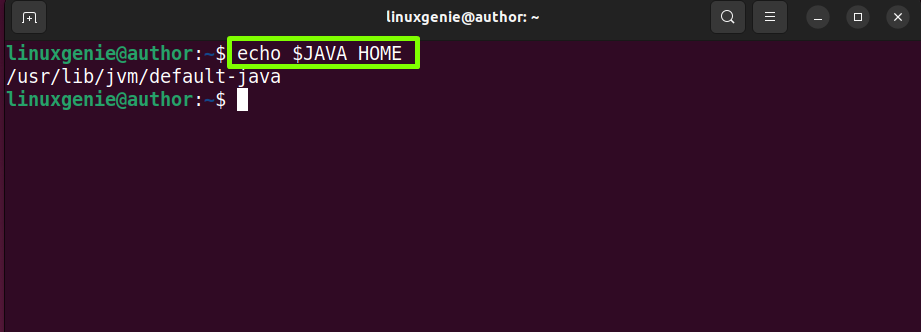
To verify if the “JAVA_HOME” variable is correctly set run out the below command:
echo $JAVA_HOME |
How to Uninstall/Remove Java on Ubuntu 22.04?
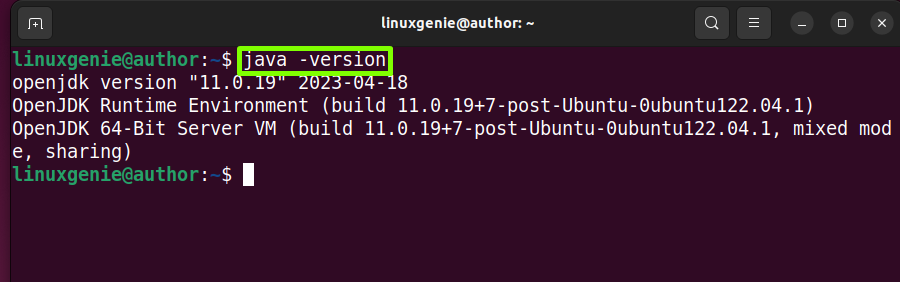
To check if Java is installed on Ubuntu 22.04, check its version by running this command:
java -version |
In case you want to uninstall Java from Ubuntu 22.04, you can utilize the below-mentioned command:
sudo apt purge default-jdk |

For verification of uninstallation of Java from Ubuntu 22.04, you can use the autoremove command that is given below:
sudo apt autoremove |

That is how you install and uninstall Java on Ubuntu 22.04.
Conclusion
To install Java on Ubuntu 22.04, first, you will need to update the packages and then install Java on Ubuntu 22.04 by utilizing the “sudo apt install default-jdk command” and then check its version. Then, to configure the “JAVA_HOME” variable, run “echo ‘export JAVA_HOME=/usr/lib/jvm/default-java’ >> ~/.bashrc”. After that verify it by using above mentioned commands. Lastly, if you want to uninstall Java on Ubuntu 22.04, then run “sudo apt purge default-jdk”.
