Uncomplicated Firewall, or UFW, is a firewall administration interface that is less complicated than higher-level packet filtering technologies like iptables and nftables, and it hides their complexity. Ufw might be the best option for you if you want to start safeguarding your network but are unsure of which tool to use. This article will demonstrate how to setup a firewall with ufw on Ubuntu.
Ubuntu by default includes UFW installed. You can reinstall it using “sudo apt install ufw” if it was uninstalled for whatever reason.
Step 1: Utilizing IPv6 with ufw
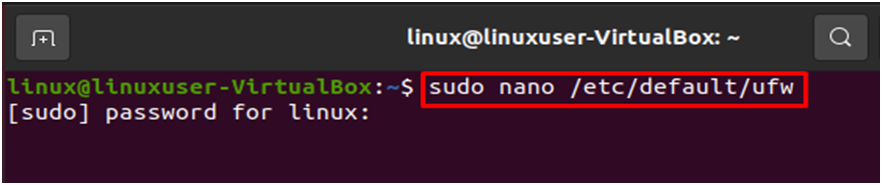
Open the ufw setup in nano or your preferred editor to achieve this.
$ sudo nano /etc/default/ufw
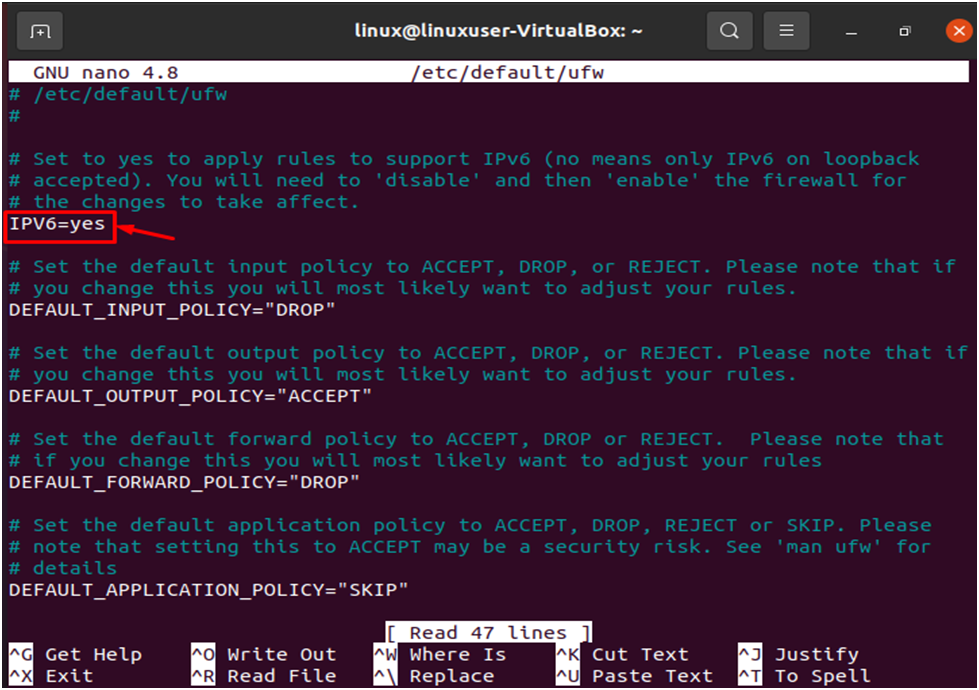
After opening this editor, make sure to check that IPV6 is set to yes. It should seem as follows:
Save the document, then exit. However, we will want to make sure that your firewall is set up to allow you to access over SSH before turning on UFW. Set the default policies first, then.
Step 2: Setting up Default Policies
Your default policies should be defined as the initial set of rules when setting up your firewall. These regulations govern how to deal with traffic that does not expressly comply with any other regulations. By default, anyone who tries to connect to your server will be unsuccessful, yet any applications running on the server will be able to communicate with the outside world.
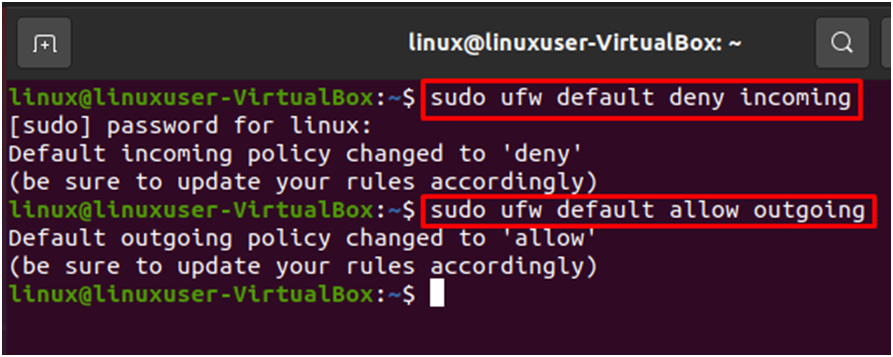
To ensure that you can follow along with this instruction, let’s reset your UFW rules to their default settings. Use these commands to modify UFW’s default settings:
$ sudo ufw default deny incoming
$ sudo ufw default allow outgoing
Step 3: Allowing SSH Connections
Our ufw firewall would block all incoming connections if we turned it on right now. To login to and operate your server, if you’re utilizing a cloud server, you’ll generally need to accept incoming SSH connections.
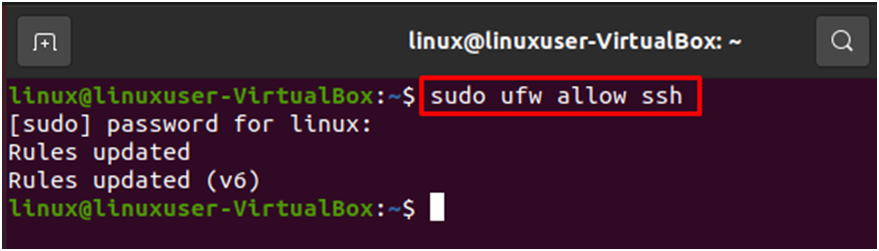
Use the following command to set up your server to allow incoming SSH connections:
$ sudo ufw allow ssh
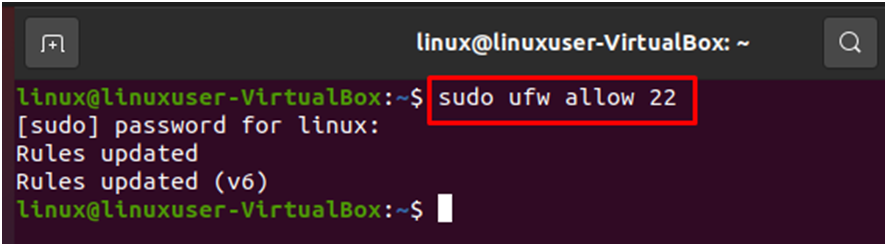
However, if you use the port rather than the service name, you may really create an equal rule. For instance, this command functions the same as the one mentioned before:
$ sudo ufw allow 22
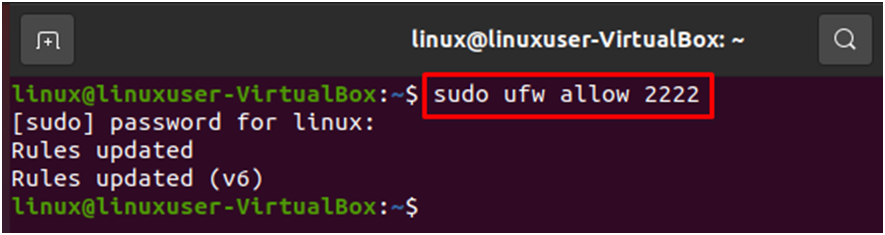
SSH daemon on your computer is set to use a different port, you must specify that port. To permit connections on port 2222, for instance, if you’re SSH server is listening on that number:
$ sudo ufw allow 2222
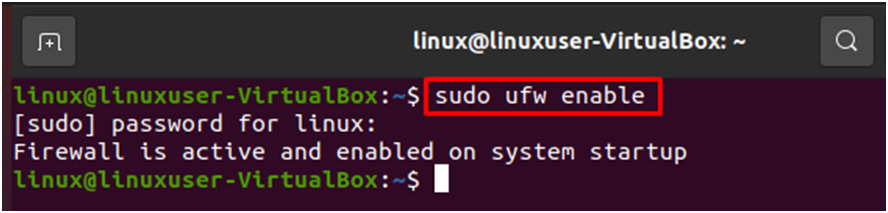
Step 4: Enable ufw
Use the following command to activate ufw:
$ sudo ufw enable
Step 5: Permitting Additional Connections
All other connections that your server needs to react to should now be permitted. Depending on your individual needs, you should decide which connections to permit. We already done this for SSH on port 22 but these are also applicable to:
HTTP on port 80 is used by unencrypted web servers; this port can be reached by entering sudo ufw allow http or sudo ufw allow 80.
Encrypted web servers use HTTPS on port 443, which can be accessed by typing sudo ufw allow https or sudo ufw allow 443.
Particular Port Ranges
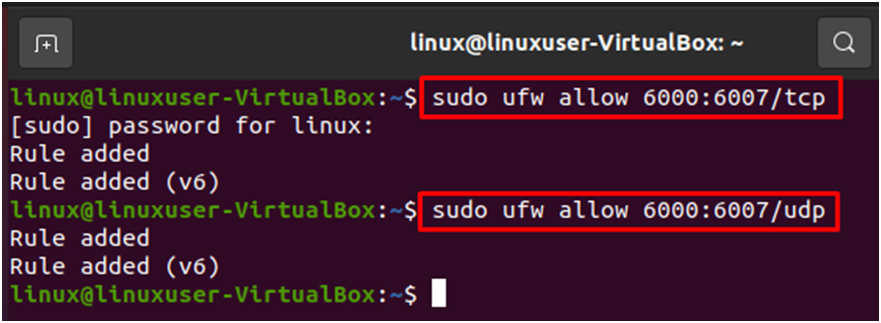
With ufw, port ranges can be specified. Some apps don’t only use one port, but several. For example, use the commands below to enable X11 connections, which operate on ports 6000–7007.
$ sudo ufw allow 6000:6007/tcp
$ sudo ufw allow 6000:6007/udp
Certain IP Addresses
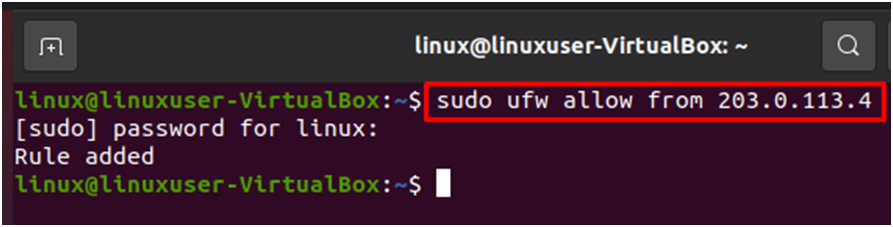
You can also set IP addresses while using ufw by using this command:
$ sudo ufw allow from 203.0.113.4
If you wish to limit the IP address’s ability to connect to a particular port, add to any port and then the port number. Use this command, for instance, to permit 203.0.113.4 to connect to port 22 (SSH):
$ sudo ufw allow from 203.0.113.4 to any port 22
Subnets
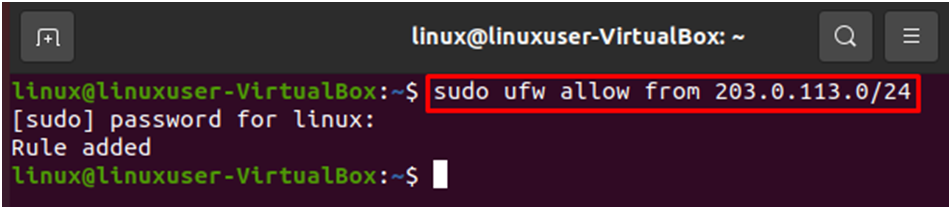
If you want to permit a subnet of IP addresses, you can set a net mask using CIDR notation. For instance, you could run the following command to allow all IP addresses between 203.0.113.1 and 203.0.113.254:
$ sudo ufw allow from 203.0.113.0/24
We’ll use port 22 (SSH) once more as an illustration:
$ sudo ufw allow from 203.0.113.0/24 to any port 22
Connections to a particular network interface
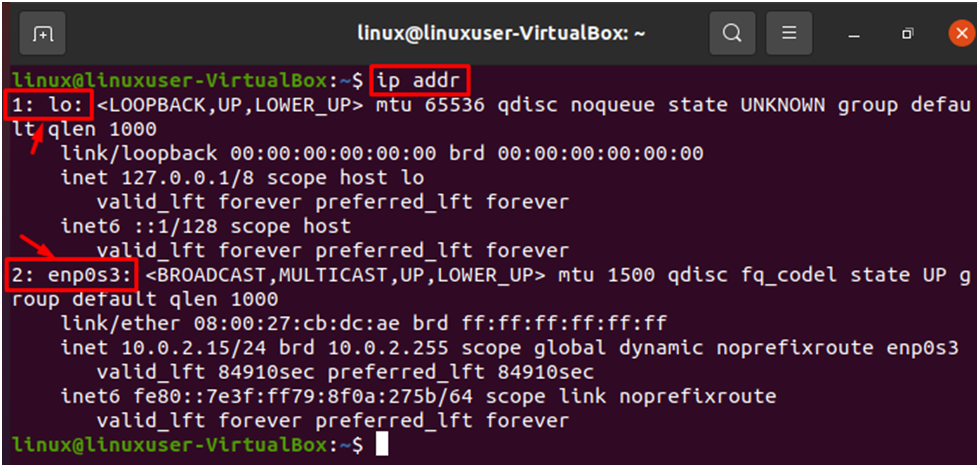
By adding “allow in on” after the name of the network interface, you can make a firewall rule that exclusively affects that particular network interface. Before moving on, you might wish to check your network interfaces. Use this command to do so:
$ ip addr
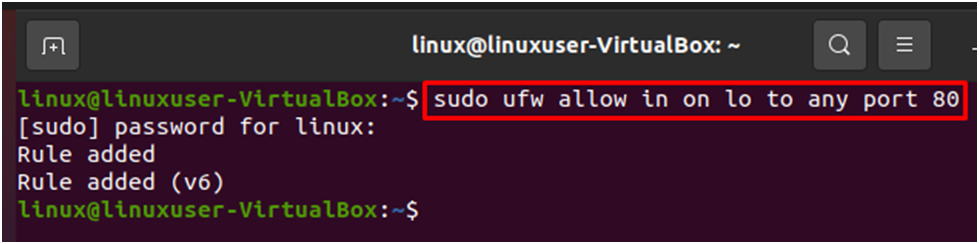
The names of the network interfaces are shown in the highlighted output. Typical names for them are lo or enp0s3. To enable HTTP traffic (port 80) to your network interface, lo, use the following command:
$ sudo ufw allow in on lo to any port 80
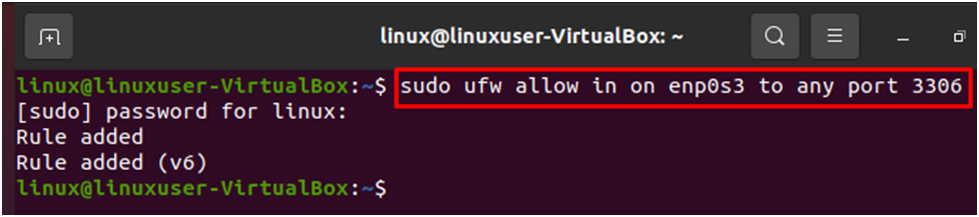
Alternatively, you may use the following command to instruct your MySQL database server (port 3306), for example, to watch for connections on the network interface enp0s3.
$ sudo ufw allow in on enp0s3 to any port 3306
Step 6: Denying Connections
UFW is set up to reject all incoming connections if the default policy for incoming connections has not been modified. By requiring you to write rules that expressly permit certain ports and IP addresses through, this generally simplifies the process of developing a secure firewall policy.
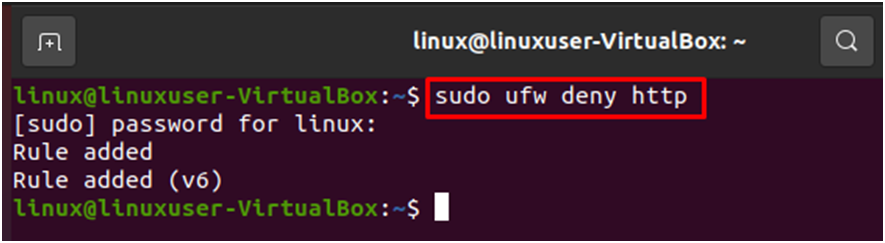
For instance, to stop HTTP connections, you could issue the following command:
$ sudo ufw deny http
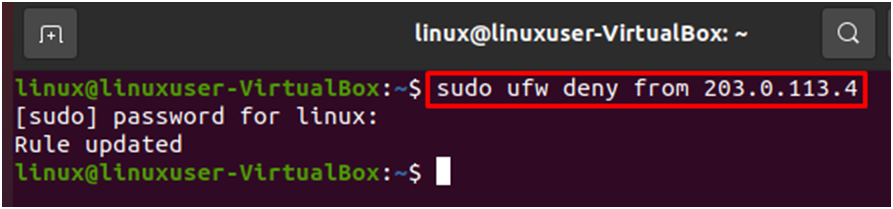
The command shown below can likewise be used to obstruct all connections from 203.0.113.4:
$ sudo ufw deny from 203.0.113.4
Step 7: Remove Rules
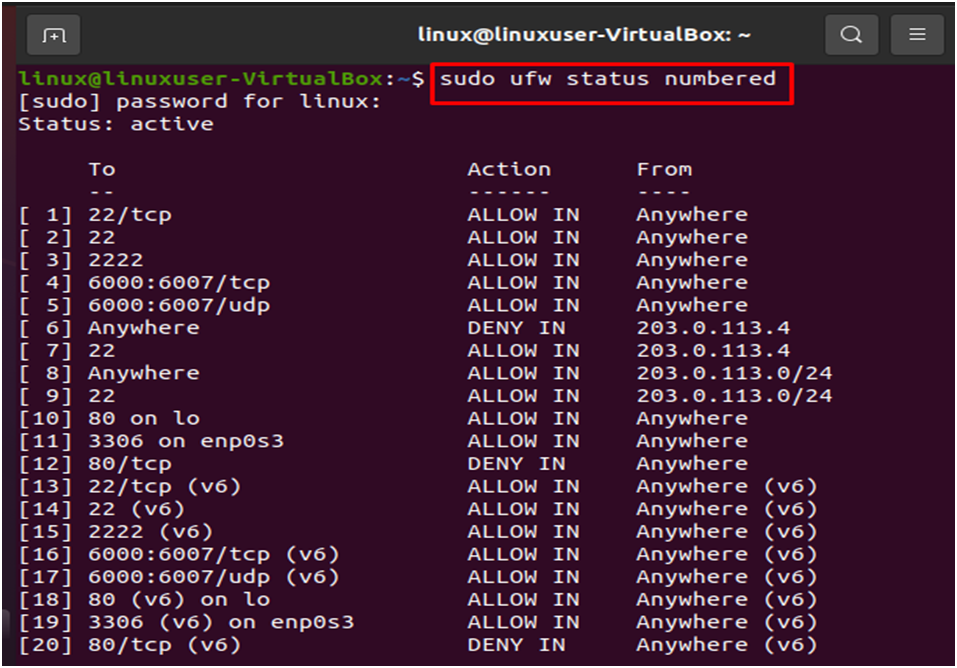
Getting a list of your firewall rules is the first step in deleting firewall rules. The following ufw status command can be used in this regard to display numbers with rules:
$ sudo ufw status numbered
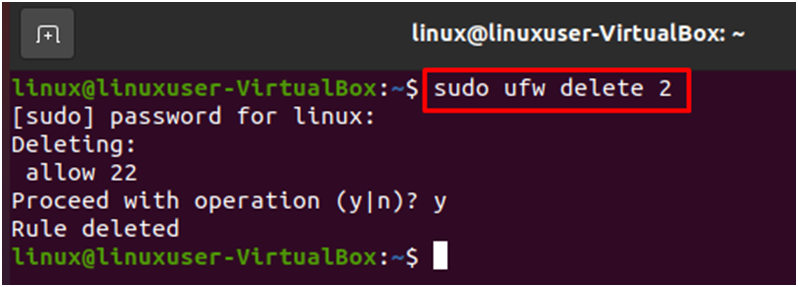
If we choose to remove rule 2, which permits connections through port 80 (HTTP), we can do so by specifying it in an ufw delete command like this:
$ sudo ufw delete 2
Step 8: Reviewing ufw Rules and Status
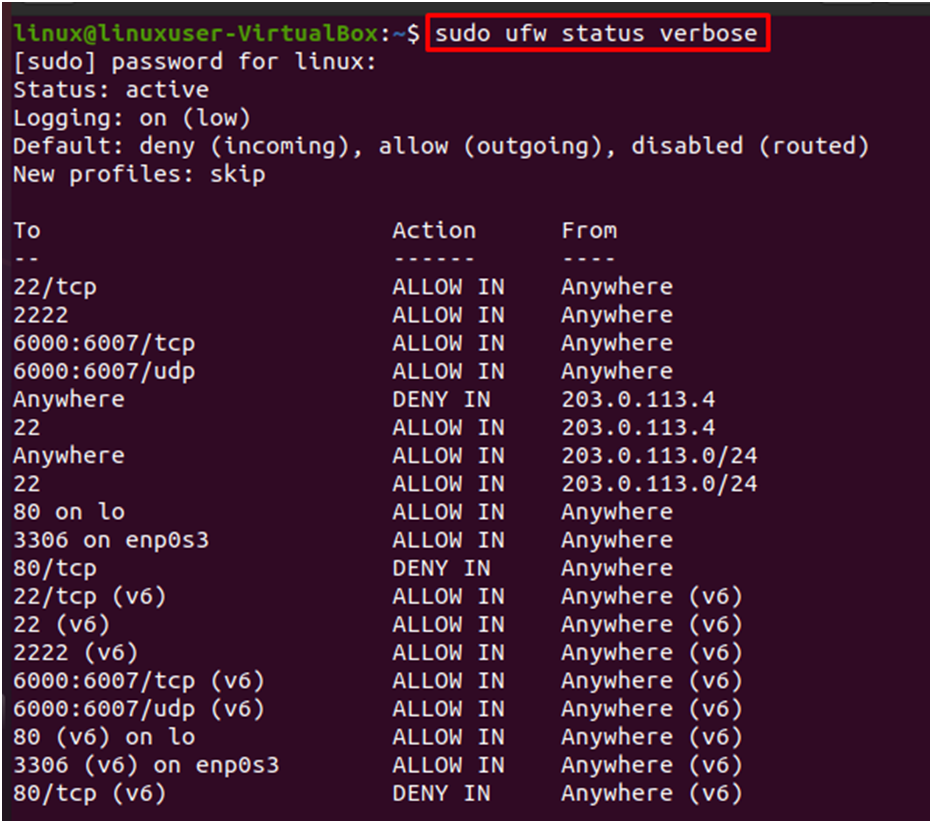
With this command, you may always check the ufw’s status:
$ sudo ufw status verbose
UFW is by default disabled, so you’ll see something like this:
If ufw is running, the output will show the operational status and list any rules that have been set up. For instance, if the firewall is configured to accept connections to SSH (port 22) from anywhere, the output would resemble this:
Conclusion
Currently, your firewall is set up to permit (at the very least) SSH connections. In order for your server to work and be secure, make sure to permit any additional incoming connections that it requires while restricting any unneeded connections.