
How To Install and Configure Ansible on Linux Mint 21
Ansible is an open-source automation tool that simplifies the deployment, configuration, and management of applications and systems. It is widely used in DevOps, IT operations, and cloud environments, this article will discuss how to install and configure Ansible on Linux Mint
How to Install Ansible on Linux Mint 21
To install Ansible on Linux, you need to have root access to the system since the installation process varies depending on the Linux distribution you are using. For Linux Mint and Ubuntu, you can install Ansible using the following steps:
Step 1: To run Ansible successfully on Linux its imperative to install all of its required dependencies and for that just execute:
sudo apt install software-properties-common -y |

Step 2: Once the necessary dependencies are installed, use the Linux default package manager that is Apt to install this tool:
sudo apt install ansible -y |

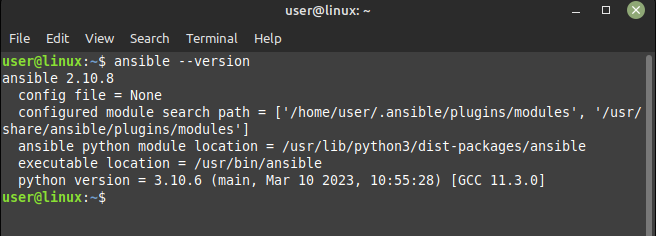
After successful installation of Ansible confirm its version and for that use:
ansible --version |
How to Configure Ansible on Linux Mint 21
The next step is to configure Ansible by creating an inventory file as this file contains a list of hosts that Ansible can manage, so here are some steps that you need to perform in this regard:
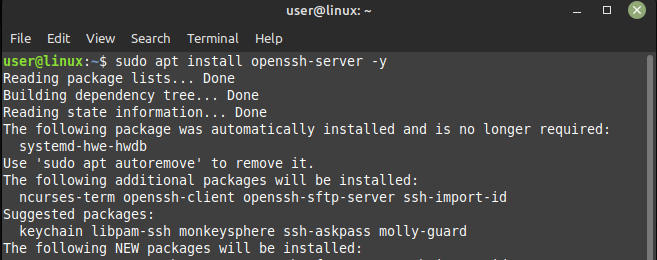
Step 1: To securely connect and manage remote systems over a network Install the secure shell server on Linux Mint first and for that execute:
sudo apt install openssh-server -y |
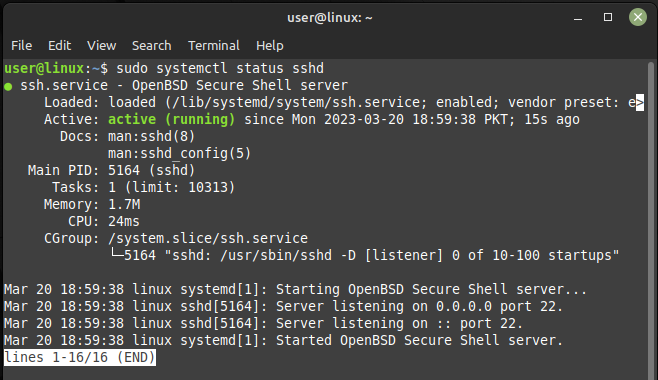
Now to check if the ssh service is running or not use the systemctl command and for that execute:
sudo systemctl status sshd |
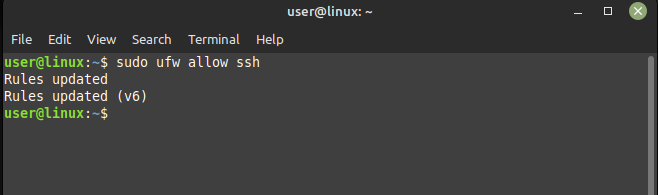
Step 2: Next, allow the secure shell service through the firewall of Linux and for that use the below command to ensure proper functionality of ssh:
sudo ufw allow ssh |
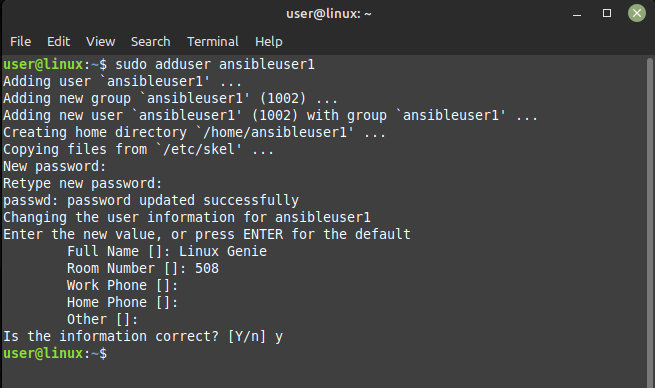
Step 3: Now create a user for Ansible and add the relevant details like name, phone number and room number so use the below given syntax to create a user for ansible:
sudo adduser <user-name> |
For illustration I have created a user that is used as “ansibleuser1”:
sudo adduser ansibleuser1 |
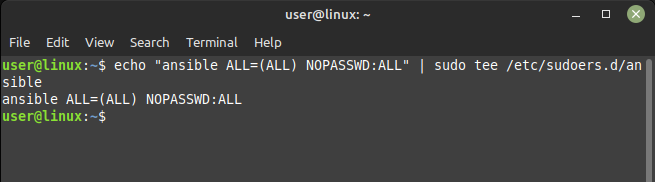
Step 4: To allow access to all the users change its permissions settings by adding “ansible ALL=(ALL) NOPASSWD:ALL” to its configuration file, so in that case use:
echo "ansible ALL=(ALL) NOPASSWD:ALL" | sudo tee /etc/sudoers.d/ansible |
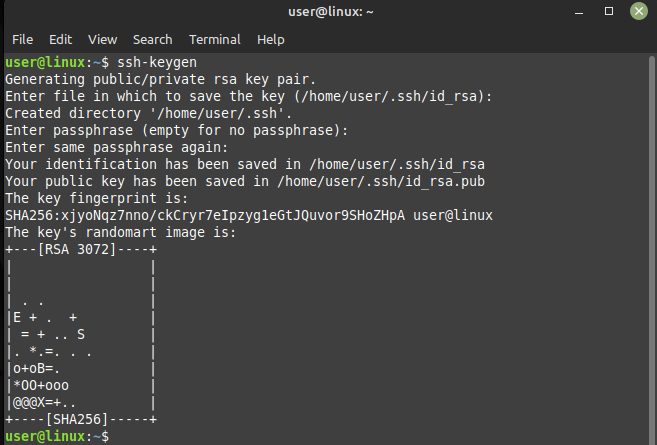
Step 5: Now generate the ssh keys to keep the shell secure, so for that just execute:
ssh-keygen |
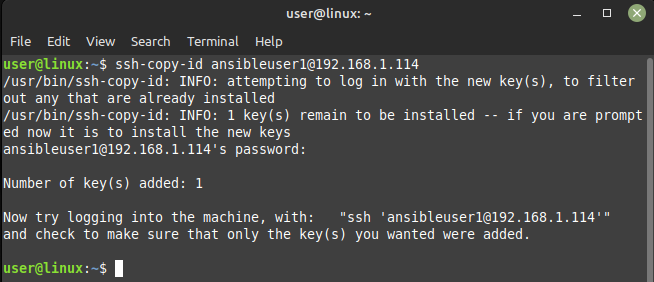
Step 6: Once the key is generated it’s time to copy its public version to the host to whom you want to given access so for that follow the below given syntax:
ssh-copy-id ansible@<host-IP-address> |
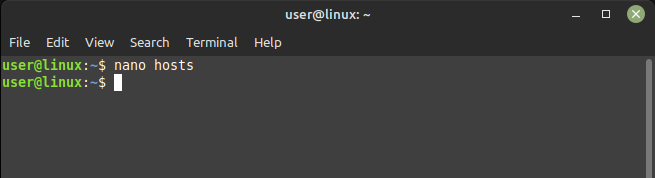
Step 7: Once you have copied the public key just add the host IP address by executing:
nano hosts |
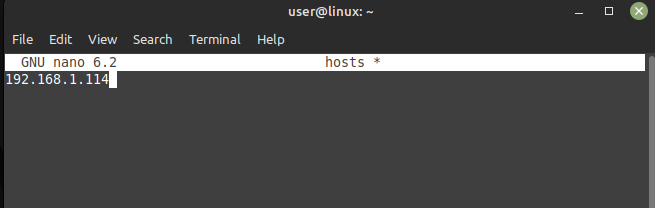
Enter the IP addresses of hosts you want to give access, since I want to give access to only one host so I Am adding one IP address:
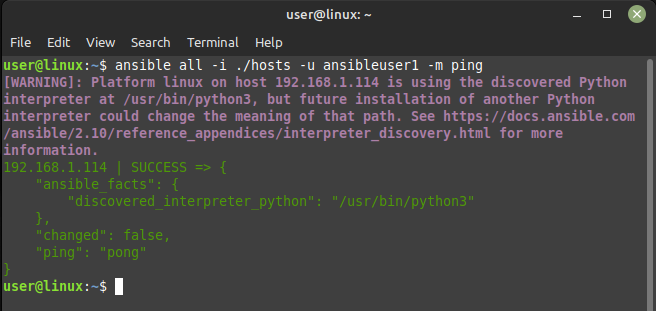
Step 8: Now ping the any of the user you have created by following the below syntax, to see if the Ansible is working or not:
ansible all -i ./hosts -u <created-user-name> -m ping |
If Ansible is configured correctly, you should see a response from each server indicating that the ping was successful.
Removing Ansible from Linux Mint 21
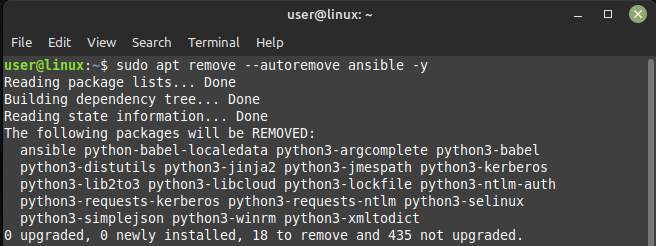
To remove Ansible from Linux just execute the below given command:
sudo apt remove --autoremove ansible -y |
Conclusion
Ansible is a powerful automation tool that simplifies the deployment and management of applications and systems. This article discussed how to install and configure Ansible on Linux and by following these steps, you can get started with using Ansible to automate your IT operations and improve your overall efficiency.
