Install TeamViewer on CentOS
TeamViewer is a popular desktop application that enables you to remotely connect and manage various systems over the internet. TeamViewer provides a free version for personal and non-commercial usage. However, you require a license for commercial and business purposes. With TeamViewer, you can share your desktop, participate in online meetings via web conferencing, and transfer files between computers. You can install TeamViewer on multiple OS platforms including Linux, Windows, MacOS, Chrome OS, and Android.
In this tutorial, we will explore how to install Teamviewer on CentOS system. All steps we have performed on the latest version of CentOS distribution.
Installing TeamViewer on CentOS 8 Step-by-Step Guide
Although TeamViewer is not by default included in the CentOS 8 package repositories, it does provide an RPM package for RedHat-based operating systems. To install TeamViewer on a CentOS 8 machine, follow these steps:
Step 1: Download TeamViewer RPM package
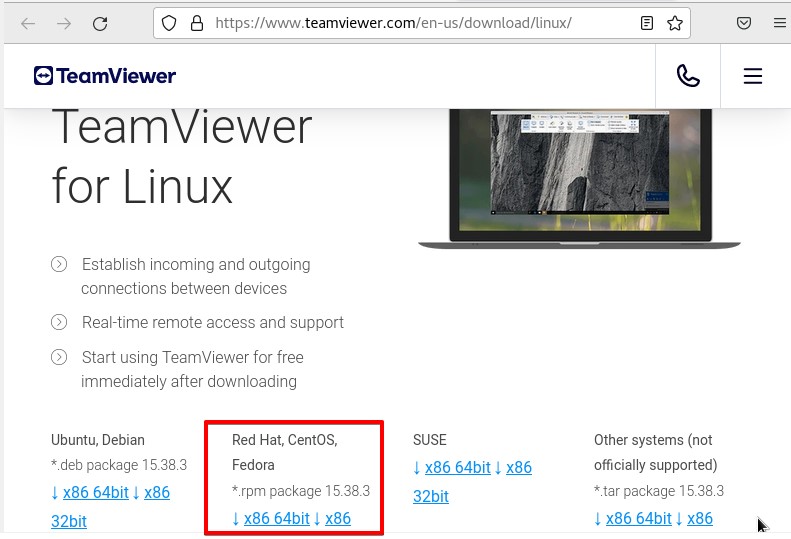
First, download the TeamViewer RPM package from the official TeamViewer website to install TeamView on CentOS 8. Visit its official website and click ‘x86_64bit’ to download the TeamViewer 64-bit RPM package for Fedora, CentOS, or RedHat distribution. If you have 32-bit system architecture then, select ‘x86_32bit’ for your system.
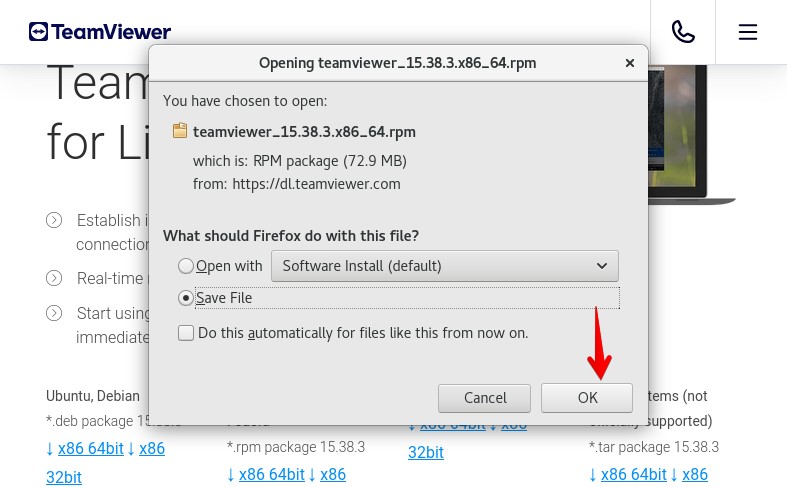
Choose the desired location where you want to store this RPM package and click on ‘OK’.
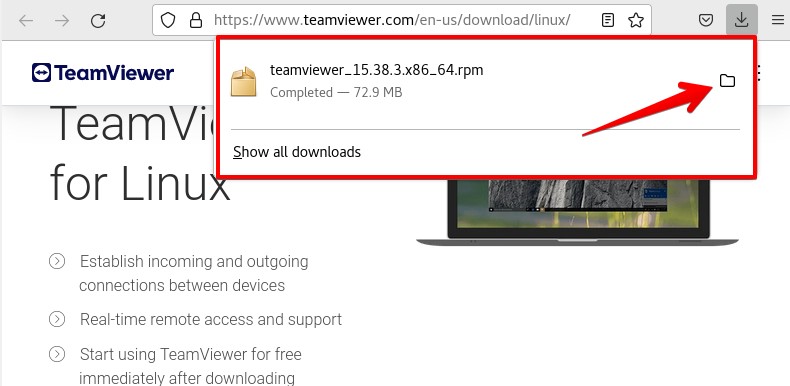
The downloaded TeamViewer RPM package will be stored in your system Downloads directory.
Step 2: Enable Epel Repository on CentOS 8
You need to enable an EPEL repository on your CentOS 8 machine before start installing TeamViewer on your system. So, enable the EPEL repository by using this command:
$ sudo dnf install epel-release
After installing the EPEL repository, update your DNF repositories cache by using the below command:
$ sudo dnf makecacheStep 3: Install TeamViewer RPM package
After enabling the Epel repository, move into the system Downloads.
$ cd Downloads
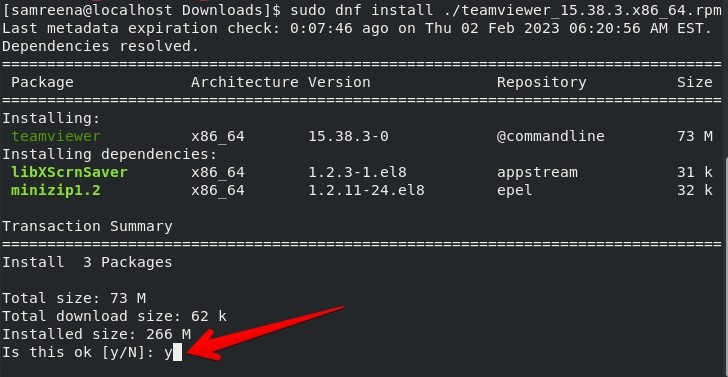
Here, you can install the TeamViewer RPM package using the following command:
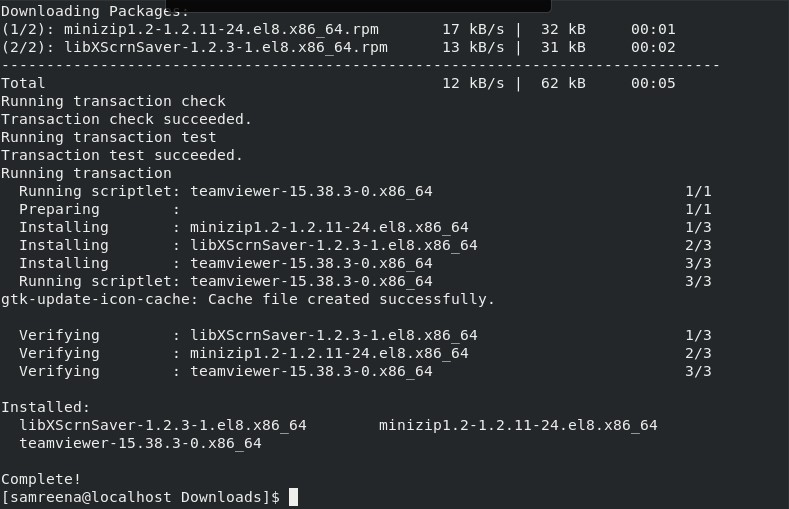
$ sudo dnf install ./teamviewer_15.38.3.x86_64.rpmPress ‘y’ to continue the required installation process. The installation will be completed in a few minutes on your system.
TeamView installation has been successfully completed on your system now.
Step 4: Launch TeamViewer on CentOS 8
After installing TeamViewer, you can launch this application on your system. To launch TeamViewer on CentOS 8, click on ‘Activities’ and search for ‘TeamViewer’ using the application search bar:

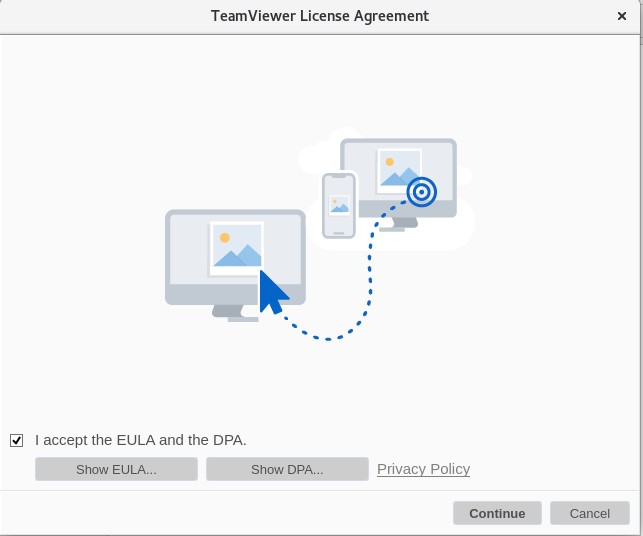
Click on the TeamViewer icon to launch it on CentOS 8 system. Now, you will need to agree with the TeamViewer’s License Agreement. Accept the license agreement, then launch the TeamViewer application on your system.
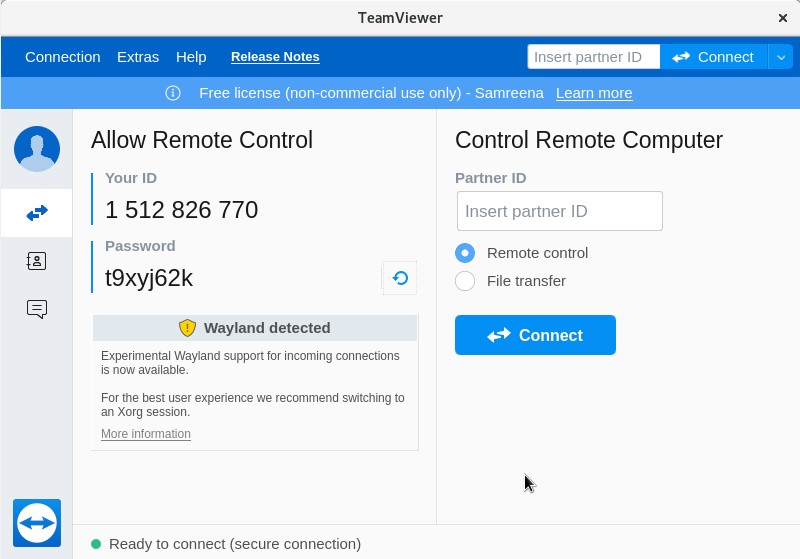
Now, you can start and use TeamViewer on your CentOS 8 system.
Uninstall TeamViewer from CentOS 8
If you want to uninstall the TeamViewer application from your system, use the below command to remove it from CentOS 8:
$ sudo yum remove teamviewer.x86_64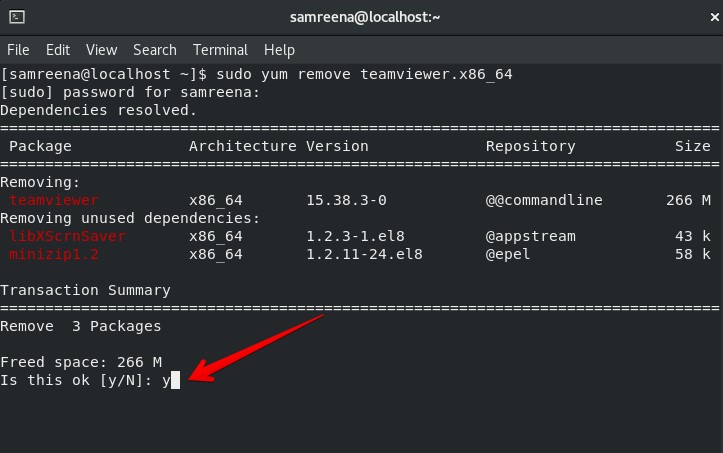
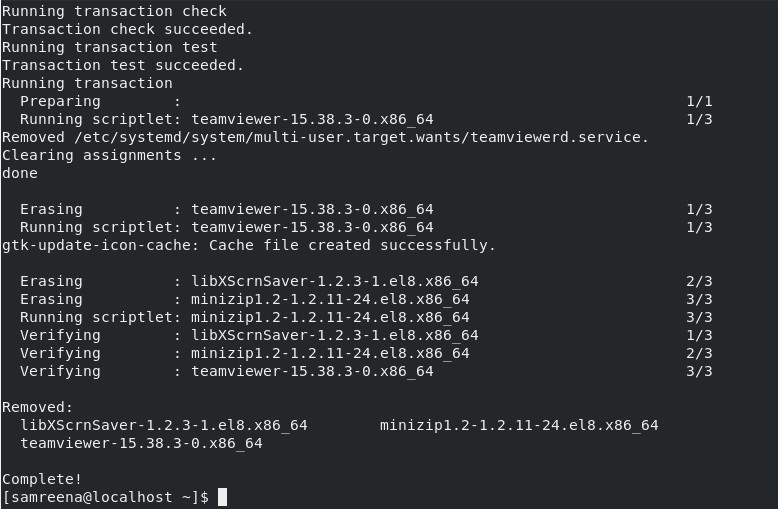
When you execute the above command, you will be prompted to enter the “sudo” password. In order to continue with the uninstallation, type “y” and press “Enter”. After that, it will uninstall TeamViewer from your CentOS 8 machine.
Conclusion
We have explained how to install and run TeamViewer on CentOS in this article. If you no longer need TeamViewer on your machine, we have also discussed how to remove it. You can take more assistance regarding TeamViewer from its help menu. To do this, run TeamViewer help in the Terminal. That’s all about installing and managing TeamViewer on CentOS 8 system. Follow us on LinkedIn, Twitter, and Pinterest. Thanks!
