
How to Install and Configure Git on Linux Mint 21.2
Git serves as a decentralized version control system, specifically to assist developers in managing and tracking changes within their projects. The best thing about Git is that it is free and cross-platform. Creating branches of projects and merging versions into the main file is one of the best features of Git. Furthermore, It enables its users to work on a shared project simultaneously.
The objective of this educational post is to provide a detailed understanding of how to install and configure Git on Linux Mint 21.2.
How to Install and Configure Git on Linux Mint 21.2?
Follow the subsequent instructions to install the Git package and its required dependencies on your Linux Mint release, 21.2.
Step 1: Update Linux Mint Files
Here is one of the useful commands in Linux used for updating system repository files:
sudo apt update |
|---|
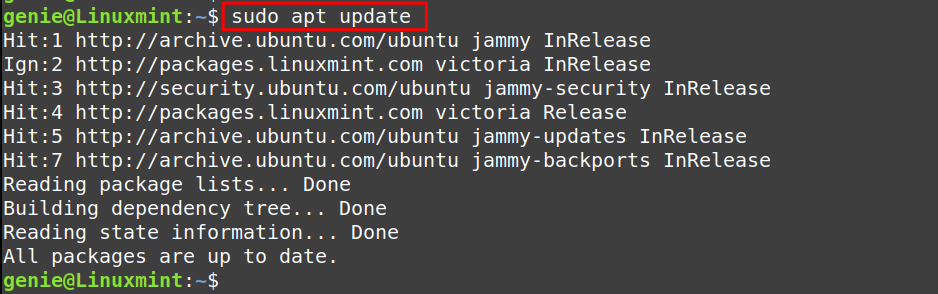
Your Linux Mint systems files are up to date now.
Step 2: Install Git Package
Install the Git package in your computer system utilizing the command noted below:
sudo apt install -y git |
|---|


It can be seen above, the installation process is finished.
Step 3: Check Git Version
The command below will show the current Install version of Git:
git --version |
|---|

On your Linux Mint operating system, the currently installed version of Git is 2.34.1.
How to Configure Git on Linux Mint 21.2?
Configure a new Git account by following the steps presented below.
Step 1: Add a New User
If you are new to Git, create your account using the provided command below:
git config --global user.name "Genie-Mint" |
|---|

The command set the user name as “Genie-Mint”.
Step 2: Add a New User’s Email
Add the functional email of a new user by executing the below-mentioned command:
git config --global user.email [email protected] |
|---|

The above command accepted “[email protected]” for the git repository.
Step 3: List the User
To display the details of the new user, run the command from Linux Mint terminal:
git config --list |
|---|

This command indicates that the user has been successfully configured for the Git repository.
Step 4: Create a Project’s Directory
In Linux Mint, use the “mkdir” command followed by “Project Name” to create an empty directory:
mkdir Genie_Project |
|---|

Step 5: Initialize Project
After completing the steps outlined above, you can now initialize the Git repository with the project name, such as “Genie_Project”:
git init Genie_Project |
|---|

In the snapshot above, it is shown that the command to initialize the Git repository was executed successfully.
Conclusion
In Linux Mint, you can install and configure Git with simple commands like “sudo apt install git”. To configure Git, you have to create a Git account and then initialize it. Git is third-party software that is popular for version control, tracking your changes, sharing your data with others, merging your versions after finalization, and more. This article presents a comprehensive guide describing the installation and configuration of Git on Linux Mint 21.2.
